
Legacy F6-3.0L (2005)
2. Install the ABSCM&H/U aligning the groove of damper on ABSCM&H/U side with the pawl of bracket.
NOTE: Check the identification mark of ABSCM&H/U.
3. Connect the brake pipes to their correct ABSCM&H/U positions.
Tightening torque: 15 Nm (1.5 kgf-m, 10.8 ft. lbs.)
4. Using a harness clip, secure the ABSCM&H/U harness to bracket.
5. Connect the connector to ABSCM&H/U.
NOTE:
^
Be sure to remove all foreign matters from inside the connector before connecting.
^
Ensure the ABSCM&H/U connector is securely locked.
6. Bleed air from the brake system.
Replacement
REPLACEMENT
CAUTION:
^
Because the seal of ABSCM cannot be replaced, do not pull or peel it with lifting up.
^
Because the screw part of H/U deteriorates in every replacement procedure, do not perform the replacement more than five times on it. When the
malfunction is found though the replacement that performed is less than five times, replace the H/U body.
^
Use new screws for installation of ABSCM.
^
When the sealing surface of ABSCM or H/U is dirty or damaged and it cannot be removed or repaired, replace it with new one.
1. Remove the ABSCM&H/U.
2. To prevent entering foreign matter and brake fluid leakage, plug the oil pressure port of ABSCM&H/ U using screw plug and etc.
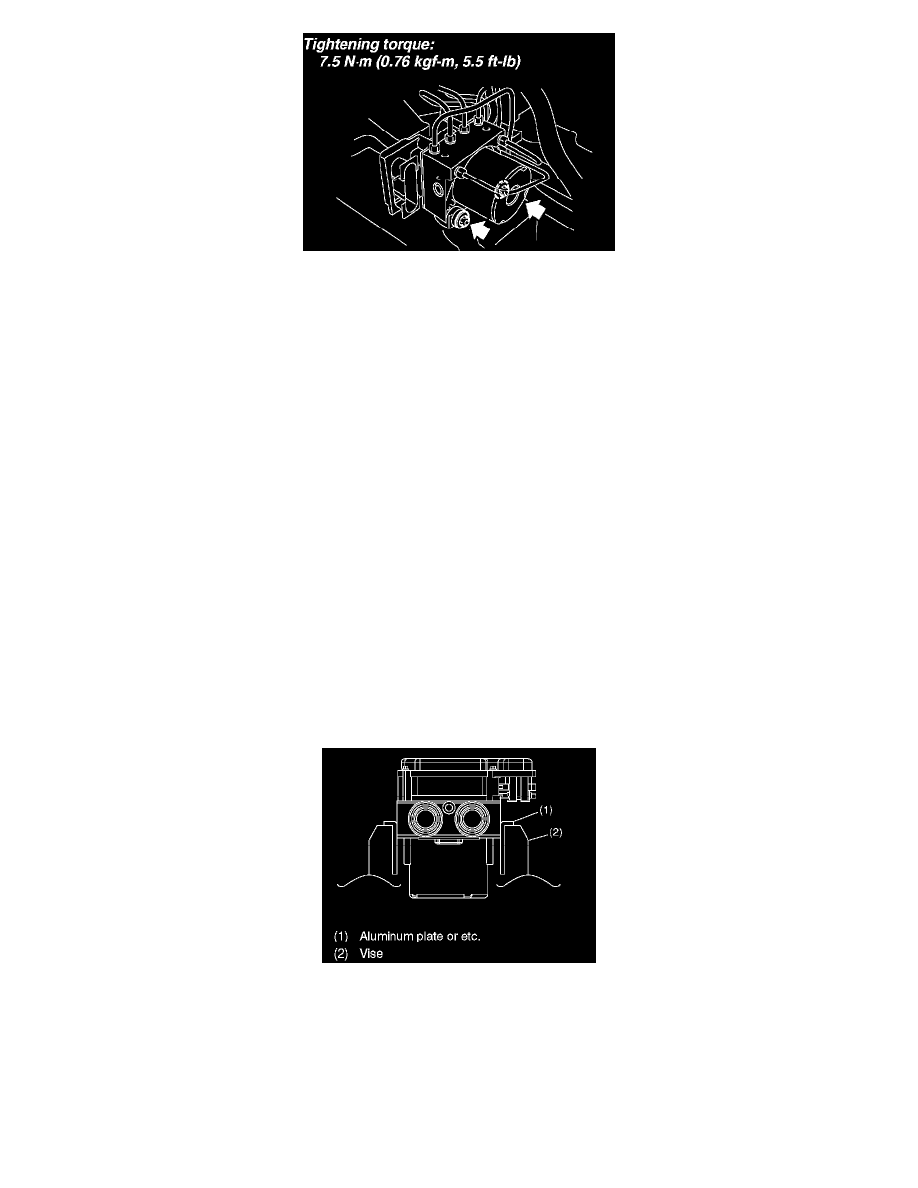
3. Set the pump motor part of removed ABSCM&H/U faces down on a vise.
NOTE: Before securing a part on a vice, place cushioning material such as wood blocks, aluminum plate or cloth between the part and vice.