
Legacy F6-3.0L (2005)
3.
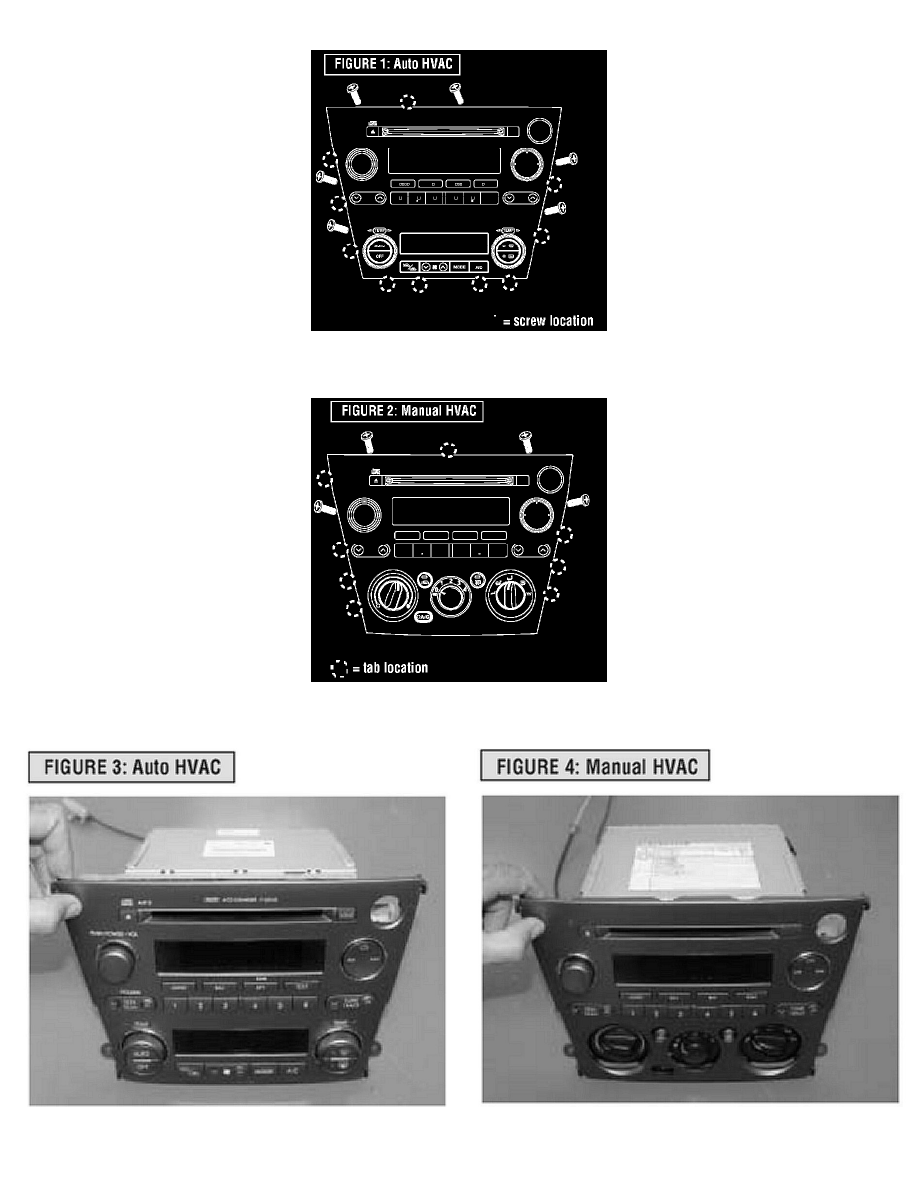
For Auto HVAC models, remove the 6 screws that attach the faceplate to the Audio Assembly. Carefully, using a fine flat tip screwdriver,
disengage the 10 locking tabs (See Figure 1).
For Manual HVAC models, remove the 4 screws that attach the faceplate to the Audio Unit / Manual HVAC Control Unit. Carefully, using a fine
flat tip screwdriver, disengage the 8 locking tabs (See Figure 2).
4.
Remove the faceplate by carefully pulling it toward you. (Figure 3 & 4). Refer to precautions when handling the original faceplates and Special