
Legacy F6-3.0L (2005)
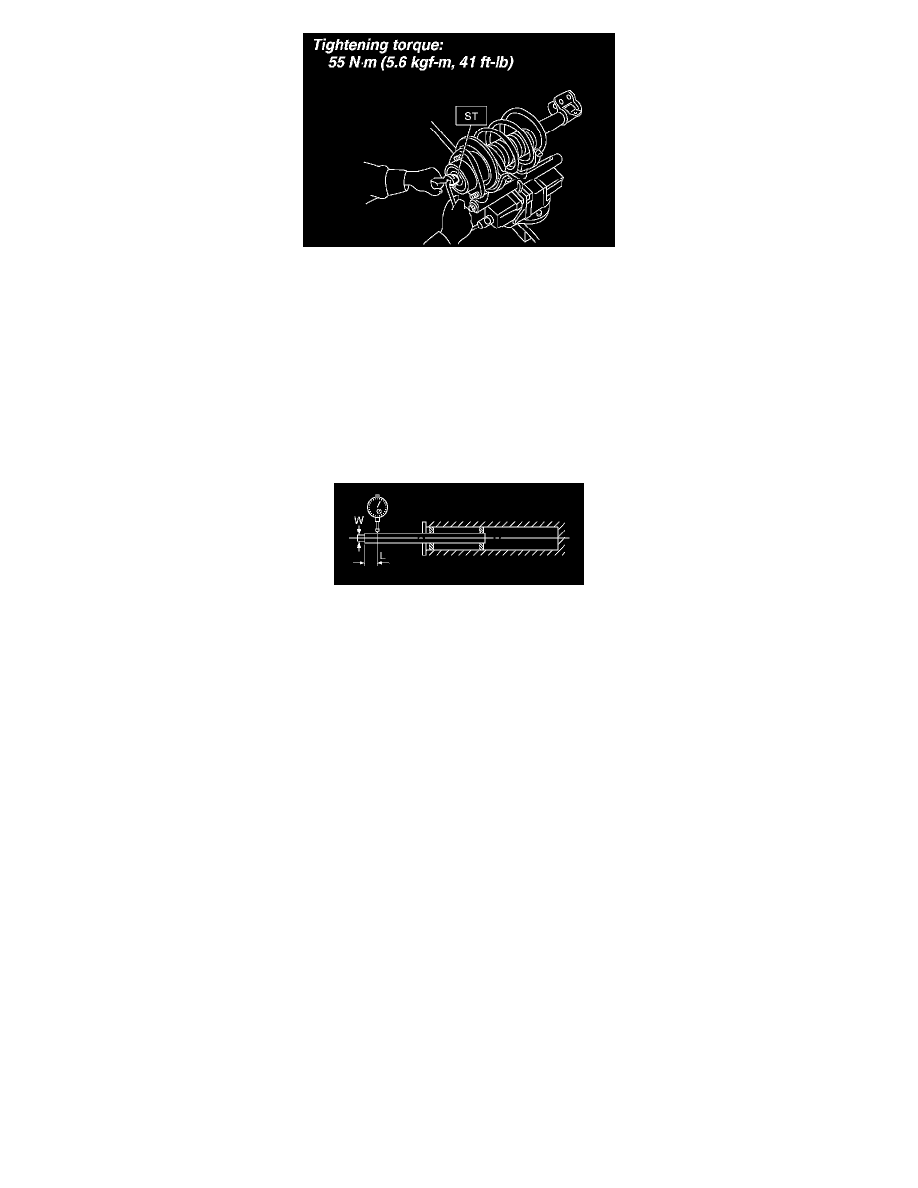
9. Using a hexagon wrench to prevent strut rod from turning, tighten the new self-locking nut with ST.
ST 20399AG000 STRUT MOUNT SOCKET
Tightening torque: 55 Nm (5.6 kgf-cm, 41 ft. lbs.)
10. Loosen the coil spring carefully.
INSPECTION
Check the removed part for wear, damage or cracks, and then repair or replace it if defective.
DAMPER STRUT
1. Check for oil leaks.
2. Move the piston rod up and down to check that it operates smoothly without any hitch.
3. Piston rod play
^
Measure the play as follows:
Fix the outer shell and fully extend the rod. Set a dial gauge at the end of rod L [10 mm (0.39 inch)], and then read the dial gauge indication P.
while applying a force of W [20 N (2 kgs, 4 lbs.)] to threaded portion. Apply a force of 20 N (2 kgs, 4 lbs.) in the opposite direction of W, and
then read the dial gauge indication P2
Play limit (P1 + P2): 0.8 mm (0.031 inch)
If the play exceeds limit, replace the strut.
STRUT MOUNT
Check the rubber part for deformation, cracks or deterioration, and then replace it with a new one if defective.
DUST COVER
If any cracks or damage are found, replace it with a new one.
COIL SPRING
If a permanent strain is found, replaced it with a new one.
HELPER
Replace it with a new one if cracked or damaged.
DISPOSAL
CAUTION:
^
Before handling struts, be sure to wear goggles to protect eyes from gas, oil and cutting powder.
^
Do not disassemble the strut damper or place into a fire.
^
Drill a hole into struts in case of discarding struts filled with gas.
1. Place the strut on a level surface with the piston rod fully expanded.