
Legacy Brighton Wagon AWD F4-2.5L SOHC (2000)
Hood: Service and Repair
NOTE: The hood lock has a dual locking design which consists of a main lock and a safety lock mechanism. When the release knob located at the front
pillar on the driver's side is pulled back, the main lock is released through the cable attached to the knob.
The safety lock can be released by pushing the lever protruding above the front grill while opening the hood.
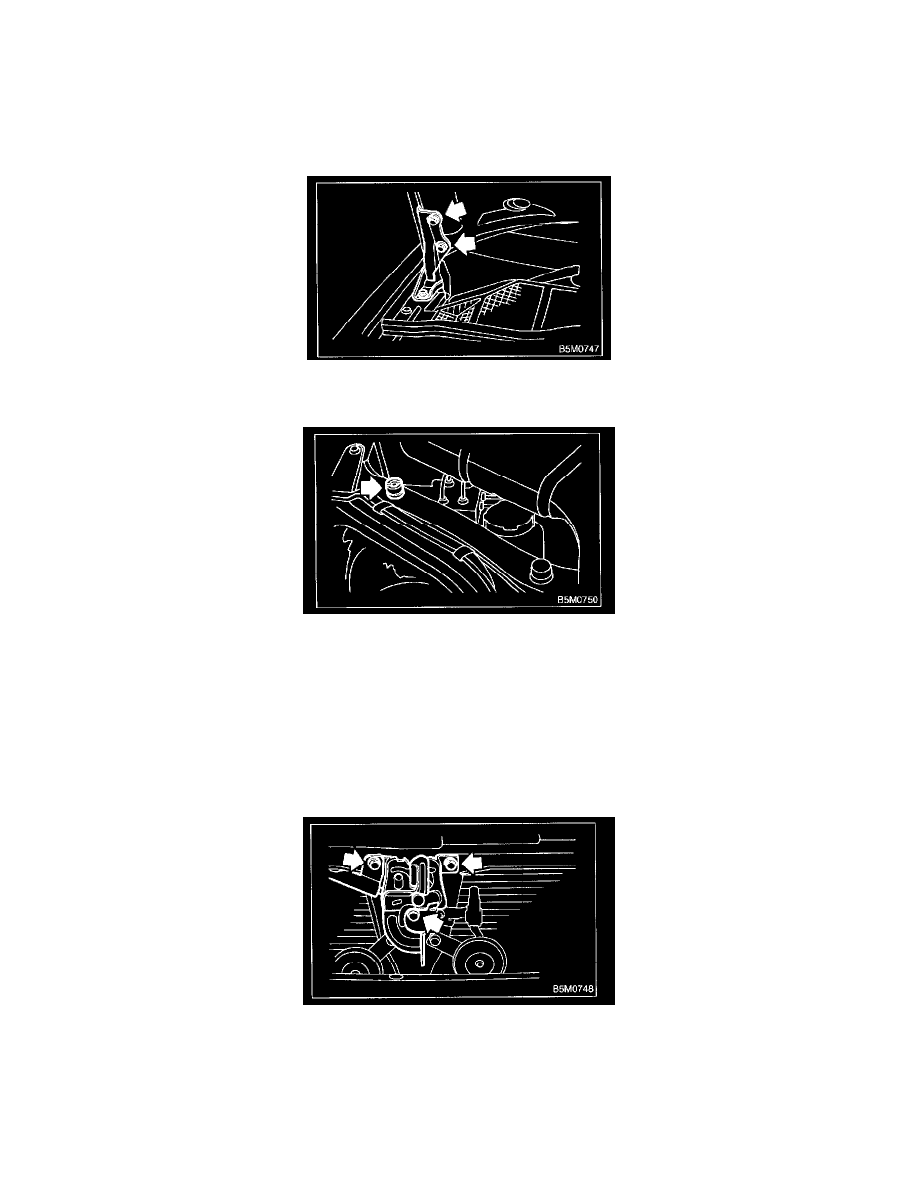
1. HOOD
1. Open front hood, and remove washer hose.
2. Remove attaching bolts.
3. Detach front hood from hinges.
4. Installation is in the reverse order of removal.
CAUTION: Adjust buffer assembly on each end so that main lock is applied securely when hood is released from a height of approx. 20 mm
(0.79 in).
NOTE: Align the center of striker with lock during installation. Make sure safety lever is properly caught by striker under the hood's own
weight.
2. HOOD LOCK
1. Open front hood.
2. Remove bolts which secure lock assembly to radiator panel, and remove lock assembly.
3. Disconnect release cable from lock assembly.
4. Installation is in the reverse order of removal.
NOTE:
-
Route hood lock release cable and hold with clips.
-
After installing release cable, ensure it operates smoothly.