
Legacy Brighton Wagon AWD F4-2.5L SOHC (2000)
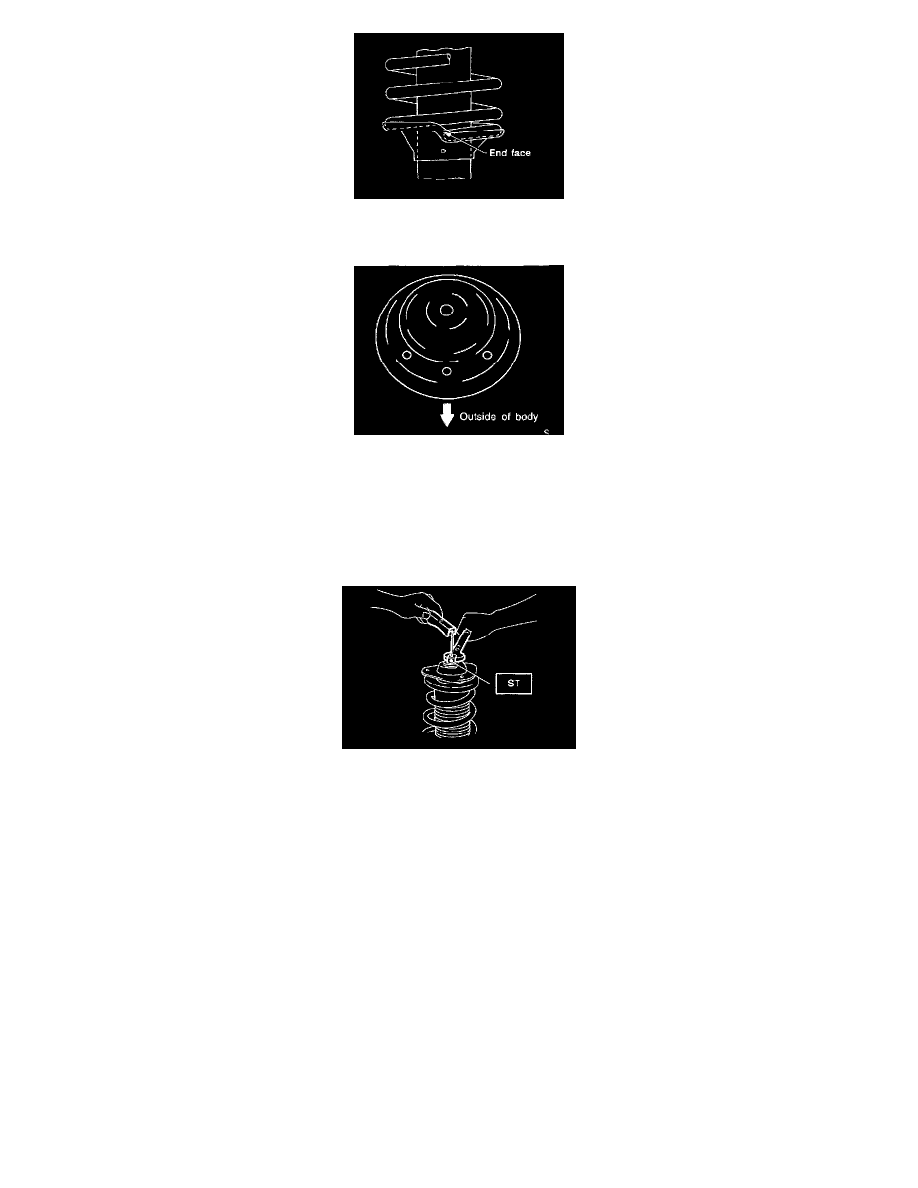
5. Set the coil spring correctly so that its end face fits well into the spring seat as shown
6. Install helper and dust cover to the piston rod
7. Pull the piston rod fully upward, and install rubber seat and spring seat.
NOTE: Ensure that upper spring seat is positioned with "OUT" mark facing outward.
8. Install strut mount to the piston rod' and tighten the self-locking nut temporarily.
CAUTION: Be sure to use a new self-locking nut.
9. Using hexagon wrench to prevent strut rod from turning, tighten self-locking nut with ST.
Tightening torque: 54 ± 5 Nm (39.8 ± 3.6 ft. lbs.).
ST 927760000 Strut Mount Socket
10. Loosen the coil spring carefully.
INSTALLATION
1. Install strut mount at upper side of strut to body and tighten with nuts.
Tightening torque: 20 ± 6 Nm (14.5 ± 4.3 ft. lbs.)
2. Connect housing to lower side of strut.
3. Position aligning mark on camber adjusting bolt with aligning mark on lower side bracket of strut.
Tightening torque: 152 ± 20 Nm (112 ± 14 ft. lbs.).
CAUTION: While holding head of adjusting bolt, tighten self locking nut. Be sure to use new self-locking nut.
4. Install ABS sensor harness to strut. (ABS equipped models.)