
Legacy GT LTD Sedan AWD F4-2.5L DOHC (1998)
Brake Shoe: Testing and Inspection
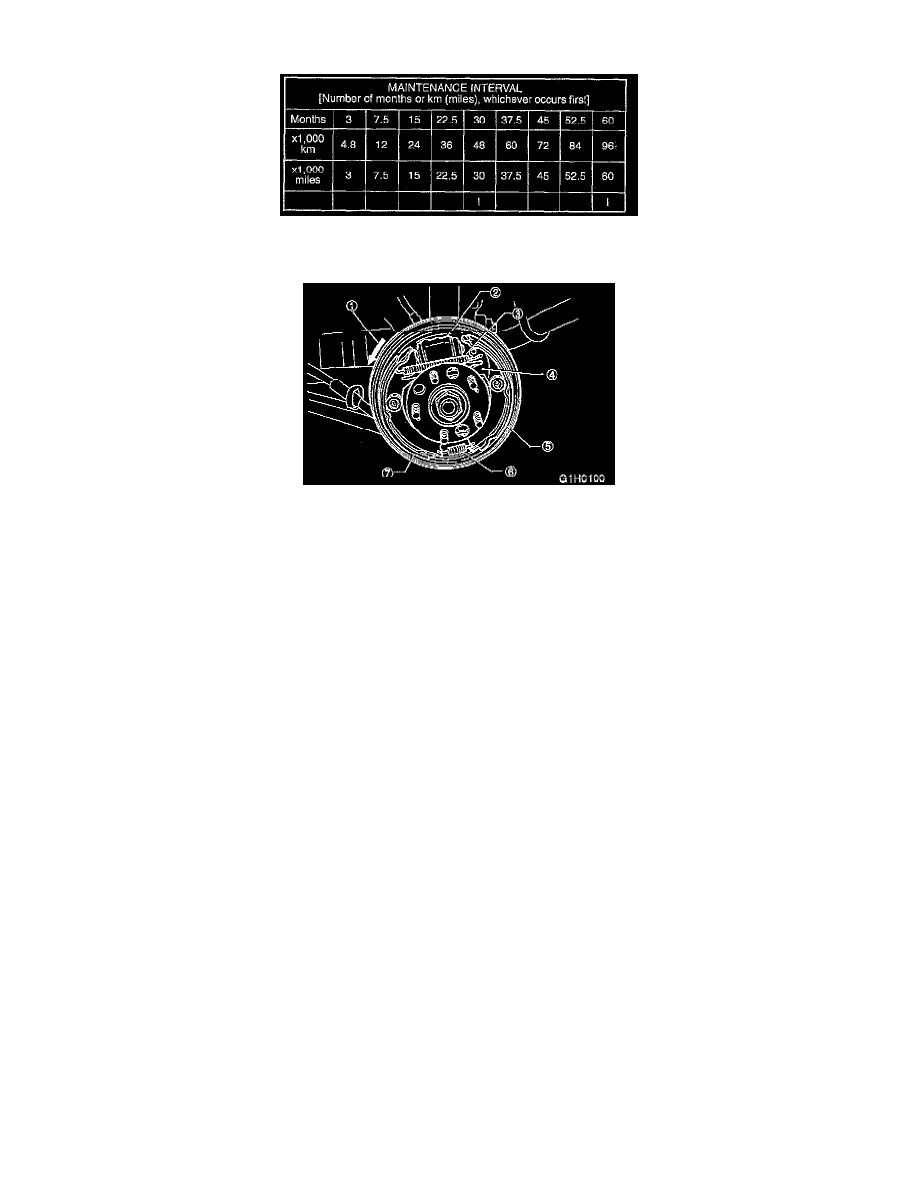
1) Remove brake drum.
2) Inspect brake shoes for damage or deformities and check brake linings for wear.
LEGEND
1
Rotational direction of drum (Forward).
2
Wheel cylinder.
3
Upper shoe return spring.
4
Adjusting lever.
5
Trailing shoe.
6
Lower shoe return spring.
7
Leading shoe.
CAUTION:
-
Always replace both leading and trailing brake shoes for the left and right wheels at the same time.
-
When either the left or the right brake assembly is replaced, always replace the leading shoe and trailing shoe of the other.
-
Axle nut, once removed, cannot be reused.
Thickness Of Lining (except back metals):
Standard value: 4.1 mm (0.161 inch)
Service limit: 1.5 mm (0.059 inch)
NOTE: To replace trailing shoe, remove cotter pin. Clevis pin should also be replaced if worn.