
Legacy GT LTD Sedan AWD F4-2.5L SOHC (2001)
Brake Bleeding: Service and Repair
PROCEDURE
CAUTION:
-
The FMVSS No. 116, fresh DOTS or 4 brake fluid must be used.
-
Cover bleeder with waste cloth when loosening it to prevent brake fluid from being splashed over surrounding parts.
-
Avoid mixing different brands of brake fluid to prevent degrading the quality of the fluid.
-
Be careful not to allow dirt or dust to get into the reservoir tank.
NOTE:
-
Start with the brakes (wheels) connected to the secondary chamber of the master cylinder.
-
The time interval between two brake pedal operations (from the time when the pedal is released to the time when it is depressed another time) shall
be approximately 3 seconds.
-
The air bleeder on each brake shall be released for 1 to 2 seconds.
1. MASTER CYLINDER
NOTE: If master cylinder is disassembled or reservoir tank is empty, bleed master cylinder.
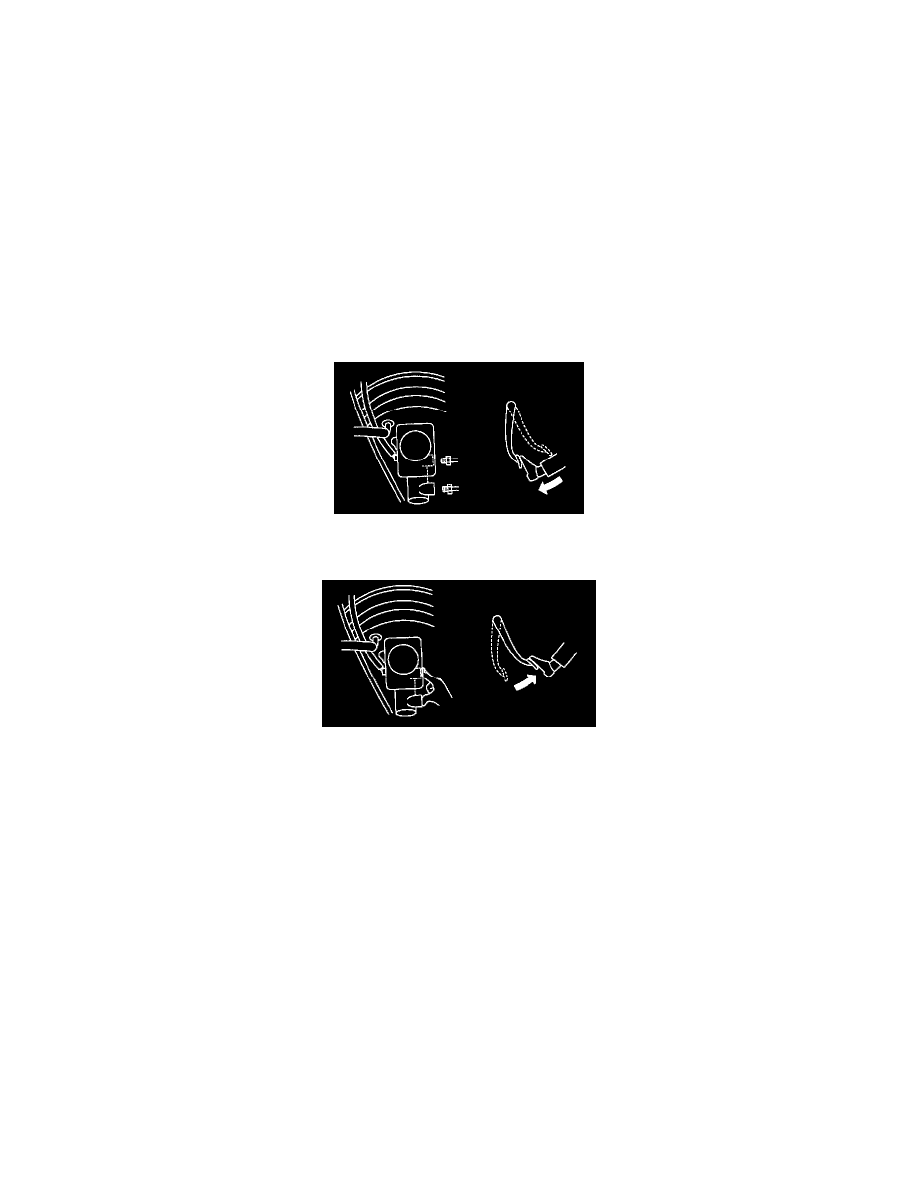
1. Disconnect brake line at primary and secondary sides.
2. Carefully depress and hold brake pedal.
3. Close outlet plug with your finger, and release brake pedal.
4. Repeat above steps 2 and 3 until master cylinder is completely bled.
5. Install brake pipes to master cylinder.
Tightening torque:8 Nm (0.8 kgf-m, 5.8 ft. lbs.)
2. BRAKE LINE
NOTE:
-
During bleeding operation, keep the brake reservoir tank filled with brake fluid to eliminate entry of air.
-
Brake pedal operating must be very slow.
-
For convenience and safety, two people should do the work.
1. Make sure that there is no leak from joints and connections of the brake system.