
Legacy GT LTD Sedan AWD F4-2.5L SOHC (2001)
Hydraulic Control Assembly - Antilock Brakes: Service and Repair
REMOVAL
1. HYDRAULIC UNIT (H/U)
1. Disconnect ground cable from battery.
2. Remove air intake duct from engine compartment to facilitate removal of hydraulic unit.
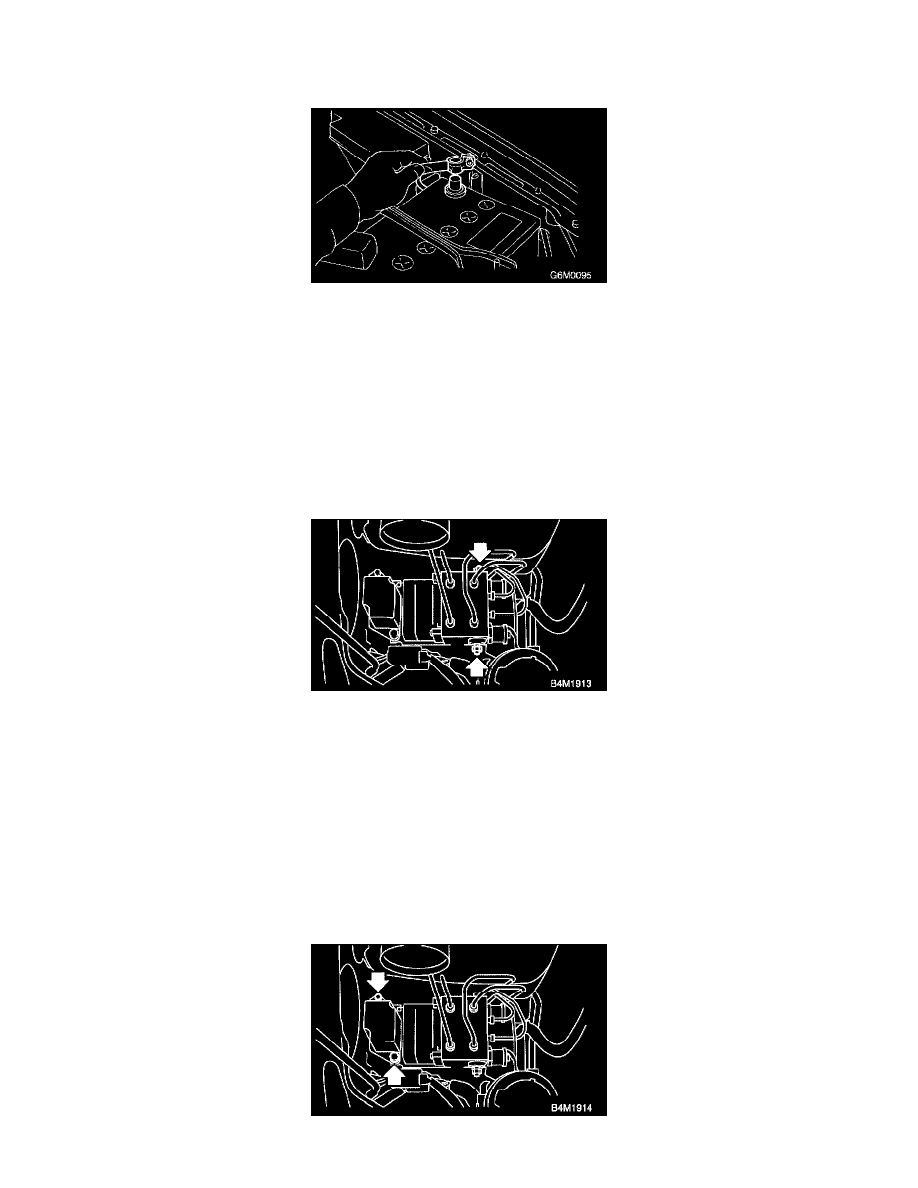
3. Disconnect connector from hydraulic unit.
CAUTION: Be careful not to let water or other foreign matter contact the H/U terminal.
4. Unlock cable clip.
5. Disconnect brake pipes from hydraulic unit.
CAUTION: Wrap brake pipes with vinyl bag to avoid spilling brake fluid on vehicle body.
6. Remove nuts and bolt which secure hydraulic unit bracket, and remove hydraulic unit from engine compartment.
CAUTION:
-
Hydraulic unit cannot be disassembled. Do not attempt to loosen bolts and nuts.
-
Do not drop or bump hydraulic unit.
-
Do not turn the hydraulic unit upside down or place it on its side.
-
Be careful to prevent foreign particles from getting into hydraulic unit.
-
When a new hydraulic unit is installed, apply a coat of rust-preventive wax (Nippeco LT or GB) to bracket attaching bolt after tightening.
-
Do not pull harness disconnecting harness connector.
2. RELAY BOX
1. Disconnect ground cable from battery.
2. Remove air intake duct from engine compartment to facilitate removal of relay box.
3. Disconnect connector from relay box.
4. Unlock cable clip.
5. Remove nuts which secure relay box, and remove relay box and connector bracket.