Legacy GT LTD Sedan AWD F4-2.5L SOHC (2001)

4. Set location of selector lever at "N" position.
5. Set location of selector arm installed on the transmission body at "N" position.
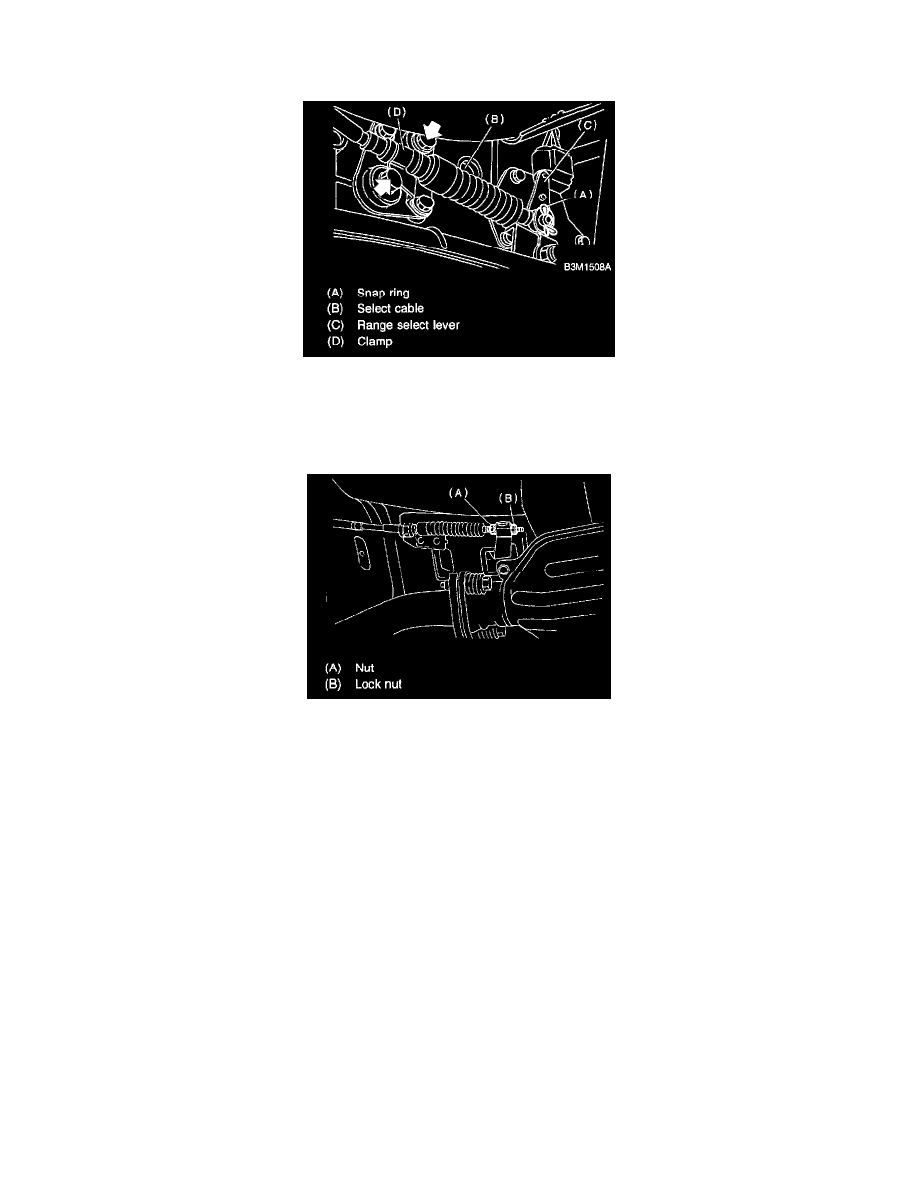
6. Pass cable through selector arm pin and then connect it using a washer and snap pin.
7. Attach cable clamp to transmission case with the bolts.
Tightening torque: 24.5 Nm (2.5 kgf-m, 18.1 ft. lbs.)
8. Insert the thread portion of the other inner cable and into the connector hole of the selector lever, and fix the other outer cable end to the bracket.
9. Adjust the inner cable length.
1. Put connector into contact with nut.
2. Tighten nut (B).
Tightening torque: 7.5 Nm (0.76 kgf-m, 5.5 ft. lbs.)
10. After completion of fitting, make sure that the selector lever operates smoothly all across the operating range.
11. Connect the harnesses and check the following items.
1. The engine starts operating when selector lever is in position "P", but not in other positions.
2. The back-up light is lit when the selector lever is in position "R", but not in other positions.
12. Check shift-lock system.
1. Ensure ignition switch rotates from "ACC" to "LOCK" when the selector lever is set at "P". Also check that ignition key can be removed only
from the "LOCK" position.
2. Ensure selector lever moves from "P" to any other position when the brake pedal is depressed with ignition key set at "ON" or "START".
