
Legacy L Wagon AWD F4-2.2L SOHC (1997)
Keyless Entry Module: Service and Repair
RKE Installation
A. Pre-Installation Notes
Connector Orientation
1. Connector Orientation
2. Vehicle Preparation
a. Roll down the driver's side window to avoid locking the keys in the vehicle during installation.
b. Remove the left lower dash trim to access the underdash wiring:
-
Remove two (2) phillips screws at the bottom of the knee blocker panel.
-
Remove one plastic clip on the side ot the dash closest to the driver's door.
c. Remove the negative battery cable.
3. System Preparation
a. Remove the 10-amp fuses from the module WHITE/BLACK and PINK wires. Plug the wiring harnesses into the remote keyless entry module.
Note: The supplied wiring harness is pre-cut to proper length.
B. Connecting the Keyless Entry Harness
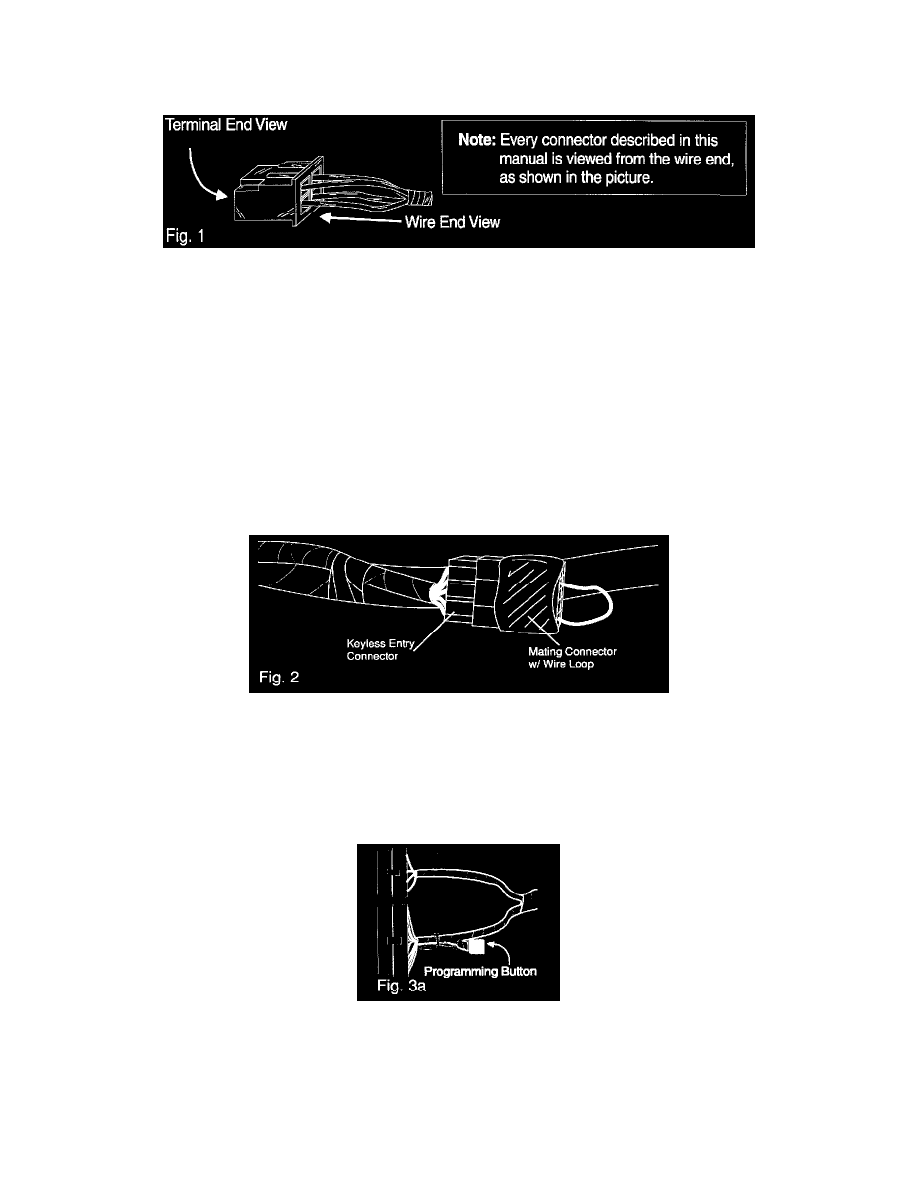
1. Locate the keyless entry connector:
a. The connector is taped to a vehicle harness that crosses behind the metal knee protector under the driver's dash.
b. The connector is a white 10-pin plug with a mating connector attached. The mating connector has a single wire loop.
c. To locate the connector, reach behind the knee protector at a point just to the right of the fuse block. Pull the con nector down for access.
2. Remove the mating connector and discard. Replace with the 10-pin connector from the keyless entry harness.
C. Programming Button
1. On the keyless entry harness, locate the programming button. The button is taped and tie-wrapped to the harness near the 18-pin connector.