
Legacy L Wagon AWD F4-2.2L SOHC (1997)
Control Arm: Service and Repair
Assembly
ASSEMBLY
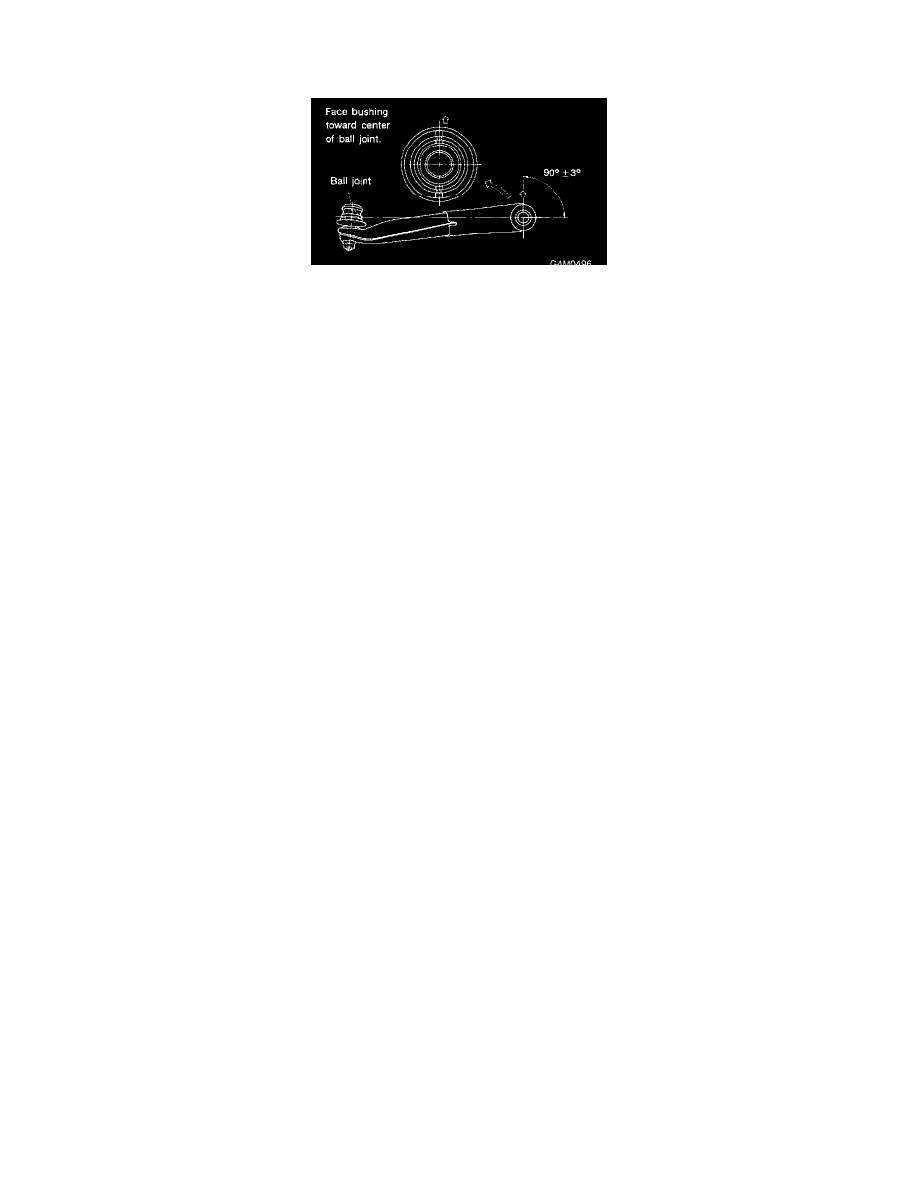
Front Bushing
To reassemble, reverse disassembly procedures.
CAUTION: Install front bushing in correct direction, as shown in figure.
Rear Bushing
1) Install rear bushing to transverse link and align aligning marks scribed on the two.
2) Tighten self-locking nut.
CAUTION:
-
Discard loosened self-locking nut and replace with a new one.
-
While holding rear bushing so as not to change p051tion of aligning marks, tighten self-locking nut.
Tightening torque:
186 ± 10 Nm (19.0 ± 1.0 kg-m, 137 ± 7 ft-lb)