
Legacy L Wagon AWD F4-2.2L SOHC (1997)
a. Duty solenoid B (lock-up)
b. ATF temperature sensor
c. Bracket
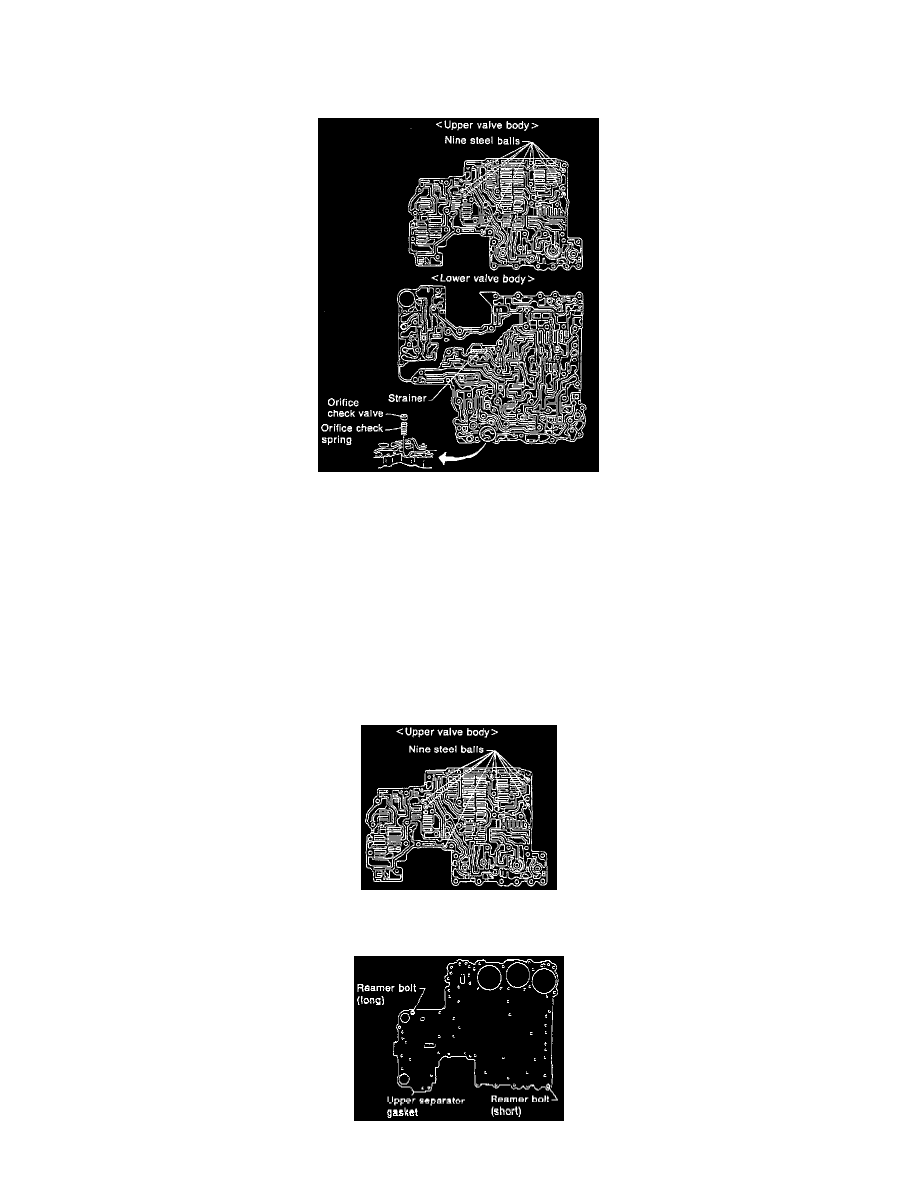
3. Separate the upper valve body and lower valve body.
Check Ball Locations
CAUTION:
-
Do not lose the nine (9) steel balls contained in the upper valve body.
-
Do not lose an orifice and a strainer contained in the lower valve body.
NOTE:
-
Remove the upper-lower valve body tightening bolts. Then remove two locating bolts (indicated by darkened arrows, above).
-
During ordinary servicing, clean the control valve bodies in this condition, without further disassembly.
-
In the event of a seized clutch or other problem, disassemble the control valve bodies further, and clean the component parts.
INSPECTION
Make sure that each component is free of harmful gouges, cuts, or dust.
ASSEMBLY
1. Install the nine steel balls to the upper valve body.