
Legacy LSi Wagon AWD F4-2.5L DOHC (1997)
2) Remove rear exhaust pipe and muffler.
3) Remove stabilizer link from rear lateral link.
4) Scribe an aligning mark on adjusting bolt, adjusting wheel and crossmember.
5) Remove bolts securing lateral links to housing.
6) Turn cap (lateral link) counterclockwise until it contacts stopper, then remove cap.
7) While holding adjusting bolt's head with a wrench, loosen self-locking nut.
CAUTION: Always loosen self-locking nut before turning adjusting bolt.
8) Lateral link removal
(1) Left lateral links
Remove adjusting bolt and front and rear lateral links.
(2) Right lateral links
Support crossmember with transmission jack. Remove bolts securing crossmember to vehicle body. Lower transmission jack until adjusting
bolt can be removed. Remove adjusting bolt, front and rear lateral links.
AWD Model
1) Loosen wheel nuts. Lift-up vehicle and remove wheel.
2) Remove stabilizers link from lateral link.
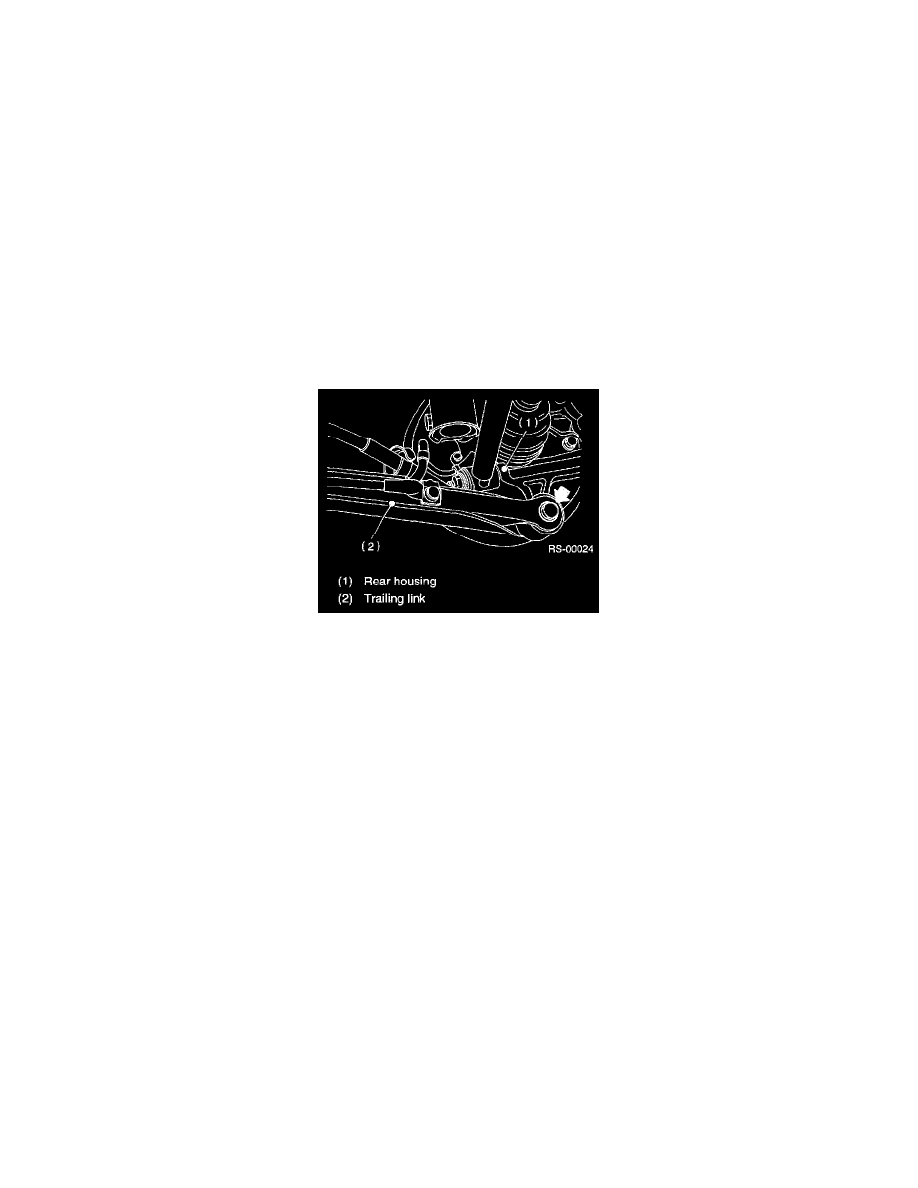
3) Remove A.B.S. sensor harness from trailing link. (A.B.S. equipped models.)
4) Remove bolt securing trailing link to housing.
5) Remove DOJ from differential.
6) Scribe an alignment mark on rear lateral link adjusting bolt and crossmember.
7) Remove bolt securing lateral link to housing.
8) Remove bolts securing front and rear lateral links to crossmember, detach lateral links.
CAUTION: To loosen adjusting bolt, always loosen nut while holding the head of adjusting bolt.