
Legacy Outback Limited AWD F4-2.5L DOHC (1998)
Note:
Do not start engine with the 02 sensors disconnected, otherwise a DTC will be set.
4.
Remove the engine undercover (if applicable).
5.
Remove and lower the front exhaust "Y" pipe from the engine and center pipe from the center exhaust hanger bracket, as an assembly.
6.
Support the exhaust system from the left side engine mount using a generic hanger.
Caution:
Maintain clearance between the exhaust pipe flanges. This is to prevent distortion to the flanges and damage to the exhaust donut gasket.
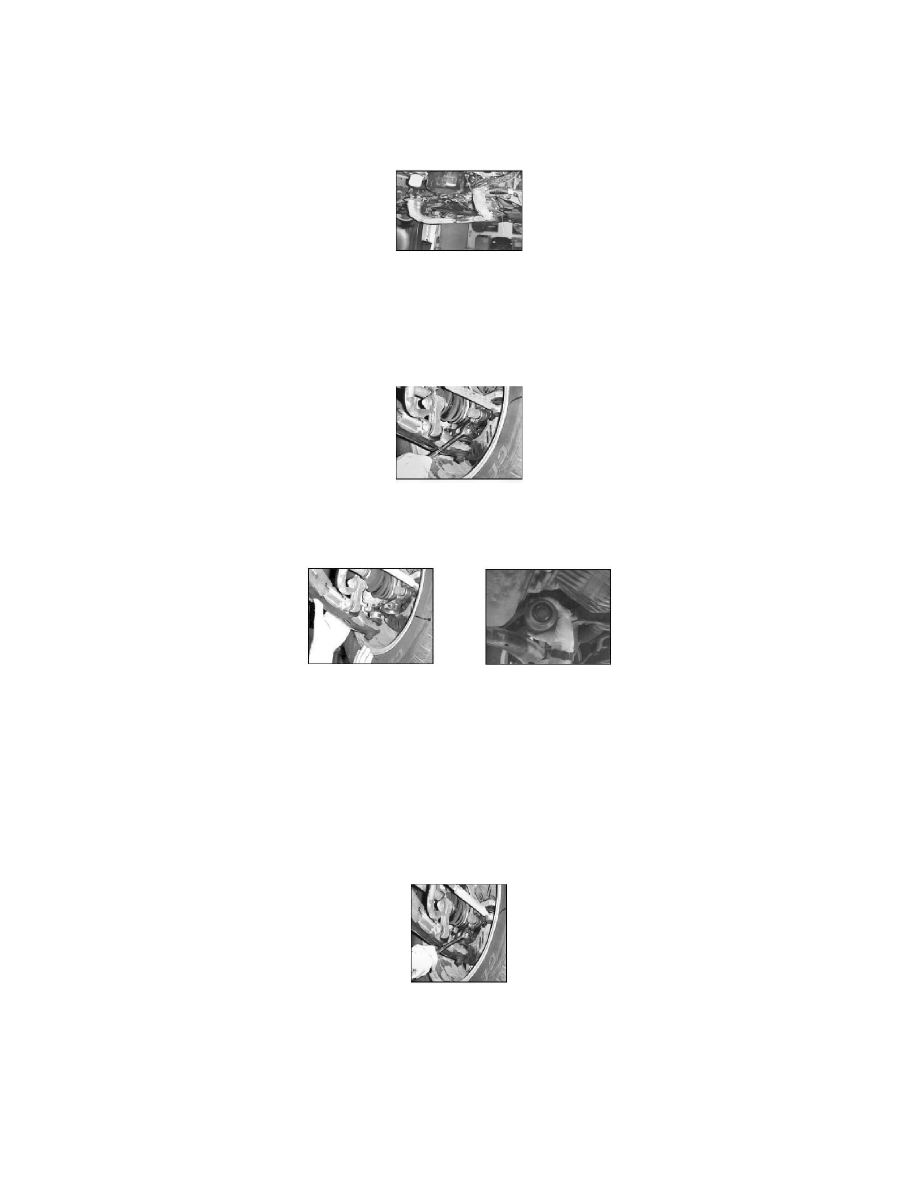
7.
Remove both stabilizer clamp to crossmember mounting brackets.
8.
Remove the balljoint from the knuckle housing.
9.
Remove the SFJ (DOJ) roll pin. (Do not reuse the removed roll pin.)
1O.
Push the knuckle housing outward and remove the axle shaft from the transaxle.
RESEALING PROCEDURE:
1.
Wipe excess grease from exterior parts of the SFJ (DOJ) prior to using brake cleaner.
NOTE:
Do not clean the grease from inside the SFJ (DOJ). Even if some leakage has already occurred, it is not necessary to remove and/or replace the
existing grease inside the SFJ (DOJ).
2.
Use brake cleaner or equivalent and clean the SFJ (DOJ) grease from the transaxle, crossmember and exhaust system.
3.
Clean the SFJ (DOJ) grease from the splined area at the end of the SFJ (DOJ).
(Do not spray brake cleaner onto the parts directly. Spray brake cleaner on a clean rag and clean the SFJ (DOJ).)
SEAL INSTALLATION:
Caution:
The correct seal must be used for this application.