
Legacy Outback Ltd Sedan F4-2.5L SOHC (2000)
7. Extend deployment tool to the limit and make sure vehicle is empty. Completely close vehicle all windows, sunroof and rear gate.
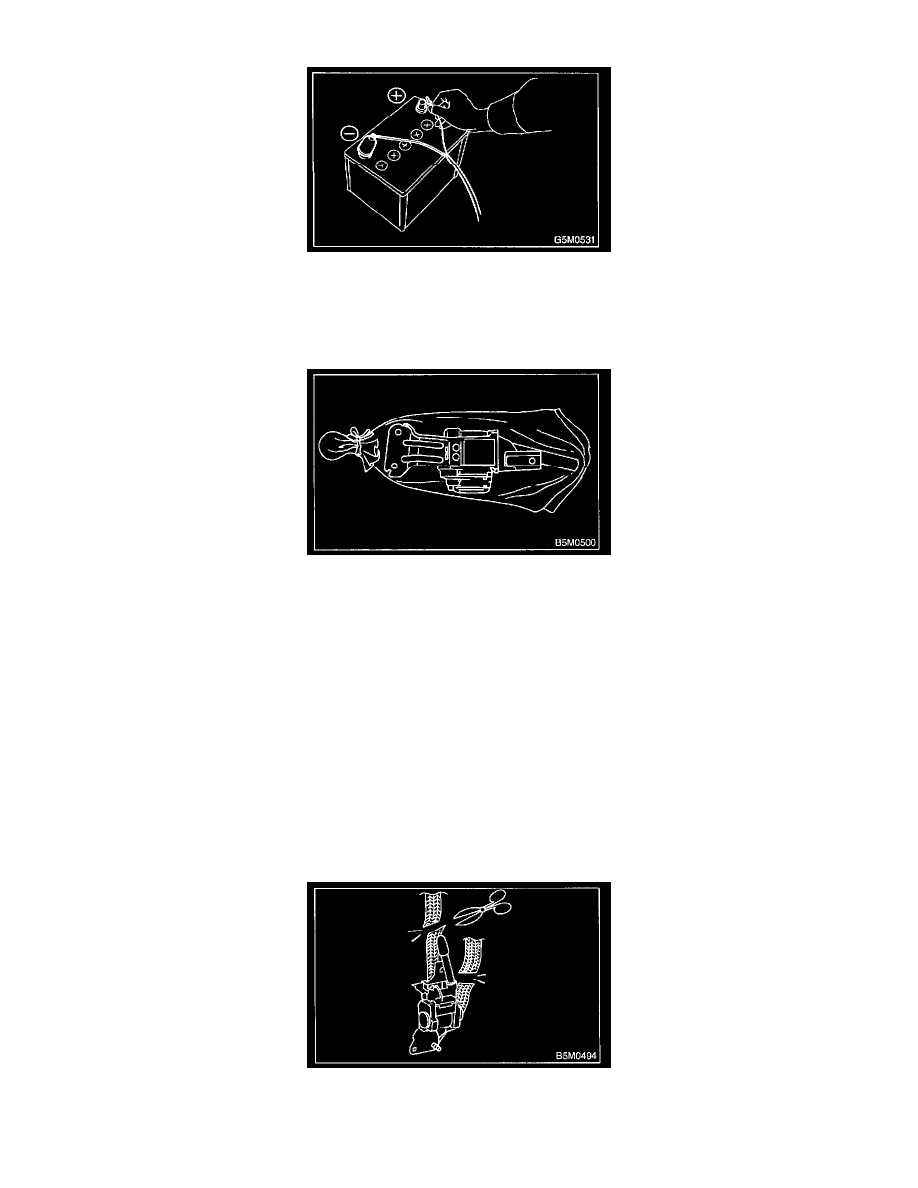
8. Move battery at least 5 meter (16 ft) from vehicle and secure area. Connect deployment tool alligator clip to battery minus terminal. Connect the
other terminal of deployment tool to battery plus terminal.
9. After deployment, ELR with pretensioner is extremely hot. Leave it unattended for 40 minutes.
CAUTION: Do not apply water to cool it down.
10. Remove deployed ELR with pretensioner. Wrap it in an airtight vinyl bag and discard. Do not attempt to disassemble or incinerate ELR with
pretensioner.
As A Detached ELR With Pretensioner
WARNING: Do not discard undeployed ELR with pretensioner since it can cause serious personal injury when accidentally deployed.
CAUTION:
-
Deployment of ELR with pretensioner should be done on a flat place free from any possible danger. Avoid outdoors during rain or windy weather.
-
Since deploying ELR with pretensioner causes a high explosive noise, make sure to warn people around you and do not allow anyone within a 5 m
(16 ft) radius of the disposal site.
-
Some smoke will be emitted from deployment of ELR with pretensioner. Therefore, do not activate near fire or smoke sensor.
-
Wear gloves and goggles during this operation and wash hands afterwards.
AS A DETACHED ELR WITH PRETENSIONER
1. Turn ignition switch off.
2. Disconnect ground cable from battery, and wait for at least 20 seconds before starting work.
3. Remove ELR with pretensioner.
4. Cut the webbing of ELR with pretensioner.
NOTE: Cut webbing as close possible to ELR.