
Legacy Outback Ltd Sedan AWD F4-2.5L SOHC (2001)
Dealers are also to promptly perform the applicable service procedures defined in this bulletin to correct all affected vehicles in their inventory (new,
used, demo). Additionally, whenever a vehicle subject to this recall is taken into dealer new or used inventory, or is in the dealership for service,
necessary steps should be taken to ensure the recall correction has been made before selling or releasing the vehicle.
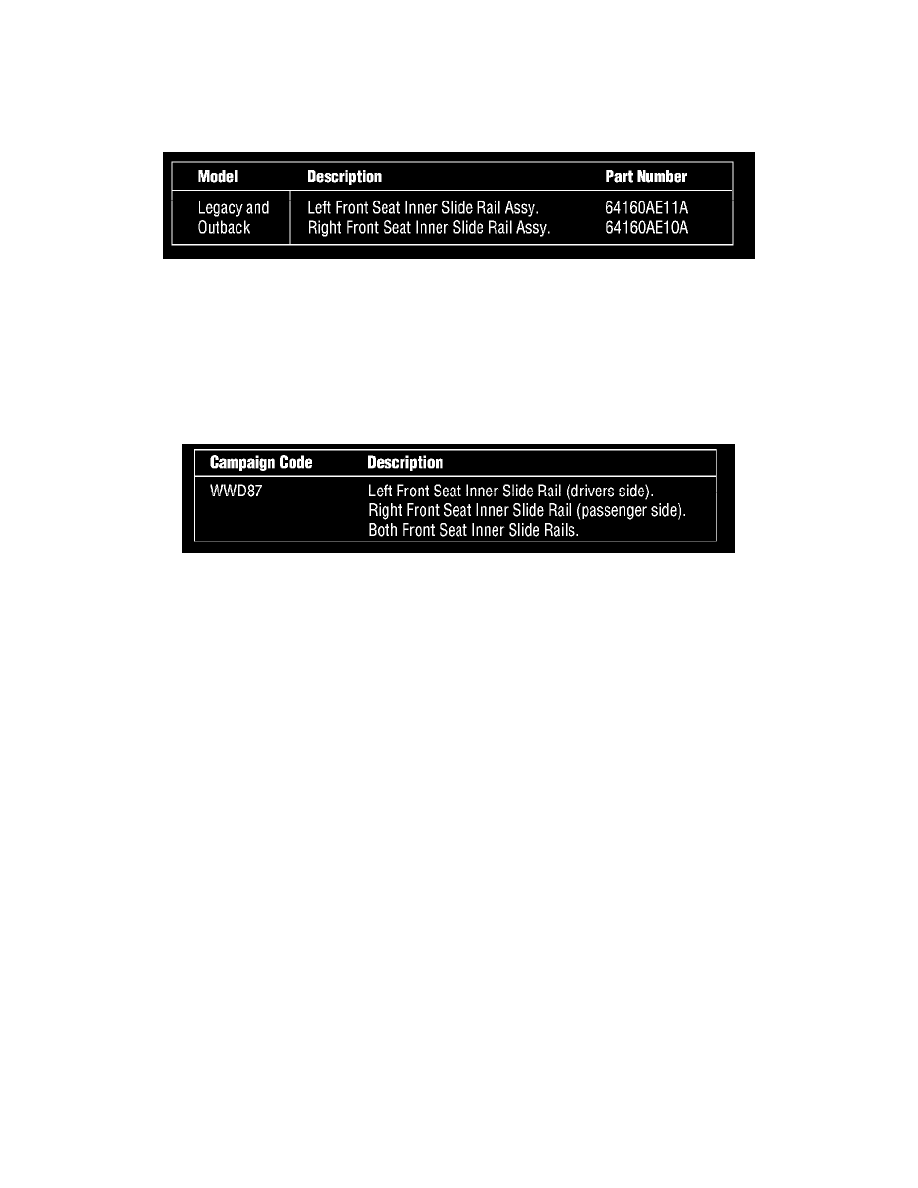
PARTS INFORMATION
Prior to the release of this recall, dealers will automatically be shipped a quantity of replacement right and left front seat inner slide rail assemblies
equivalent to 60% of their vehicle sales. Additional quantities of the replacement inner seat rail assemblies will be available through normal parts supply
after 3/10/01. In order to maintain an adequate part supply, SOA requests that Dealers only order parts necessary to supply anticipated demand.
IDENTIFY THE AFFECTED INNER FRONT SEAT RAIL THAT REQUIRES REPLACEMENT
Note:
Only manually adjustable driver and passenger front seats are affected. Outer front seat slide rails are NOT affected. Power driver seats are NOT
affected.
There is no inspection procedure. SOA has predetermined the affected front seat inner slide rail(s) for each vehicle. It will be necessary to access the
Vehicle Coverage Inquiry in the Dealer Communication System in order to determine the appropriate repair procedure for each vehicle. The description
next to the campaign code will identify the inner slide rail that requires replacement. Only replace the seat rail identified in the Vehicle Coverage Inquiry.
REPAIR PROCEDURES
Replace the appropriate front seat inner slide rails by following the procedures outlined below and by referring to procedures found in Section 7 - SE of
the 2001 Legacy and Outback Service Manual as indicated.
1.
Prepare for Seat Assembly Removal
Note:
Before proceeding, as a matter of customer courtesy, record radio settings prior to disconnecting the battery. Please remember to reset the
radio and clock when repairs have been completed.
^
Disconnect the negative (-) battery terminal before starting seat removal.
2.
Seat assembly removal
Remove the seat from the vehicle by following the instructions in steps 2 through 11 in section A of the Service Manual: Removal. Please use
extreme care when removing the seat assembly to avoid damage to the vehicle body, seat or trim.
^
Vehicles equipped with side air bag - disconnect the side air bag connector located under the seat cushion.
Caution:
Wait 20 seconds or more after disconnecting the battery before disconnecting the side air bag connector.
^
Vehicles equipped with heated seats - disconnect the seat heater connector.
^
Disconnect the seat belt warning system connector.
Note:
Make seat bolt removal easier by moving the seat to full forward position when removing the two rear bolts, and move the seat to full rear
position when removing front two bolts.