
Legacy Outback Ltd Sedan AWD F4-2.5L SOHC (2001)
6)
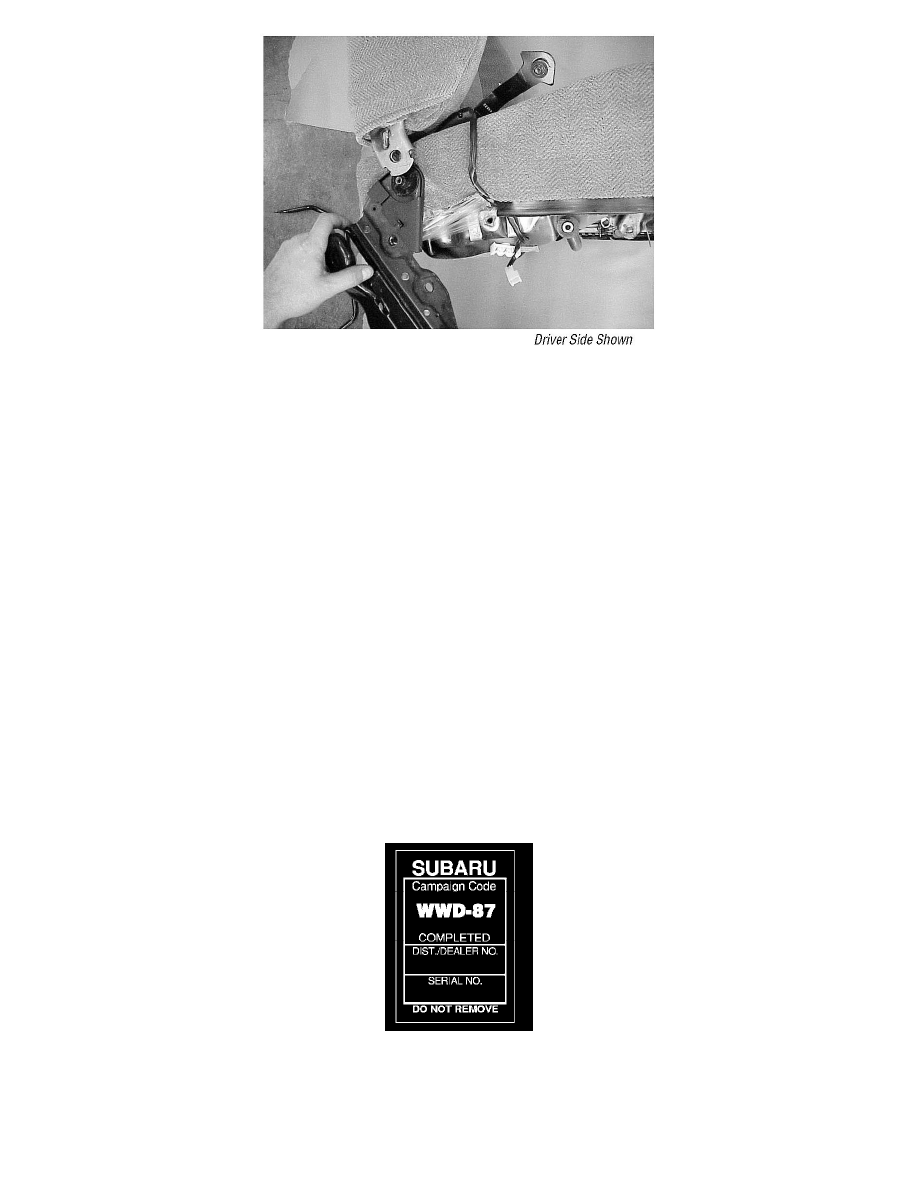
Remove the seat rail assembly as pictured.
4.
Install the replacement inner slide rail assembly and reassemble the seat assembly in the reverse order of disassembly.
Properly torque components as follows:
Slide Rail assembly to seat frame bolts: 18 +/- 5 N-m (13.3 +/- 4 ft-lb)
Slide Rail assembly to seat frame screws: 7 +/- 1.5 Nm (5.2 +/- 1.1 ft-lb)
Seat Back to Slide Rail assembly screw: 10 +/- 2.5 Nm (7.4 +/- 1.8 ft-lb)
Seat Belt Buckle installation:30 N-m (22 ft-lb)
5.
Reinstall the seat assembly in the vehicle.
Important:
To avoid the possibility of stripping the seat bolts, always begin installation by hand and only tighten to the proper torque.
Properly torque components as follows:
Slide Rail to floor, 4 Bolts: 53 N-m (39 ft-lb)
Verify the Slide Rail operates smoothly and both rails lock simultaneously. If the rails do not lock simultaneously, adjust by loosening bolts and
retightening them. For additional front seat slide rail adjustment procedures, refer to Service Bulletin 12-58-93 dated 02/16/93.
RECALL CAMPAIGN IDENTIFICATION LABEL
Type or print the necessary information on a Recall Campaign identification label. The completed label should be attached to the vehicle's upper radiator
support.
A quantity of labels is provided to each dealer with this bulletin. Additional labels are available through your Area/Distributor Service Office.
CLAIM REIMBURSEMENT AND ENTRY PROCEDURES