
Legacy Outback Wagon F4-2.5L SOHC (2000)
7)
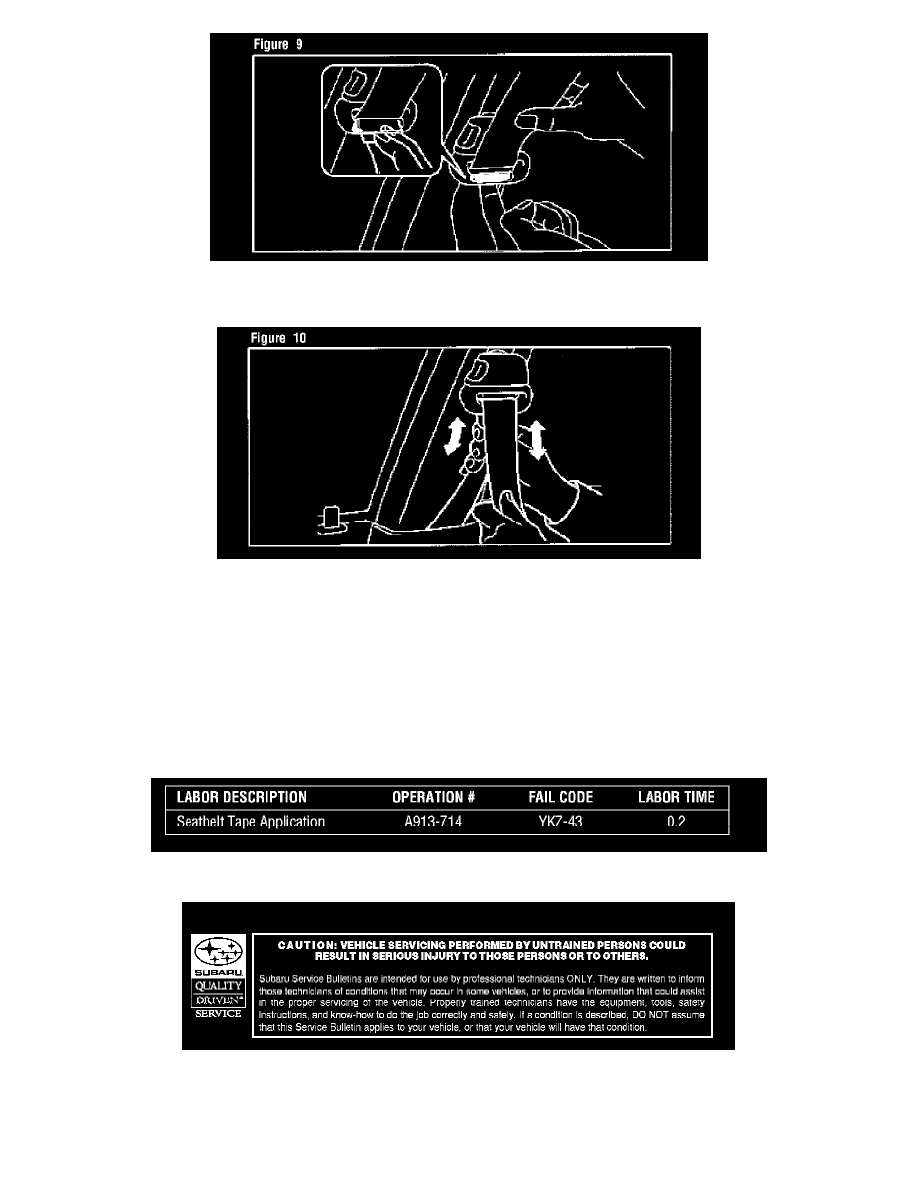
Remove the other tape backing (red or blue) and apply it to the belt guide as indicated previously. Again, make sure there are no creases, waves or
bubbles (see Figure 9).
8)
Remove the binder dip and masking tape that was attached in the first step. Move the belt back and forth as indicated to ensure complete adhesion
of the tape. Make sure that the belt moves freely and retracts properly (see Figure 10).
9)
Repeat this process with the belt guide on the opposite side.
Note:
If the above procedure does not improve the retraction of the seatbelt, the seatbelt itself may be dirty. If that is the case, the belt should be cleaned
using warm water and a neutral detergent. If you should decide to clean the belt prior to performing this procedure, then ensure that the belt and
guide are completely dry before attempting any tape installation.
CLAIM REIMBURSEMENT/WARRANTY INFORMATION
For vehicles within the Basic New Car Warranty period, this repair may be claimed using the table.
Disclaimer