Legacy Outback Wagon F4-2.5L SOHC (2000)

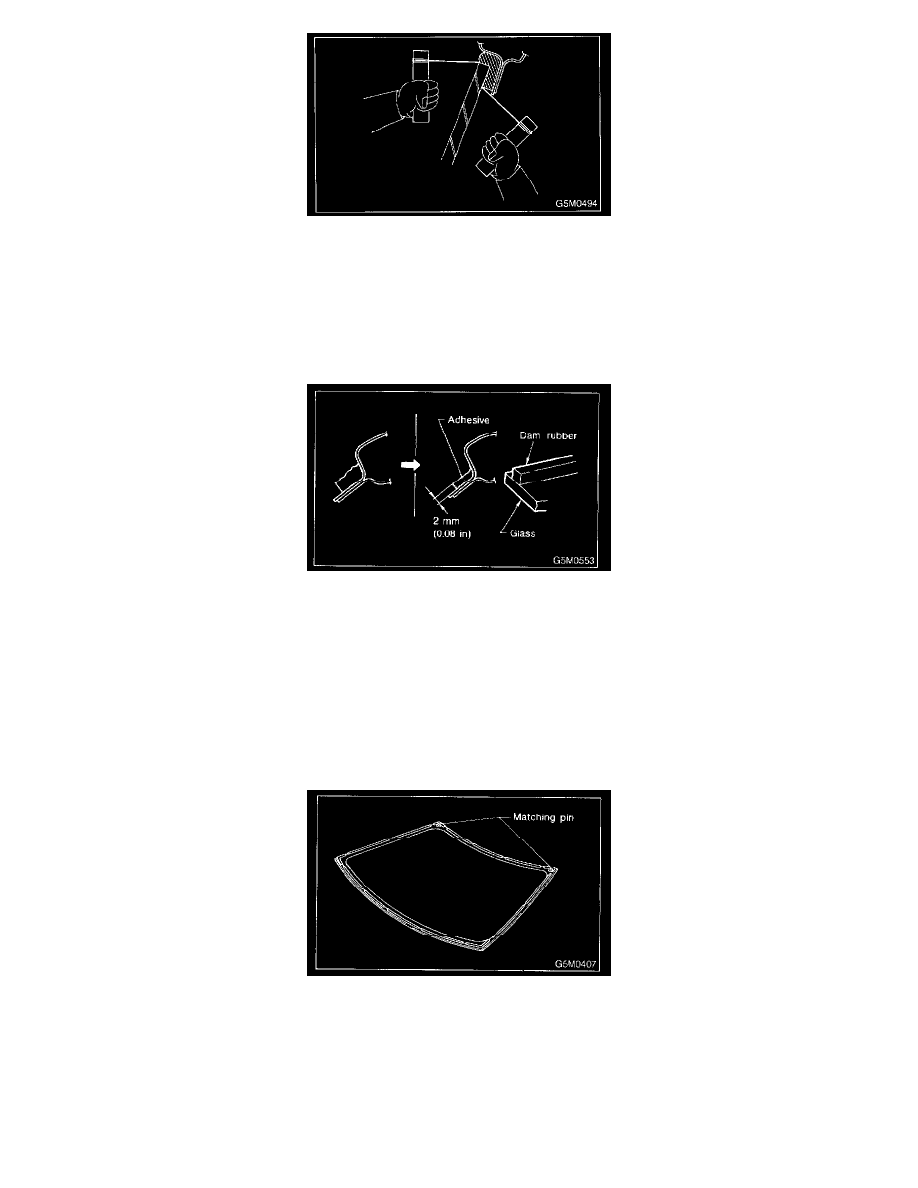
3. Pass piano wire through the hole from inside the compartment, and connect both ends of wire securely to wooden blocks.
4. Cut adhesive layer with the wire by pulling it back and forth.
CAUTION: When making through-hole into adhesive layer and cutting the adhesive, be careful not to damage interior and exterior parts.
Installation
1. After cutting layer of adhesive, remove dam rubber remaining on body.
2. Finishing adhesion surface on body side:
Using a cutter knife etc., cut layer of adhesive sticking firmly to body, and finish it to a smooth surface of about 2 mm (0.08 in) in thickness.
CAUTION: Take extra care not to cause damage to body paint.
3. Cleaning body surface:
1. Thoroughly remove chips, dirt and dust from body surface.
2. Clean body wall surface and upper surface of layer of adhesive with a solvent such as alcohol or white gasoline.
4. Positioning glass:
1. Mount glass on body.
2. Adjust position of glass so that gap between body and glass is uniform on all sides.
3. Put matching pin on body and glass in several places.
5. Cleaning glass:
1. Dismount glass from body.
2. Clean surface of glass to be adhered with alcohol or white gasoline.
