
Legacy Postal Wagon AWD F4-2.2L SOHC (1998)
3. Remove door lock actuator assembly.
4. Installation is in the reverse order of removal.
Rear Gate (WAGON)
1. Remove rear gate trim panel.
2. Disconnect rod from rear gate latch assembly.
3. Disconnect rear gate switch connector and power door lock actuator connector.
4. Remove bolts which secure power door lock actuator.
5. Remove bolts which secure latch.
6. Remove latch and actuator assembly.
7. Installation is in the reverse order of removal.
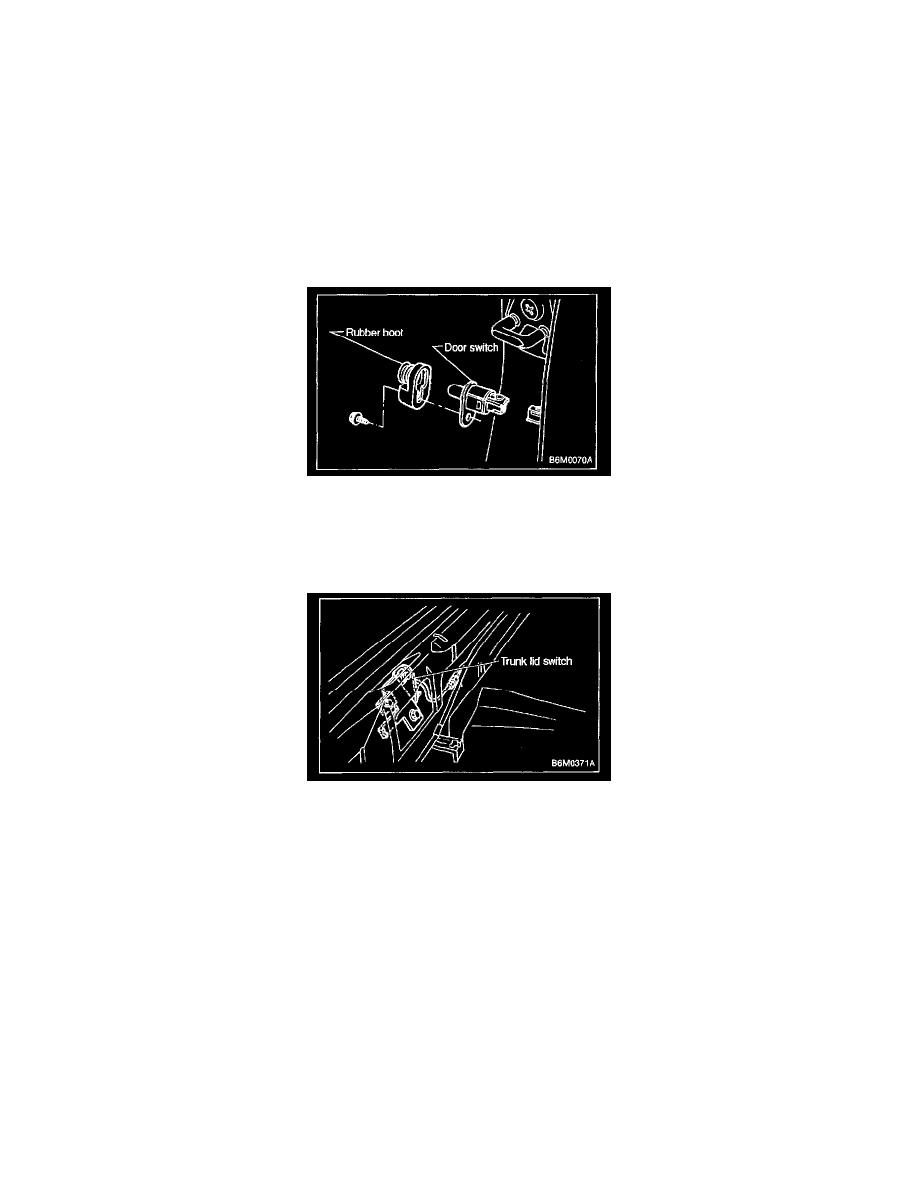
6. DOOR SWITCH
1. Remove rubber boot of door switch.
2. Remove screw which secures door switch to body.
3. Remove door switch while disconnecting connector.
7. TRUNK LID SWITCH (SEDAN)
NOTE: The trunk lid switch is united with the trunk lid lock.
1. Remove trunk rear trim.
2. Disconnect connector of trunk switch (combined with trunk room light switch).
3. Put matching mark on the trunk lid lock and vehicle body before removal.
4. Remove bolts, then remove trunk lid lock from vehicle body.
5. Installation is in the reverse order of removal.
NOTE: Ensure that matching mark is aligned between trunk lid lock and vehicle body.
8. REAR GATE SWITCH (WAGON)