
Legacy Postal Wagon AWD F4-2.2L SOHC (1998)
2. Remove headlight (LH).
3. Remove attaching bolt, and then remove engine hood switch.
4. Installation is in the reverse order of removal.
4. KEY CYLINDER LOCK/UNLOCK SWITCH AND TAMPER SWITCH
NOTE: The key cylinder lock switch, unlock switch and tamper switch are united in the switch body.
Door Switch
1. Remove door trim panel and sealing cover.
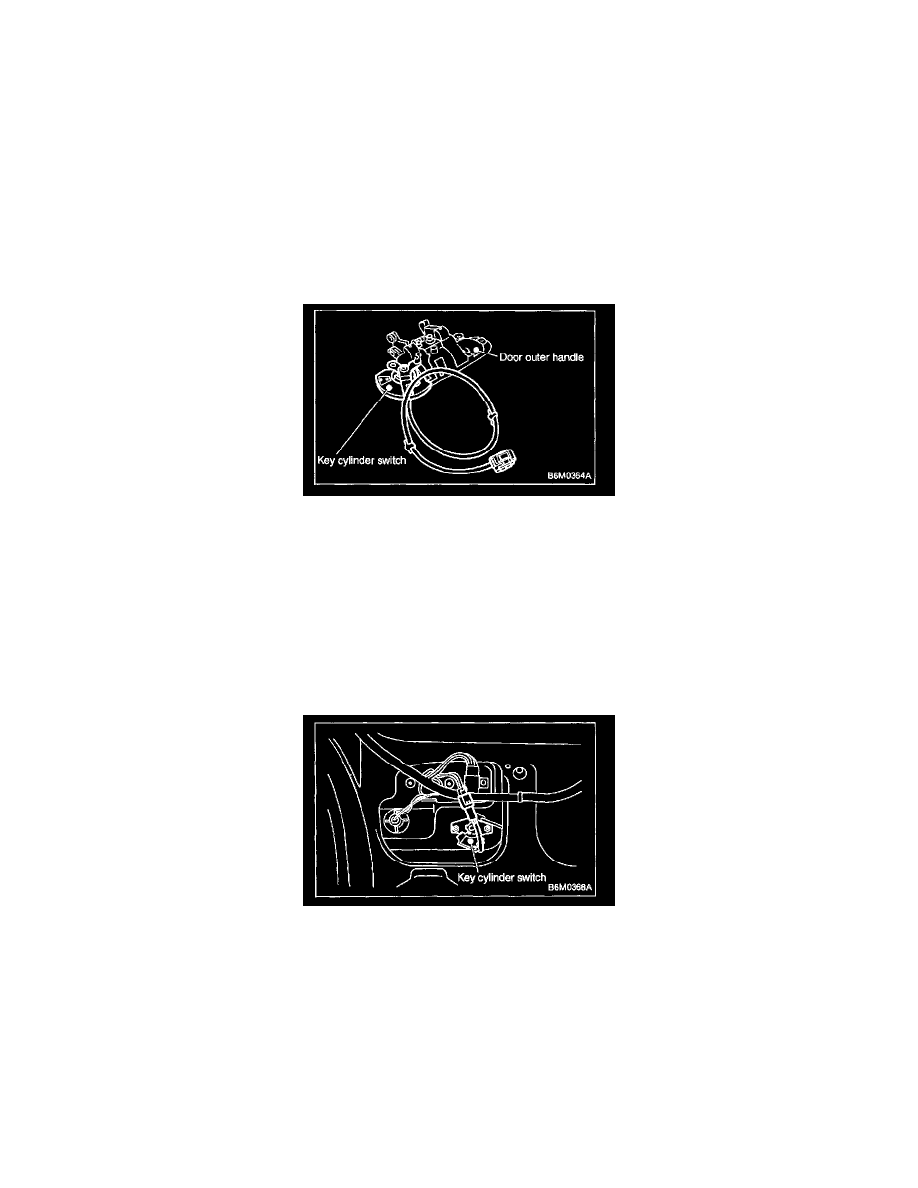
2. Disconnect connector of door key cylinder switch from door cord.
3. Remove door outer handle.
CAUTION: Be careful not to damage the door surface.
4. Remove clip, and then remove door key cylinder switch from door outer handle.
5. Installation is in the reverse order of removal.
Trunk Lid Switch (SEDAN)
1. Disconnect connector of trunk lid key cylinder switch.
2. Disconnect rod from key cylinder.
3. Remove trunk lid key cylinder switch by pushing it.
4. Installation is in the reverse order of removal.
Rear Gate Switch (WAGON)
1. Disconnect connector of rear gate key cylinder switch.
2. Disconnect rod from key cylinder.
3. Remove attaching bolts, and then remove rear gate key cylinder switch.
4. Installation is in the reverse order of removal.
5. DOOR LOCK/UNLOCK SWITCH
NOTE: The door lock/unlock switch is united with the power door lock actuator.
Driver and Passenger Door
1. Remove door trim panel and sealing cover.
2. Disconnect connector of door lock actuator assembly from door code.