Legacy Postal Wagon AWD F4-2.2L SOHC (1998)

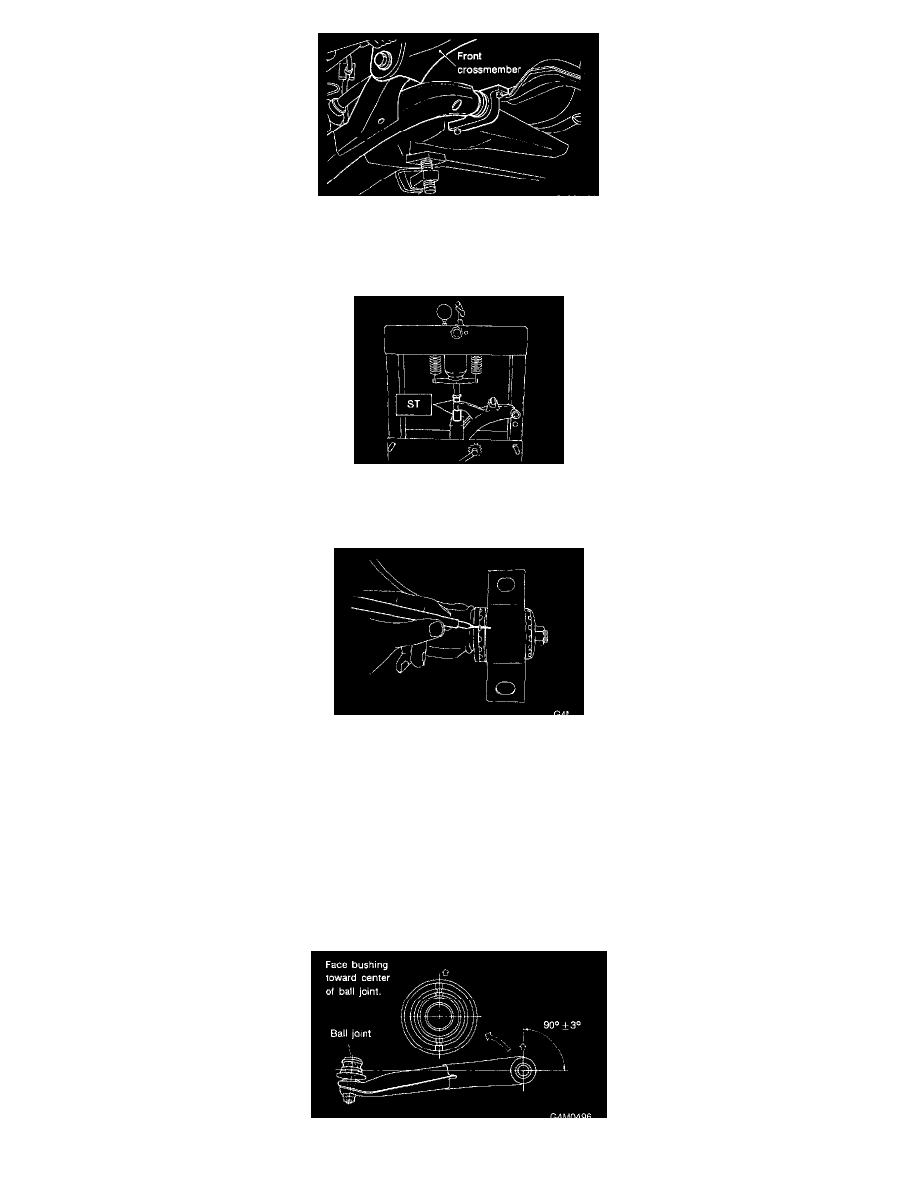
5. Extract ball joint from housing.
6. Remove bolt securing transverse link to crossmember and extract transverse link from crossmember.
B: DISASSEMBLY
1. Front bushing. Using ST, press front bushing out of place.
ST 927680000 Installer & Remover Set
2. Rear bushing:
a. Scribe an aligning mark on transverse link and rear bushing.
b. Loosen nut and remove rear bushing.
C: INSPECTION
1. Check transverse link for wear, damage and cracks, and correct or replace if defective
2. Check bushings for cracks, wear, damage and creeping.
3. Check rear bushing for oil leaks
4. If defective, replace with new one.
D: ASSEMBLY
1. Front bushing: To reassemble, reverse disassembly procedures.
