
Legacy Postal Wagon AWD F4-2.2L SOHC (1998)
Transmission Speed Sensor: Service and Repair
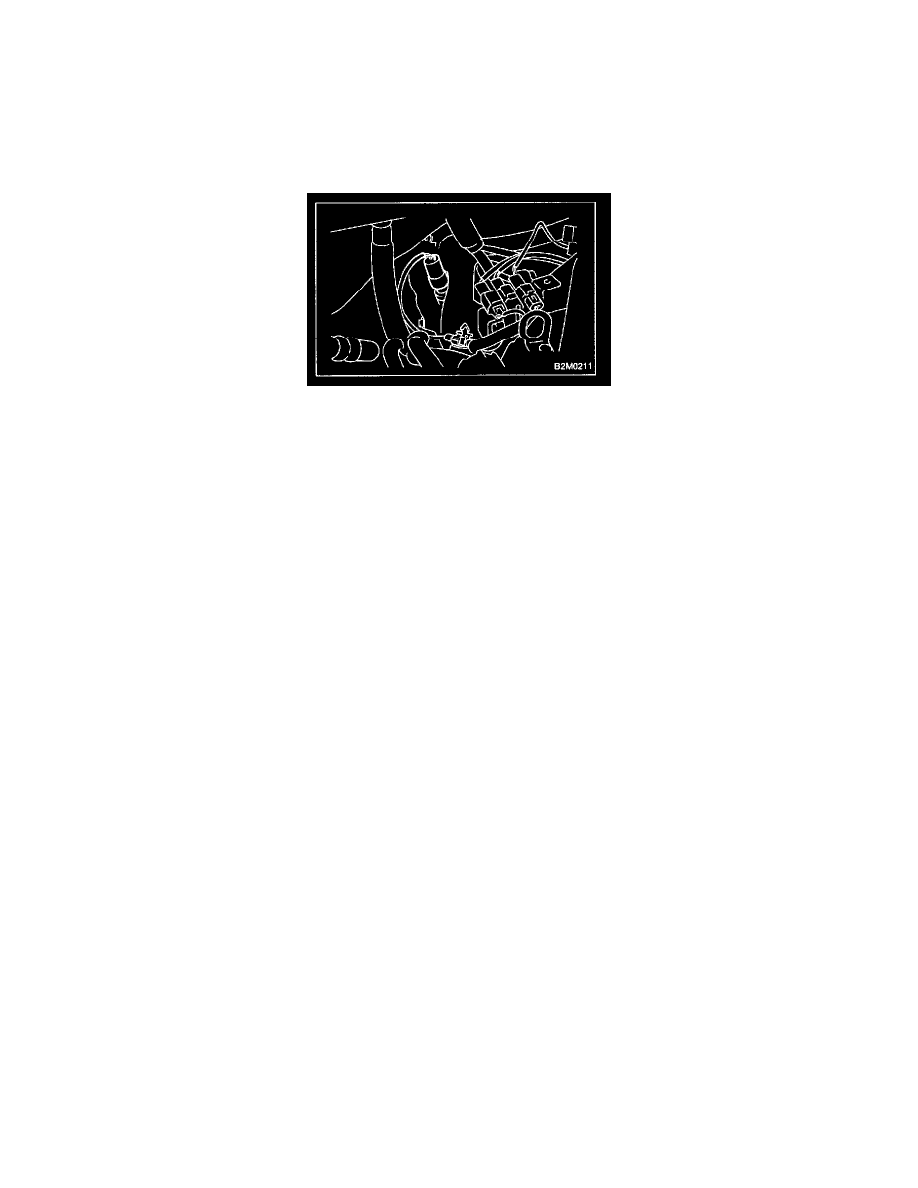
SPEED SENSOR 2
REMOVAL
CAUTION:
-
Be careful when removing vehicle speed sensor 2 immediately after driving vehicle for a while, as temperature around it is high.
-
Before removing vehicle speed sensor 2, clean dirt, etc. from surrounding areas. Take care not to allow foreign matter to get into mounting hole.
1. Remove collector cover.
2. Disconnect vehicle speed sensor 2 connector.
3. Turn and remove vehicle speed sensor 2.
4. Remove key and packing.
INSTALLATION
CAUTION:
-
Ensure sensor mounting hole is clean and free of foreign matter.
-
Apply grease to tip end of key to prevent key from falling off sensor.
-
Align tip end of key with key groove on end of speedometer shaft during installation.
1. Hand tighten vehicle speed sensor 2, then tighten it using suitable tool.
Tightening torque required for sensor to reach bottom of transmission is as follows:
Tightening torque:
0.39 - 0.88 N.m (4.0 - 9.0 kg-cm, 3.5 - 7.8 in-lb)
CAUTION:
-
When torque must be applied that exceeds 0.88 N.m (9.0 kg-cm, 7.8 in-lb), the key and key groove on end of speedometer may not be aligned
properly. Remove the key, align It correctly and reassemble.
-
Sensor threads are secured by Locktite. The reassembly must be completed within 5 minutes before Locktite dries.
2. Tighten vehicle speed sensor 2 further to specified torque.
Tightening torque:
59 ± 1.5 N.m (60 ± 15 kg-cm, 52 ± 13 in-lb)