
Legacy Postal Wagon AWD F4-2.2L SOHC (1998)
NOTE:
-
Be sure to use an empty oil can to catch oil flowing out when removing propeller shaft.
-
Be sure to plug the opening in transmission after removal of propeller shaft.
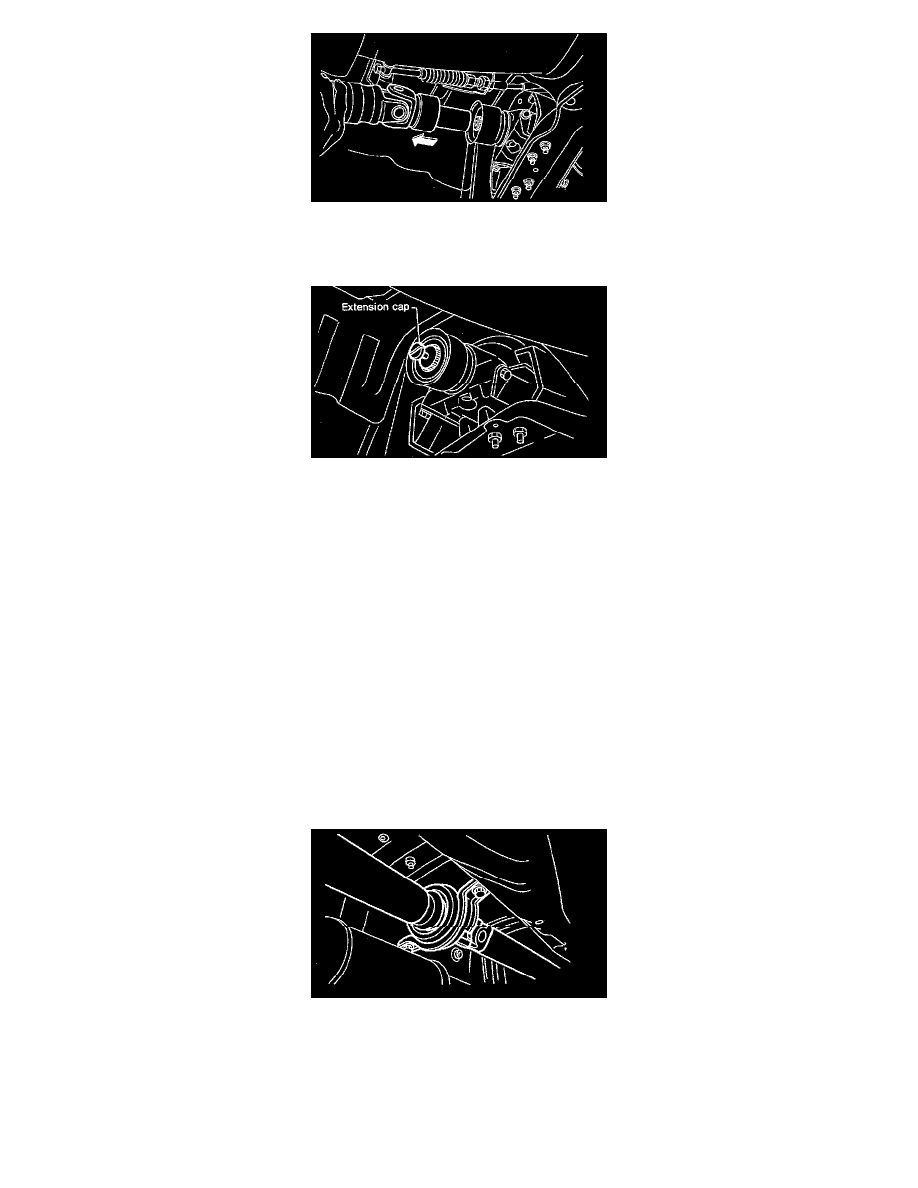
12. Install the extension cap to transmission.
C: DISASSEMBLY AND ASSEMBLY
NOTE: Do not disassemble propeller shaft. It is a single unit.
D: INSPECTION
NOTE: Do not disassemble propeller shaft. Check the following and replace if necessary.
1. Tube surfaces for dents or cracks
2. Splines for deformation or abnormal wear
3. Joints for non-smooth operation or abnormal noise
4. Center bearing for free play, noise or nonsmooth operation
5. Oil seals for abnormal wear or damage
6. Center bearing for breakage or damage to rubber boot
E: INSTALLATION
NOTE: Be careful not to damage rubber boot (installed at DOJ) while installing propeller shaft.
1. Insert sleeve yoke into transmission and attach center bearing to vehicle body.
Tightening torque:
52 ± 5 Nm (5.3 ± 0.5 kg-m, 38.3 ± 3.6 ft. lbs.)