
Outback F4-2.5L (2008)
9) After the inspection, depress the brake pedal and check that it is not abnormally hard, and tightness is normal.
REPLACEMENT
CAUTION:
^
Because the seal of the ABSCM cannot be replaced, do not pull or peel it by lifting it up.
^
Because the screw of the H/U will become slightly worn in every replacement procedure, 5 times is the maximum number of times for
replacement. If a problem is found such as not being able to torque the screw to specifications even before 5 replacement operations are
performed, replace the H/U body.
^
When installing the ABSCM, always use new screws.
^
When the sealing surface of the ABSCM or H/ U is dirty or damaged and it cannot be removed or repaired, replace with a new part.
1) Remove the ABSCM & H/U bracket.
2) To prevent entry of foreign objects and brake fluid leakage, plug the oil pressure port of the ABSCM & H/U using a screw plug, etc.
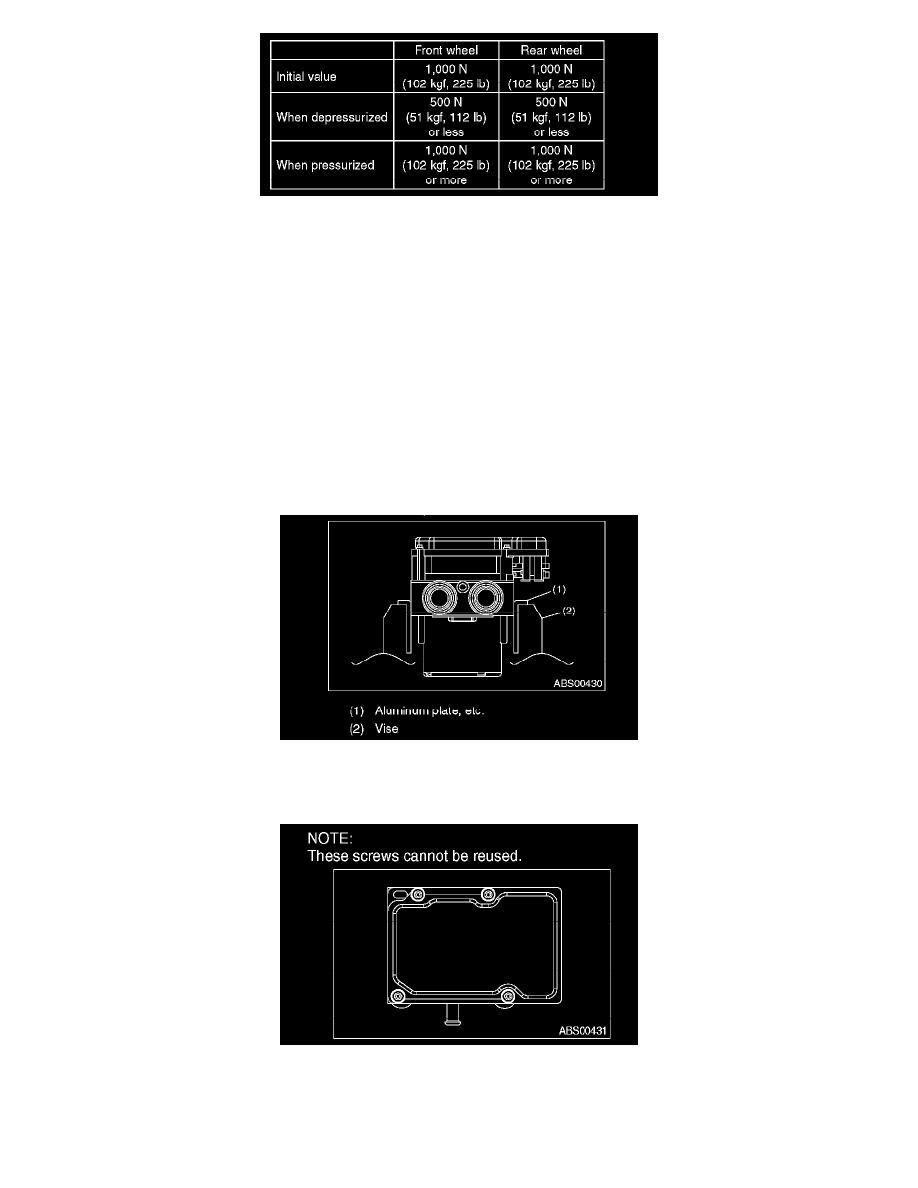
3) Set the pump motor section of the removed ABSCM & H/U face down on a vise.
NOTE: Before securing a part in a vise, place cushioning material such as wood blocks, aluminum plate or cloth between the part and the vise.
4) Using TORX(R) bit E5, remove the four screws of ABSCM.
NOTE: These screws cannot be reused.
5) Slowly pull out the ABSCM upward from the H/U.
NOTE: To prevent damaging of coil section, remove the ABSCM straight up from H/U without twisting.
6) Make sure there is no dirt or damage on the sealing surface of the H/U.