
Outback F4-2.5L (2008)
CAUTION:
-
Do not drop or subject the pretensioner to any impact.
-
Since the pretensioner and bracket are integrated as a unit, do not disassemble them.
2. INNER SEAT BELT ASSEMBLY
1. Turn the ignition switch to OFF, disconnect the battery ground cable, and wait 20 seconds or more.
2. Remove the four bolts in the slide rail LH and RH.
3. Disconnect the seat belt warning light connector under the seat.
4. Remove the harness clips from slide rail.
5. Remove the TORX(R) bolt, and then remove the inner seat belt assembly.
INSTALLATION
1. OUTER SEAT BELT ASSEMBLY
Install in the reverse order of removal.
CAUTION:
-
The parts of driver and passenger's sides are not the same. Before installation, make sure that the correct part is used.
-
Be careful not to twist the seat belts during installation.
FRONT SEAT BELT
Tightening torque: N.m (kgf-m, ft-lb)
T1: 7.5 (0.76, 5.5)
T2: 30 (3.1, 22)
T3: 38 (3.9, 28)
T4: 53 (5.4, 39)
2. INNER SEAT BELT ASSEMBLY
Install in the reverse order of removal.
CAUTION:
-
After the passenger's inner seat belt assembly installation, check that the seat belt buckle switch operates normally using the Subaru
Select Monitor in {Status Data} of "Airbag System". Improper buckle switch operation may cause airbag system malfunction.
-
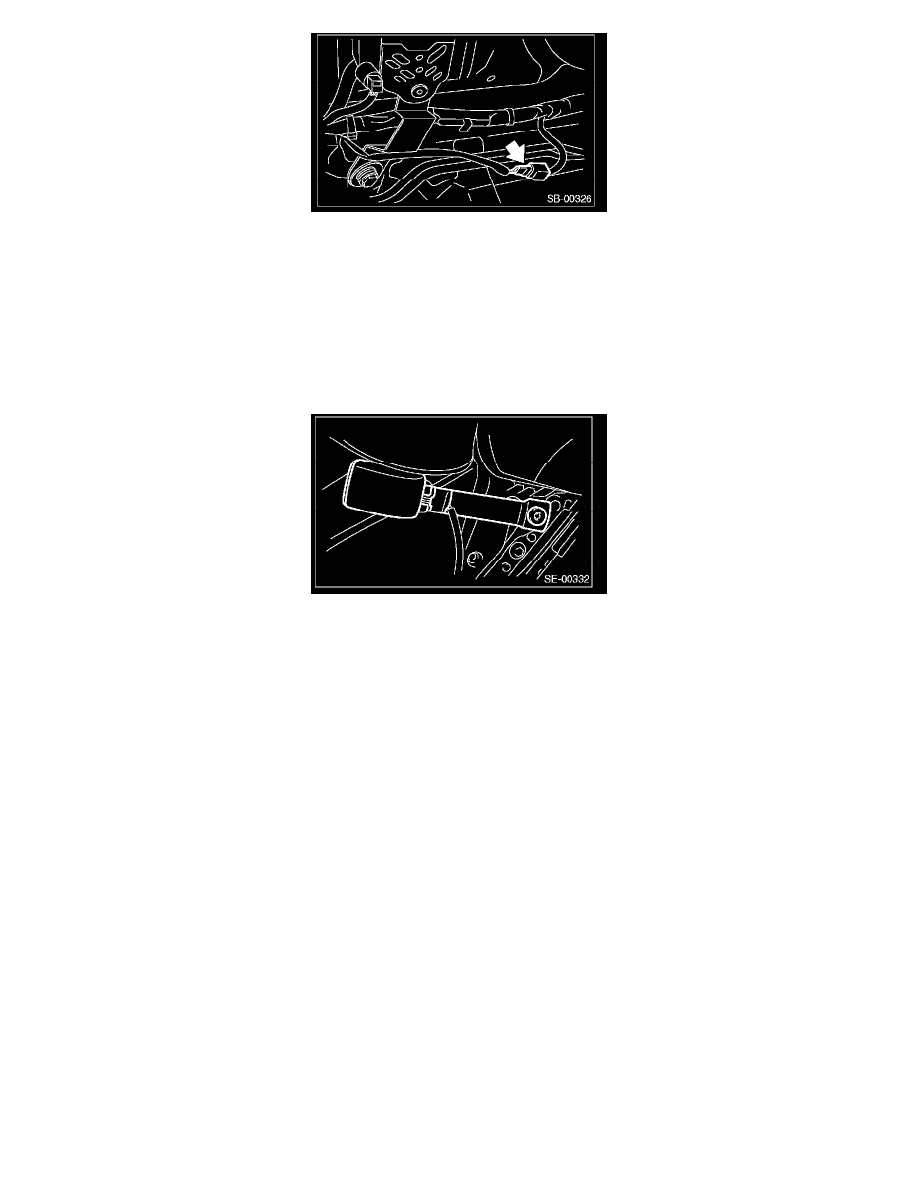
Inner seat belt assembly harness (1) must be routed securely as shown in the figure, as it can affect the performance of the occupant
detection system.
-
Driver's seat