
Outback F4-2.5L (2008)
INSTALLATION
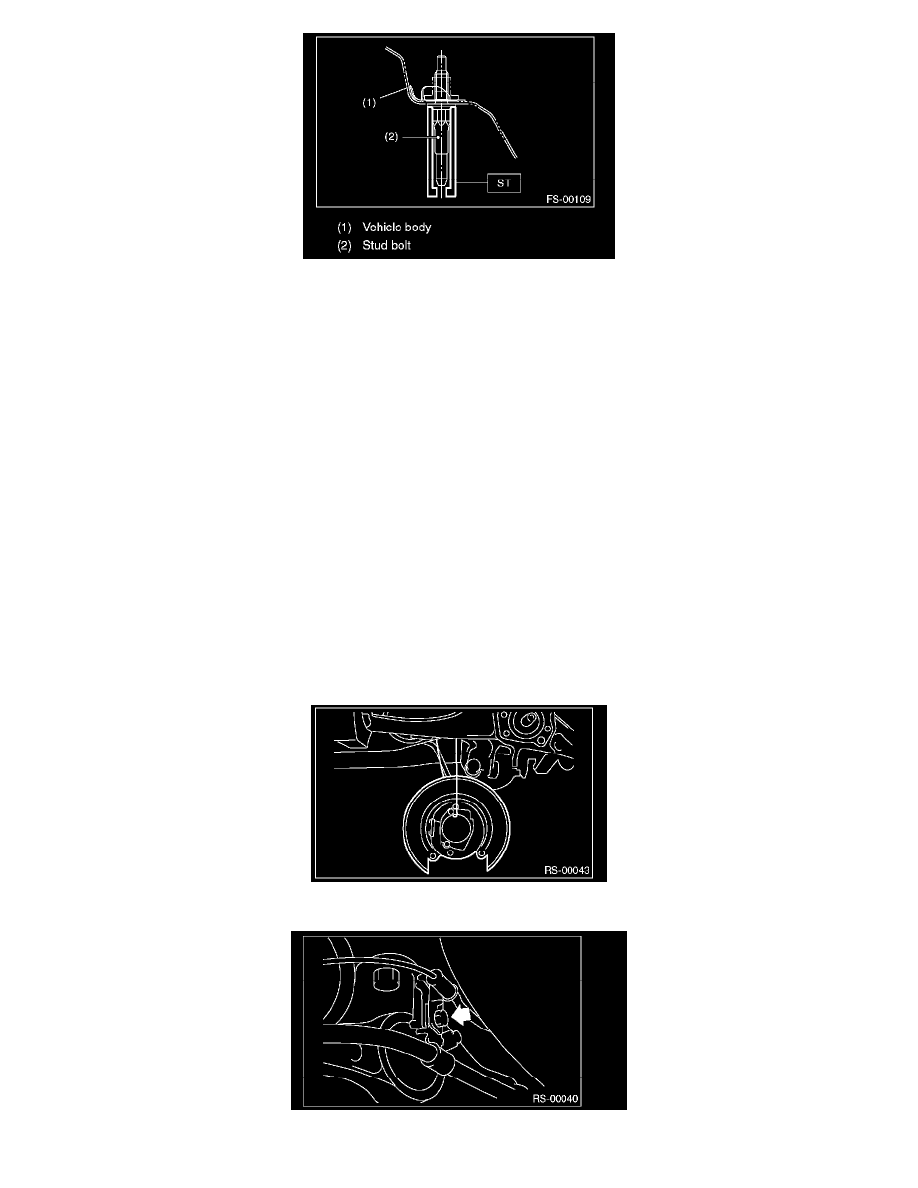
1) Using the ST, install the stud bolt.
ST 20299AG020 STUD BOLT SOCKET
Tightening torque: 110 N-m (11.2 kgf-m, 81.1 ft-lb)
2) Using new bolts and self-locking nuts, temporarily tighten the front arm to crossmember.
3) Secure the front arm to body, and then install the support plate with new bolts and self-locking nuts.
Tightening torque:
Support plate to Front arm: 88 N-m (9.0 kgf-m, 64.9 ft-lb)
Support plate to Body: 150 N-m (15.3 kgf-m, 110.6 ft-lb)
4) Install the ball joint into housing.
Tightening torque: 50 N-m (5.1 kgf-m, 36.9 ft-lb)
5) Install the stabilizer.
6) Lower the vehicle from lift, and tighten the bolt which secures the front arm to crossmember with wheels in full contact with the ground and the
vehicle at curb weight.
Tightening torque: 95 N-m (9.7 kgf-m, 70.1 ft-lb)
7) Inspect the wheel alignment and adjust if necessary.
Rear Arm
Rear Arm
REMOVAL
1) Lift up the vehicle, and then remove the rear wheels.
2) Remove the sub frame support arm.
3) Remove the bearing unit.
4) Hang the back plate from sub frame.
5) Remove the bolt which secures the parking brake cable clamp to the rear arm bracket.
6) Remove the bolt which holds the brake hose bracket and ABS wheel speed sensor bracket to the rear arm.