
Outback F4-2.5L DOHC Turbo (2006)
Brake Caliper: Service and Repair
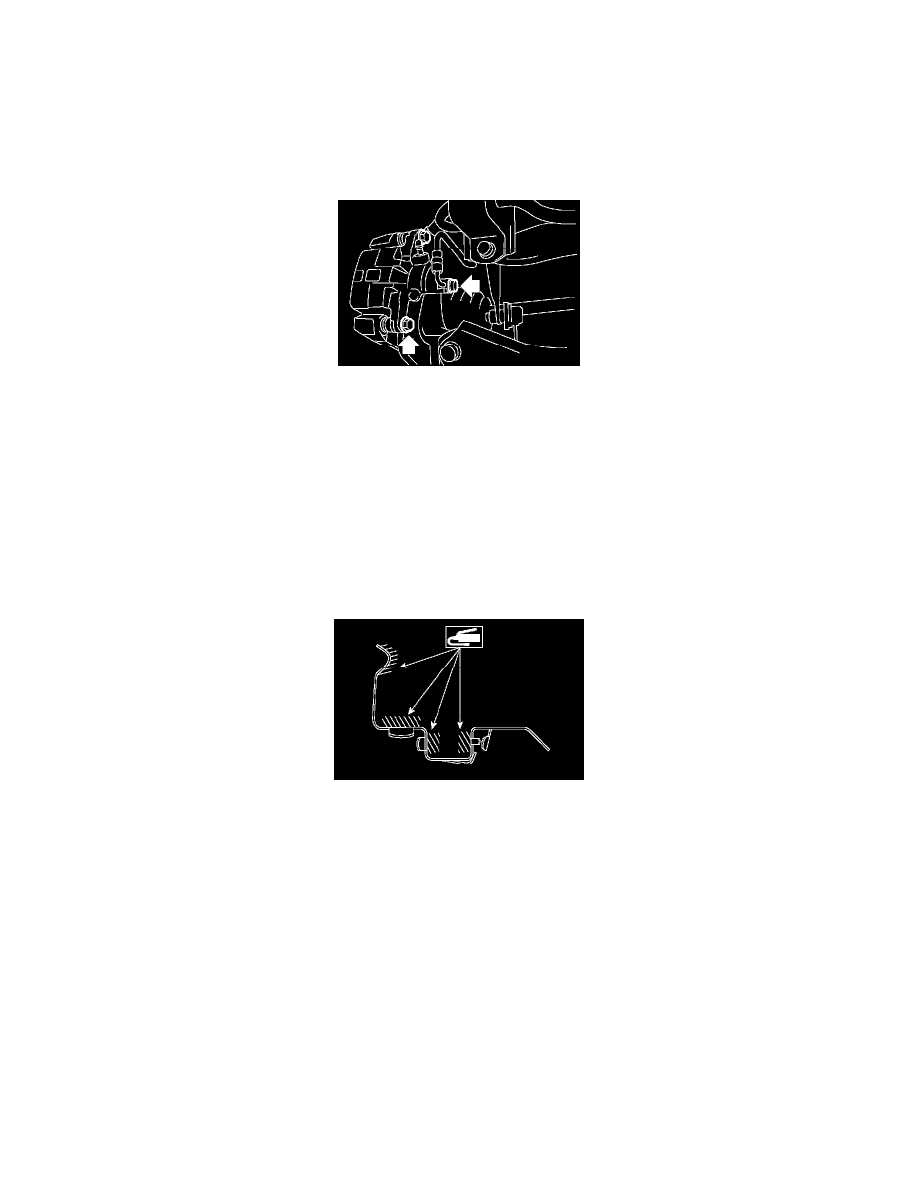
Rear
REMOVAL
CAUTION: Do not allow brake fluid to come in contact with vehicle body; wash away with water and wipe off completely if spilled.
1. Lift-up the vehicle, and then remove the rear wheels.
2. Disconnect the brake hose from caliper body assembly.
3. Remove the caliper lower bolts.
4. Raise the caliper body, and then move it toward vehicle center to separate it from the support.
5. Remove the support from housing.
NOTE: Remove the support only when replacing itself or rotor. It need not be removed when servicing the caliper body assembly.
6. Clean mud and foreign particles from the caliper body assembly and the support.
CAUTION: Be careful not to allow foreign particles to enter the brake hose connector.
INSTALLATION
1. Install the support on housing.
Tightening torque: 66 Nm (6.7 kgf-m, 48.7 ft. lbs.)
2. Apply a thin coat of Molykote M7439 to pad clip.
3. Apply a thin coat of Molykote AS880N (Part No. K0777YA010) to the frictional portion between pad and shim.
4. Install the pad on support.
5. Install the caliper body on support.
Tightening torque: Solid disc brake model 27 Nm (2.8 kgf-m, 19.9 ft. lbs.)
Ventilated disc brake model 37 Nm (3.7 kgf-m, 27.2 ft. lbs.)
6. Connect the brake hose using new brake hose gaskets.
Tightening torque: 18 Nm (1.8 kgf-m, 13.0 ft. lbs.)
7. Bleed air from the brake system.
DISASSEMBLY