
Outback F4-2.5L DOHC Turbo (2006)
5. Using new self-locking nuts, tighten the bolt and nut which secure the shock absorber.
Tightening torque: 160 Nm (16.3 kgf-cm, 118 ft. lbs.)
6. Install the luggage floor mat. (Wagon model)
7. Set the trunk side trim. (Sedan model)
NOTE: Check the wheel alignment and adjust it if necessary.
DISASSEMBLY
Refer to Front Strut for disassembly procedures.
ASSEMBLY
Refer to Front Strut for installation procedures.
INSPECTION
Refer to Front Strut for inspection procedures.
DISPOSAL
CAUTION:
^
Before handling shock absorbers, be sure to wear goggles to protect eyes from gas, oil and cutting powder.
^
Do not disassemble the shock absorber or place it into a fire.
^
Drill a hole into shock absorbers in case of discarding shock absorbers filled with gas.
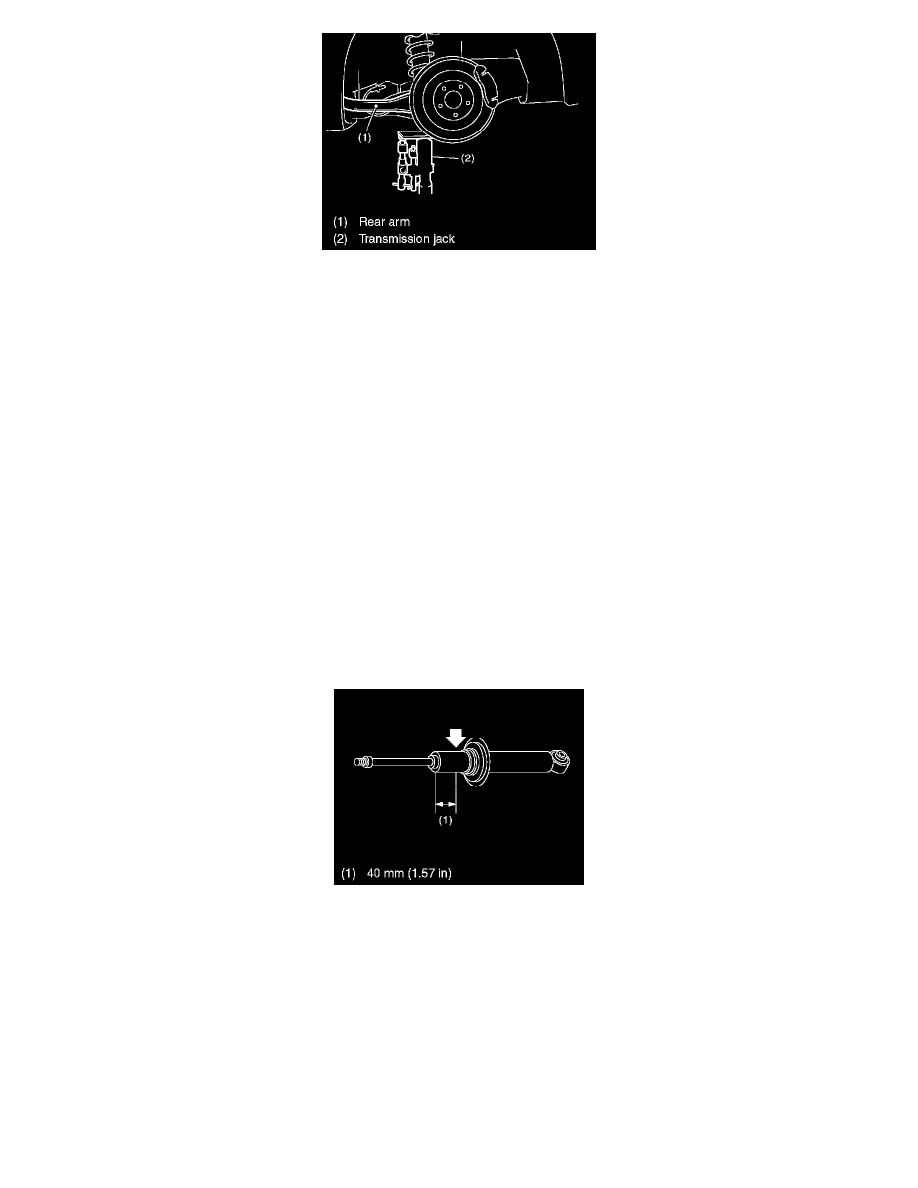
1. Place the shock absorber on a level surface with the piston rod fully expanded.
2. Make a hole into the specified position 30 mm (1.1 8 inch) deep using a drill with 2 to 3 mm (0.08 to 0.12 inch) diameter.