
Outback F4-2.5L DOHC Turbo (2006)
ASSEMBLY
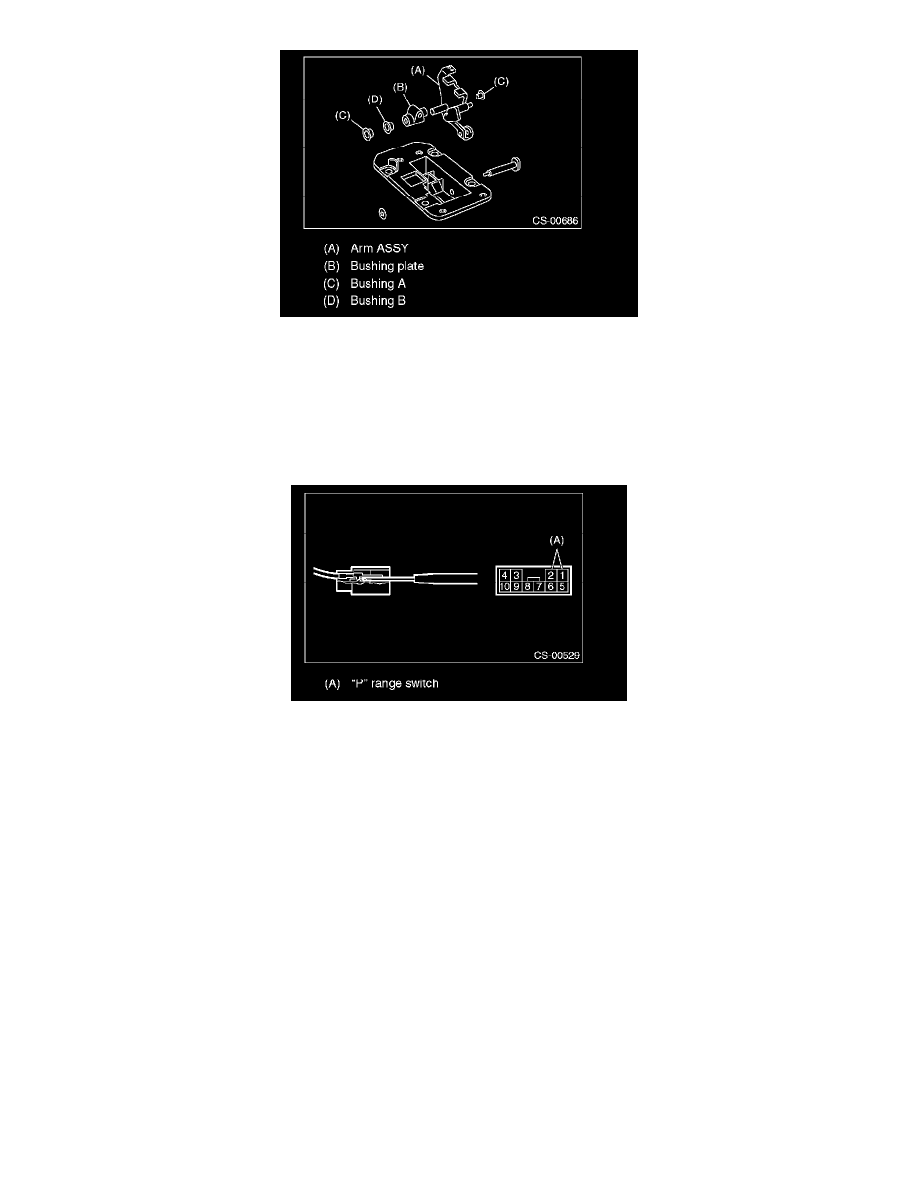
1. Clean all the parts before assembly.
2. Apply grease [Multemp AC-D or equivalent] to each part.
3. Assemble in the reverse order of disassembly.
NOTE:
^
Refer to "COMPONENT" for each tightening torque.
^
Connect the switch terminal to the connector.
4. After completing installation, shift the select lever from "P" range to "D" range, then check whether the indicator and select lever matches, whether
the pointer and position mark matches and what the operating force is.
INSPECTION
1. Inspect the removed parts by comparing with new parts for deformation, damage and wear. Re- pair or replace if defective.
2. Confirm the select lever operating condition before assembly. Normal if it operates smoothly.