
Outback F4-2.5L DOHC Turbo (2006)
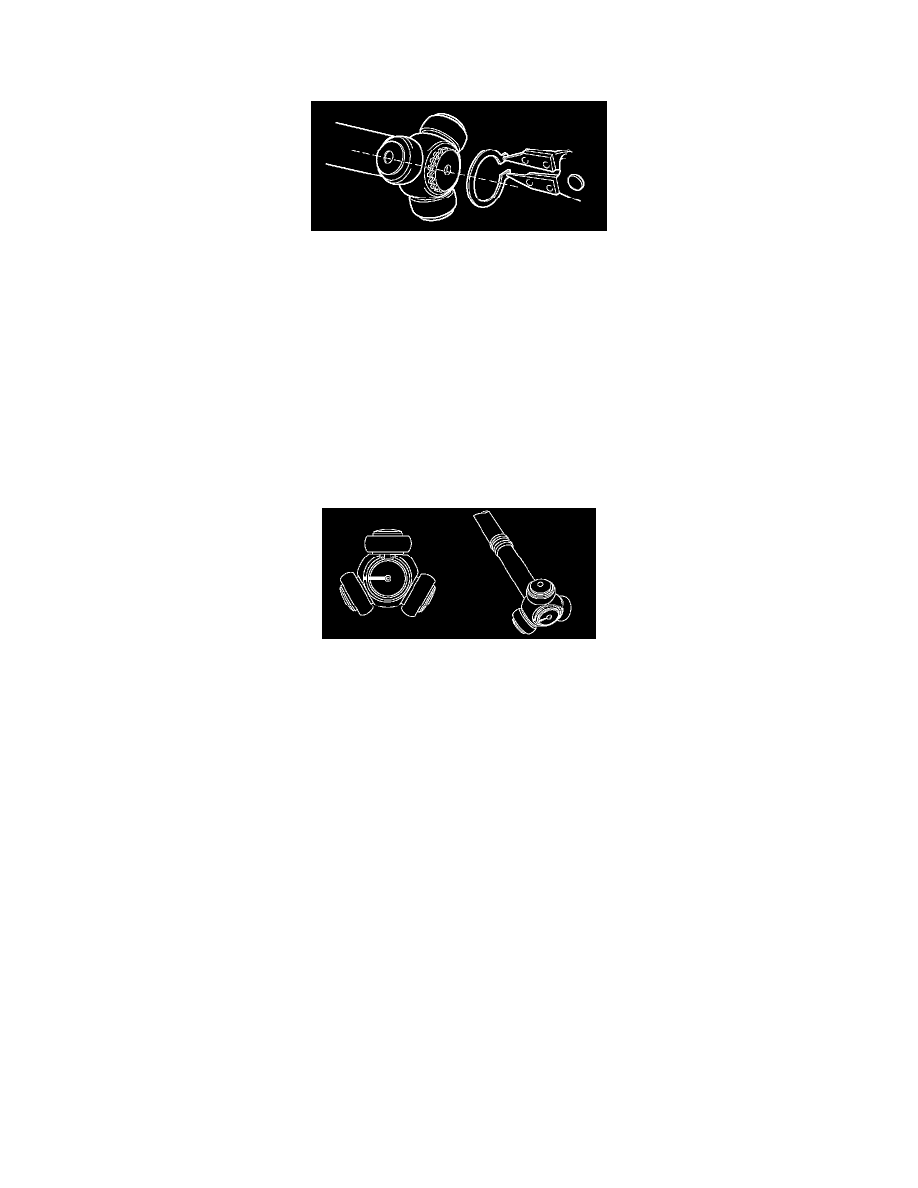
8. Place alignment marks on the trunnion and shaft.
9. Remove the snap ring and trunnion.
CAUTION: Be sure to wrap shaft splines with vinyl tape to protect the boot from scratches.
10. Remove the PTJ boot.
NOTE: The BJ is a non-disassembly part, so the axle disassembly stops here.
Front Drive Shaft Assembly
ASSEMBLY
NOTE: Use specified grease.
PTJ side: NKG302 (Part No. 28395AG02A)
1. Place the PTJ boot at the center of shaft.
2. Align alignment marks and install the trunnion on the shaft.
3. Install the snap ring to shaft.
CAUTION: Confirm that the snap ring is completely fitted in shaft groove.
4. Fill 100 to 110 g (3.53 to 3.88 oz) of specified grease into the interior of PTJ outer race.
5. Apply a thin coat of specified grease to the roller kit and trunnion.
6. Align alignment marks on roller kit and trunnion and install the roller kit.
CAUTION: Be careful with the roller kit position.