Outback F4-2.5L DOHC Turbo (2006)

ST 925091000 BAND TIGHTENING TOOL
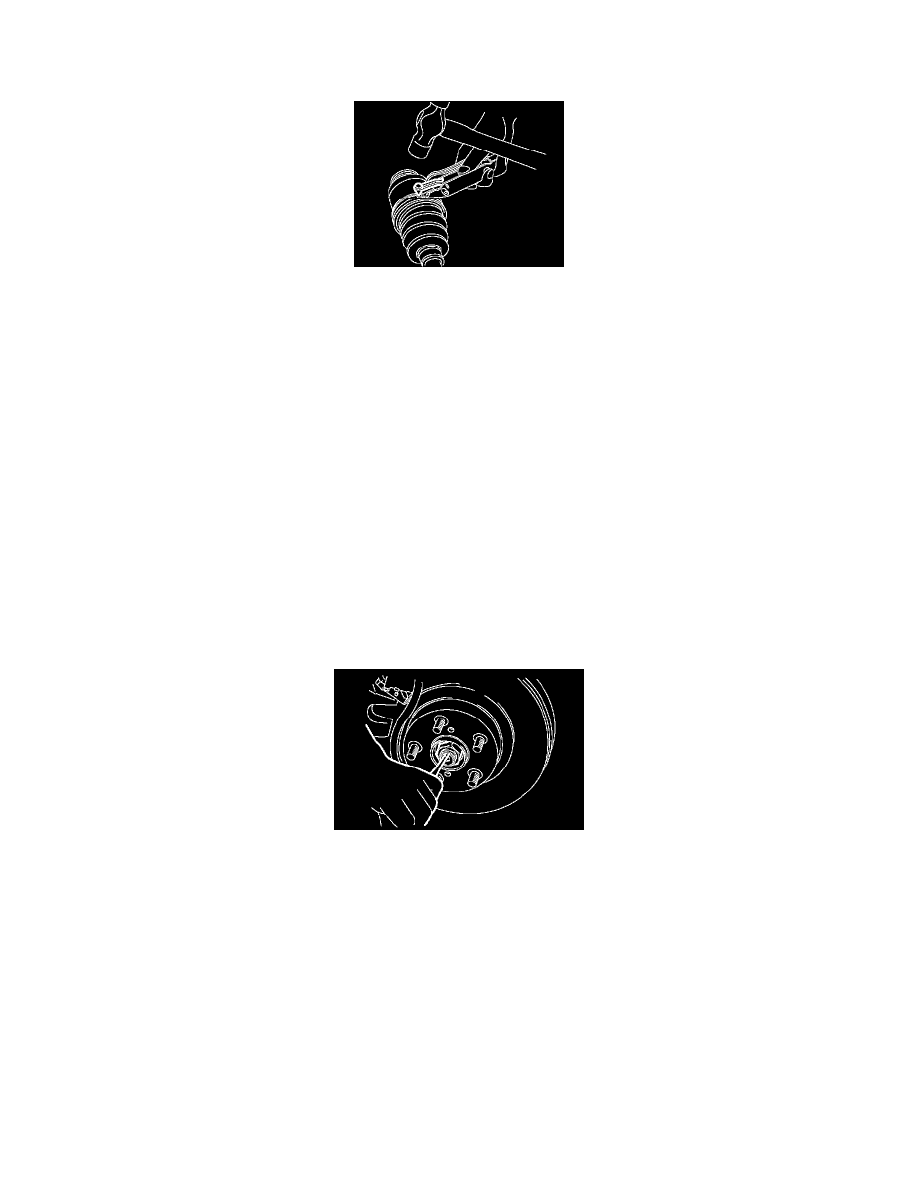
CAUTION: Tap to an extent that the boot underneath is not damaged.
15. Cut off the band with an allowance of about 10 mm (0.39 inch) left from the clip and bend this allowance over the clip.
CAUTION: Make sure that the end of the band is in close contact with clip.
16. Extend and retract the PTJ to provide equal grease coating.
Front Drive Shaft Inspection
INSPECTION
Check the removed parts for damage, wear, corrosion etc. If faulty, repair or replace.
^
PTJ (pillow tripod joint) Check for seizure, corrosion, damage, wear and excessive play.
^
EBJ (high-efficiency compact ball fixed joint) Check for seizure, corrosion, damage and excessive play.
^
Shaft Check for excessive bending, twisting, damage and wear.
^
Boot Check for wear, warping, breakage and scratches.
^
Grease Check for discoloration and fluidity.
Rear Drive Shaft Removal
Rear Drive Shaft
REMOVAL
1. Disconnect the ground cable from battery.
2. Lift-up the vehicle, and then remove the rear wheels.
3. Lift the crimped section of axle nut.
4. While applying the parking brake, remove the axle nut using a socket wrench.
CAUTION: Remove the wheel before loosening the axle nut. Failure to follow this rule may damage the wheel bearings.
5. Remove the rear differential assembly.
6. Remove the axle nut and rear drive shaft. If it is hard to remove, use ST1 and ST2.
ST1 926470000 AXLE SHAFT PULLER
ST2 927140000 AXLE SHAFT PULLER PLATE
CAUTION:
^
Do not hammer drive shaft when removing.
^
Do not damage the oil seal and magnetic encoder.
