Outback F4-2.5L DOHC Turbo (2006)

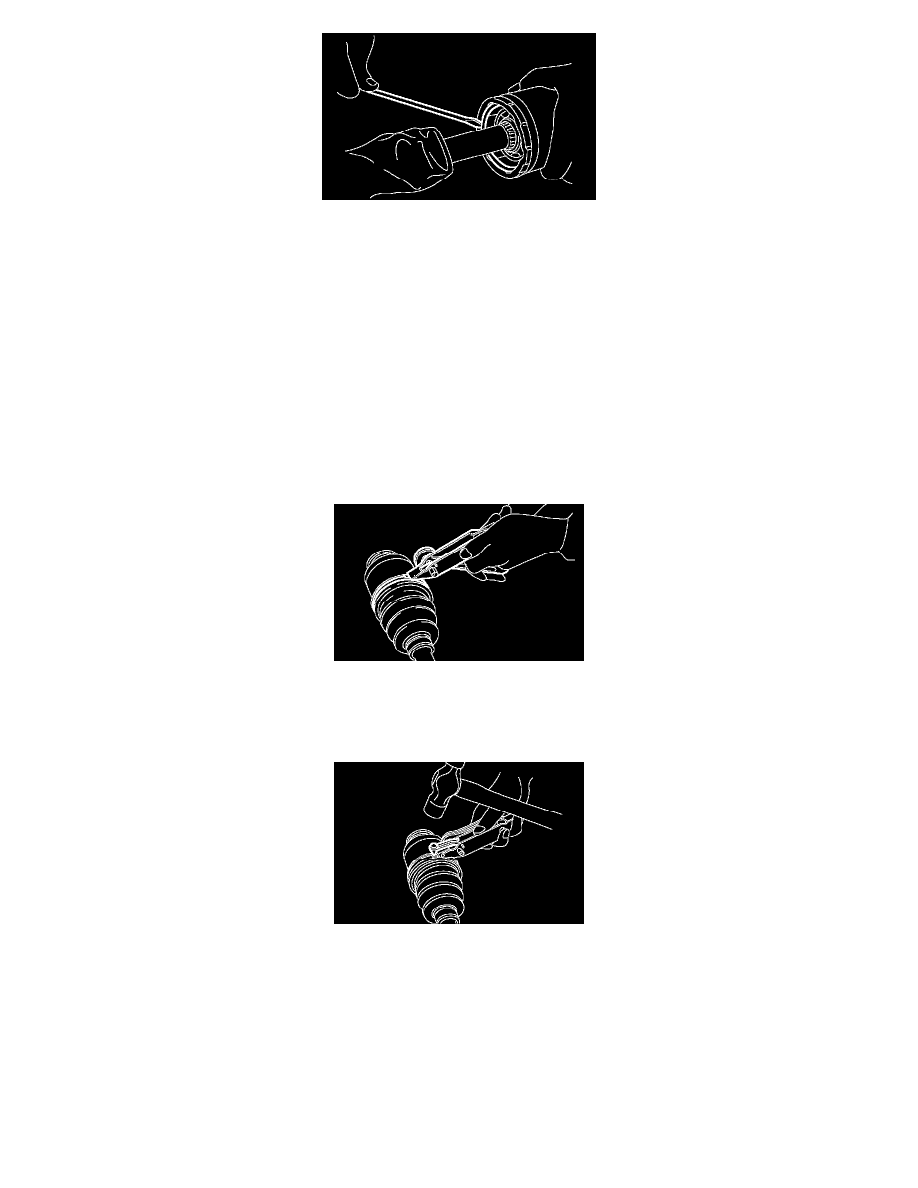
11. Apply an even coat of the specified grease [20 to 30 g (0.71 to 1.06 oz)] to the entire inner surface of boot. Also apply grease to the shaft.
12. Install the DOJ boot taking care not to twist it.
NOTE:
^
The inside of the larger end of DOJ boot and the boot groove shall be cleaned so as to be free from grease and other substances.
^
When installing the DOJ boot, position the outer race of DOJ at center of the stroke.
13. Put a new band through the clip and wind twice in the band groove of the boot.
14. Pinch the end of band with pliers. Hold the clip and tighten securely.
NOTE: When tightening boot, use care so that the air within the boot is appropriate.
15. Tighten the band using the ST.
ST 925091000 BAND TIGHTENING TOOL
NOTE: Tighten the band until it cannot be moved by hand.
16. Tap the clip with the punch provided at the end of the ST.
ST 925091000 BAND TIGHTENING TOOL
NOTE: Tap to an extent that the boot underneath is not damaged.
17. Cut off the band with an allowance of about 10 mm (0.39 inch) left from the clip and bend this allowance over the clip.
NOTE: Be careful so that the end of the band is in close contact with clip.
18. Install the BJ boot or EBJ boot in the same procedure as a DOJ boot.
19. Extend and retract the DOJ repeatedly to provide an equal coating of grease.
Rear Drive Shaft Inspection
INSPECTION
Check the removed parts for damage, wear, corrosion etc. Repair or replace if defective.
^
DOJ (Double Offset Joint)
Check for seizure, corrosion, damage, wear and excessive play.
