
Outback F6-3.0L DOHC (2006)
3. Fit one end of vinyl tube into the air bleeder and put the other end into a brake fluid container.
4. Several times depress the brake pedal and keep it.
5. Loosen the air bleeder screws to discharge the brake fluid. With the air bleeder tightened quickly, release the brake pedal.
6. Repeat the steps 4 and 5 until there are no more air bubbles in the vinyl tube.
7. Repeat the steps above from 2 to 6 in order to bleed each wheel.
NOTE: Perform the operation in order from the closest wheel cylinder to the master cylinder.
8. Tighten the air bleeder screws securely.
Tightening torque: 8 Nm (0.8 kgf-m, 5.8 ft. lbs.)
9. Inspect that there is no brake fluid leak evident in the entire system.
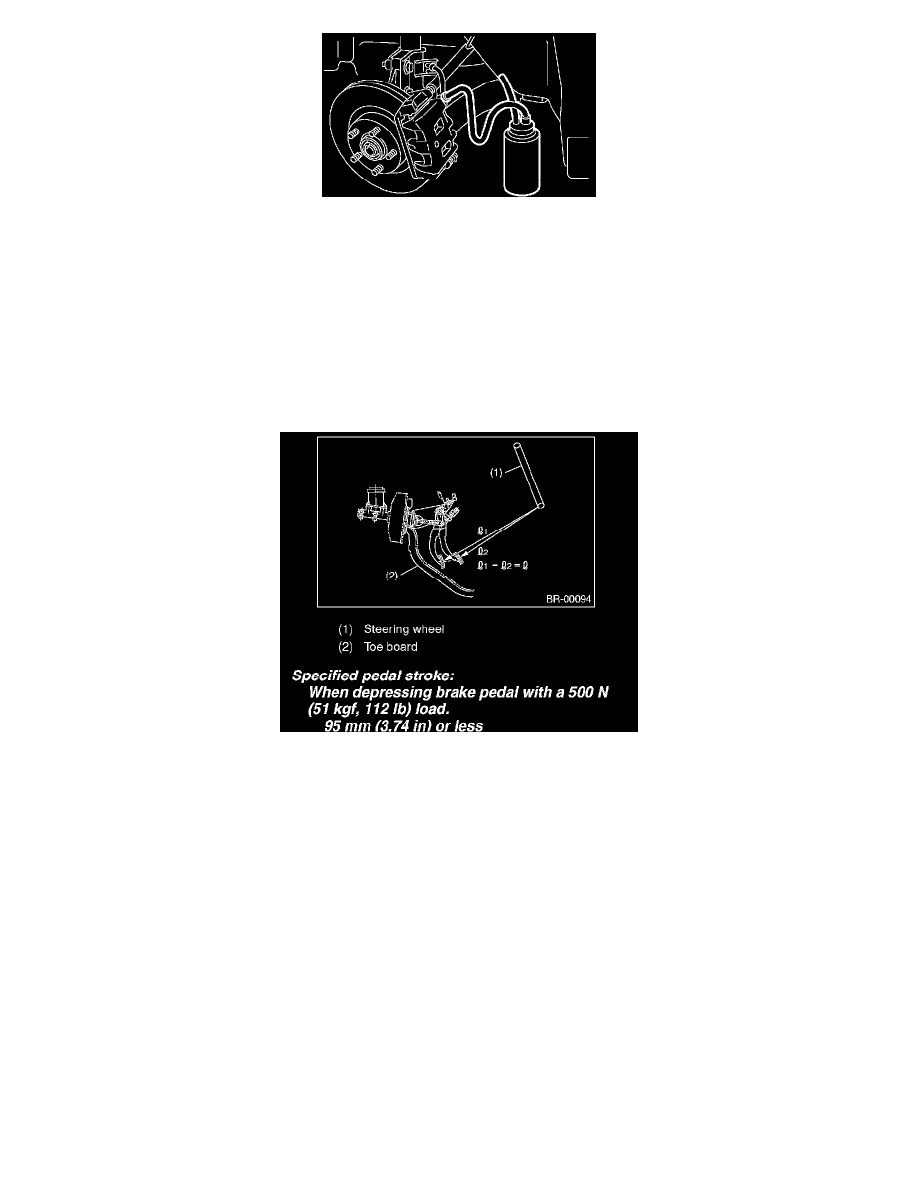
10. Check the pedal stroke.
While the engine is idling after warming up, depress the brake pedal with a 500 N (51 kgf, 112 lbs.) load and measure the distance between brake
pedal and steering wheel. With the brake pedal released, measure the distance between pedal and steering wheel again.
11. If it is more than specified, there is a possibility that air is in the brake line. Bleed the brake line until pedal stroke meets the specification.
12. Operate the hydraulic control unit in the sequence control mode.
13. Recheck the pedal stroke.
14. If it is more than specified, there is a possibility that air is in the inside of the hydraulic unit. Repeat above steps 2 to 9 until pedal stroke meets the
specification.
15. Add brake fluid to the required level ("MAX" level) of reservoir tank.
16. Test run the vehicle and ensure that brakes provide normal braking action.