
Outback F6-3.0L DOHC (2006)
6. Remove the bolt which secure the rear link to sub frame, and then remove the rear link.
CAUTION: Loosen the nut with the bolt head secured when loosening the adjusting bolt.
INSTALLATION
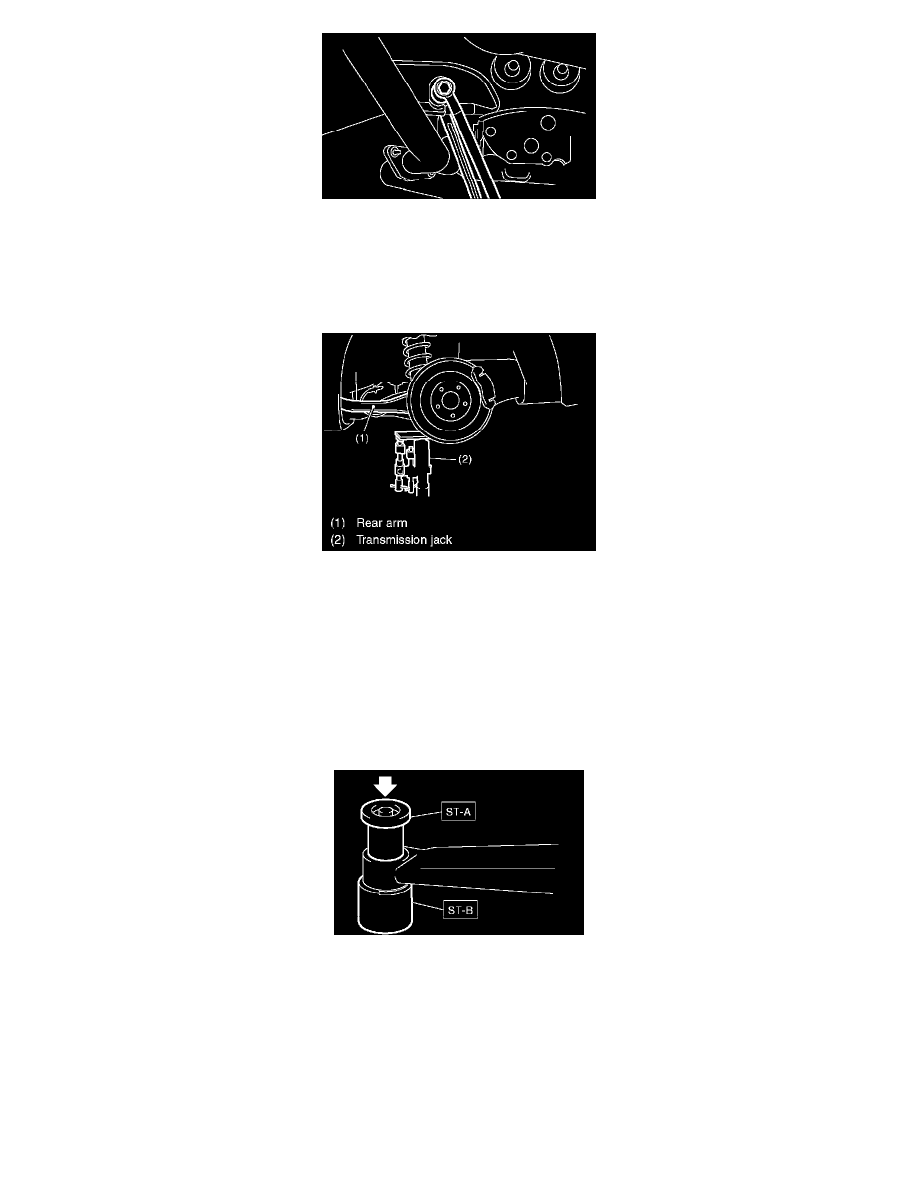
1. Using a transmission jack, support the rear arm horizontally.
2. Using new self-locking nuts, install the rear link.
NOTE:
^
Tighten the self-locking nut with the bolt head secured when installing the adjusting bolt.
^
Inspect the wheel alignment and adjust it if necessary.
Tightening torque:
Rear link to Sub frame 120 Nm (12.2 kgf-cm, 89 ft. lbs.)
Rear link to Rear arm 120 Nm (12.2 kgf-cm, 89 ft. lbs.)
DISASSEMBLY
Using the STA and STB. press the bushing out of place.
STA 20099AE000 INSTALLER & REMOVER
STB 20099AE000 INSTALLER & REMOVER
ASSEMBLY