
Outback F6-3.0L DOHC (2006)
Stabilizer Bar: Service and Repair
Front Suspension
Front Stabilizer
REMOVAL
1. Lift-up the vehicle, and then remove the front wheels.
2. Remove the front under cover.
3. Remove the front crossmember support plate.
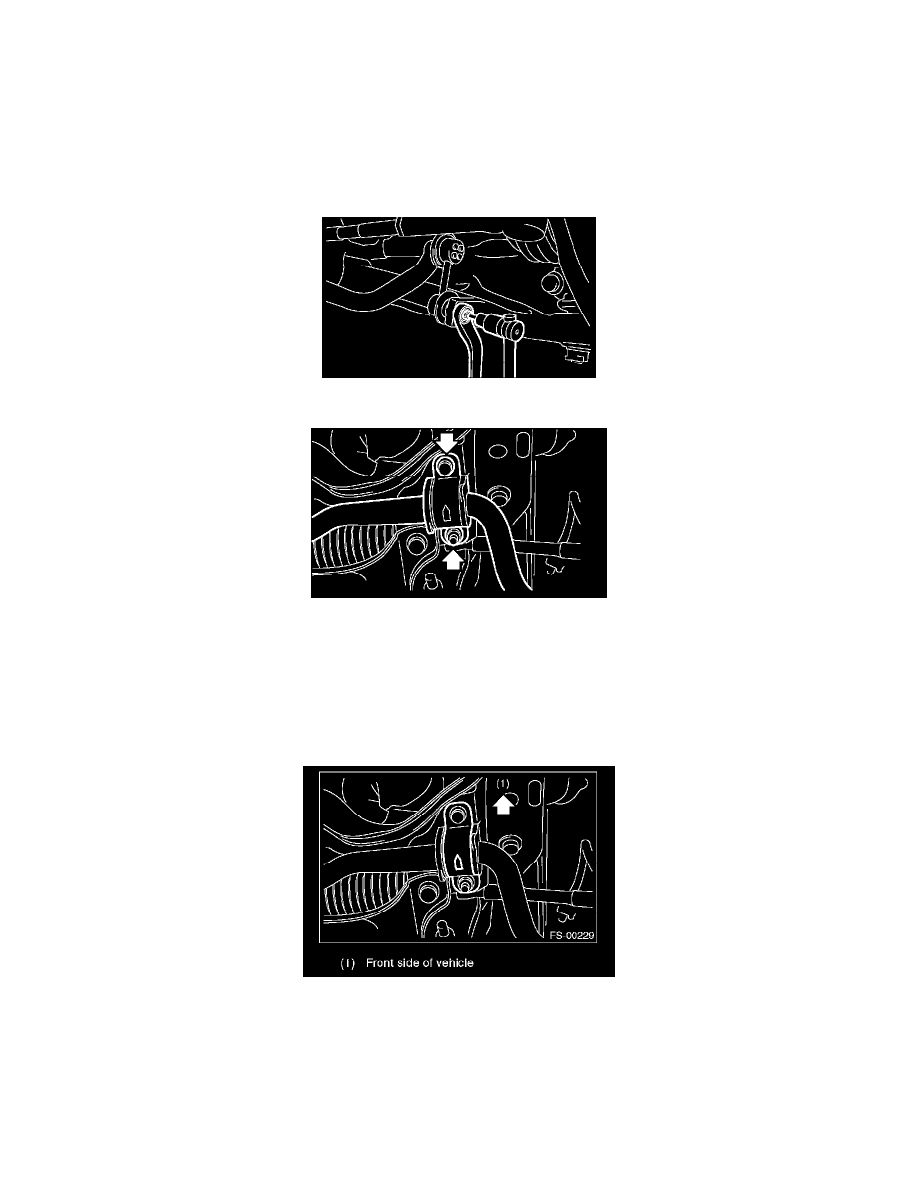
4. Remove the stabilizer link.
5. Remove the stabilizer bracket.
INSTALLATION
Install in the reverse order of removal.
NOTE:
^
Use a new self-locking nut.
^
Ensure the stabilizer bushing and stabilizer have the same identification colors.
^
Install the stabilizer bushing (front crossmember side) while aligning it with the paint mark on stabilizer.
^
The stabilizer bracket has a set orientation. Install it with the arrow mark facing the upper side of the vehicle.
Tightening torque:
Stabilizer link. 45 Nm (4.6 kgf-m, 33.2 ft. lbs.)
Stabilizer bracket. 25 Nm (2.5 kgf-m, 18.1 ft. lbs.)
INSPECTION
1. Check the bushing for major cracks, fatigue or damages.
2. Check the stabilizer link for damage.