
Outback F6-3.0L DOHC (2006)
8. For glass stroke adjustment, install the ST to glass, close the door, and raise the glass with regulator until positional relationship between glass and
weather strip becomes as shown. And secure the glass so that the upper stopper correctly touches the glass holder.
ST 61299AE000 SPACER (Glass thickness: 5 mm (0.197 in) for front door glass)
For preventing wind noise, adjust the glass at the position where tip of gusset is raised up a little.
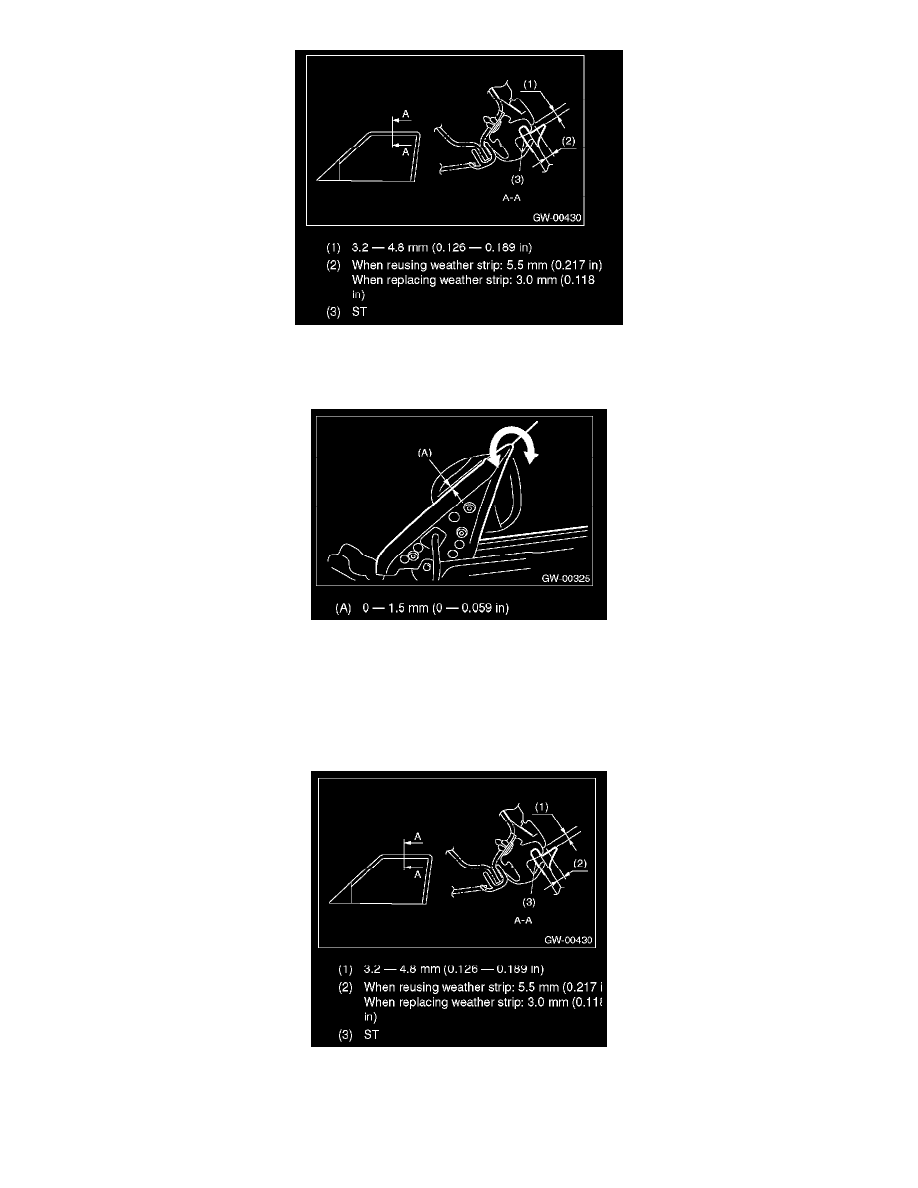
9. After stabilizer adjustment, carry out the glass cohesion adjustment. First, visually ensure the positional relationship between retainer & molding
and glass of the roof side, and then begin with rear sash adjustment. Install the ST to glass and adjust two adjusting bolts alternately step by step to
obtain dimensions shown below (cross-section A).
NOTE: If two nuts are loosened at the same time, the sash moves back and forth. Therefore, when one nut is adjusted, secure the other.
10. Make the same adjustment of two adjusting bolts of rear sash.
ST 61299AE000 SPACER (Glass thickness: 5 mm (0.197 in) for front door glass)