
Outback L.L.Bean Edition AWD F6-3.0L (2002)
7. Clean mud and foreign particles from caliper body assembly and support.
INSTALLATION
1. Install disc rotor on hub.
2. Install support on housing.
Tightening torque: 78 Nm (8 kgf-m, 58 ft. lbs.)
CAUTION:
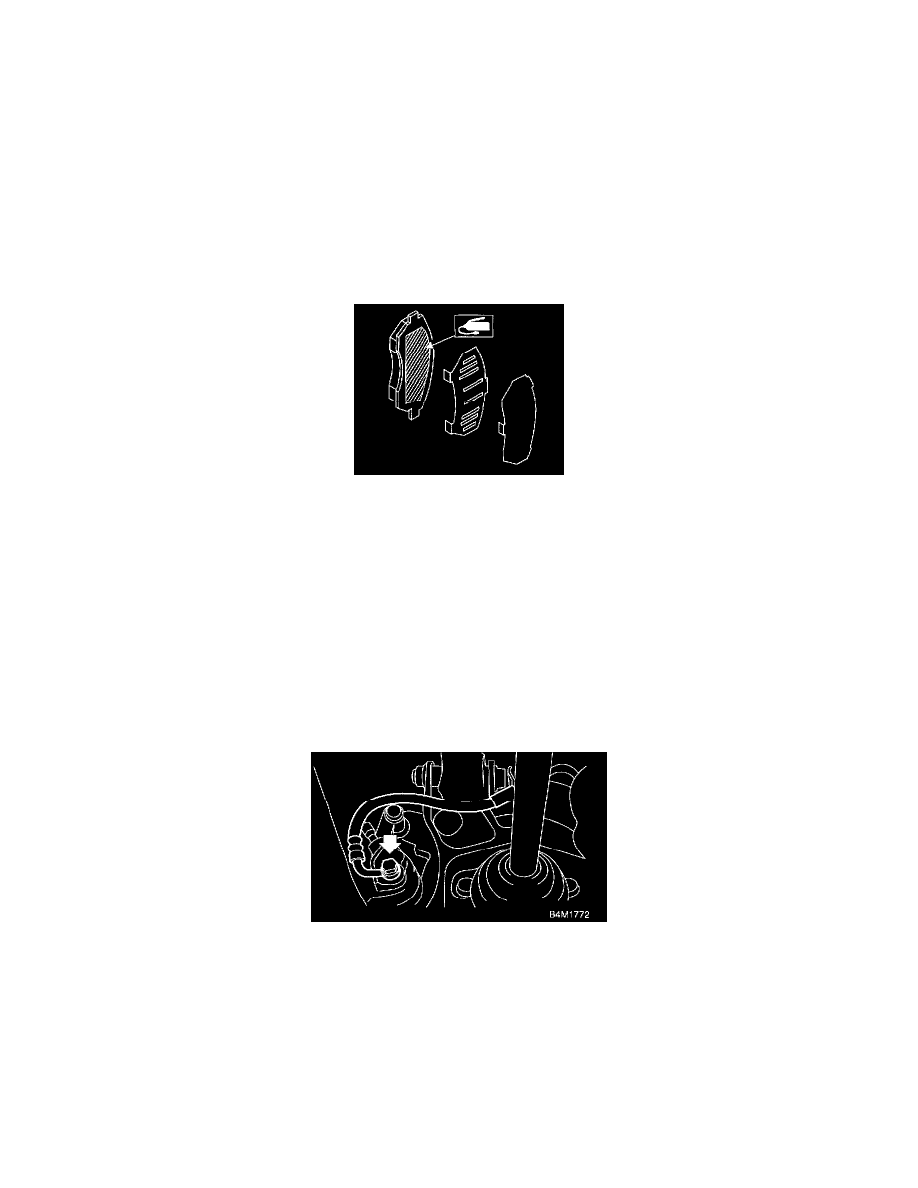
^
Always replace the pads for both the left and right wheels at the same time. Also replace pad clips if they are twisted or worn.
^
A wear indicator is provided on the inner disc brake pad. If the pad wears down to such an extent that the end of the wear indicator contacts the
disc rotor, a squeaking sound is produced as the wheel rotates. If this sound is heard, replace the pad.
^
When replacing the pads, replace pads of the right and left wheels at the same time.
3. Apply thin coat of Molykote AS880N (Part No. 26298AC000) to the frictional portion between pad and pad clip.
4. Apply thin coat of Molykote AS880N (Part No. 26298AC000) to the frictional portion between pad and inner shim.
5. Install pads on support.
6. Install caliper body on support.
Tightening torque: 39 Nm (4.0 kgf-m, 28.9 ft. lbs.)
7. Connect brake hose.
Tightening torque: 18 Nm (1.8 kgf-m, 13.0 ft. lbs.)
CAUTION: Replace brake hose gaskets with new ones
8. Bleed air from brake system
Rear
REMOVAL
1. Lift-up vehicle and remove wheels.
2. Disconnect brake hose from caliper body assembly.
CAUTION: Do not spill brake fluid on painted surface. Wash it off immediately.