
Outback L.L.Bean Edition AWD F6-3.0L (2002)
Control Arm: Service and Repair
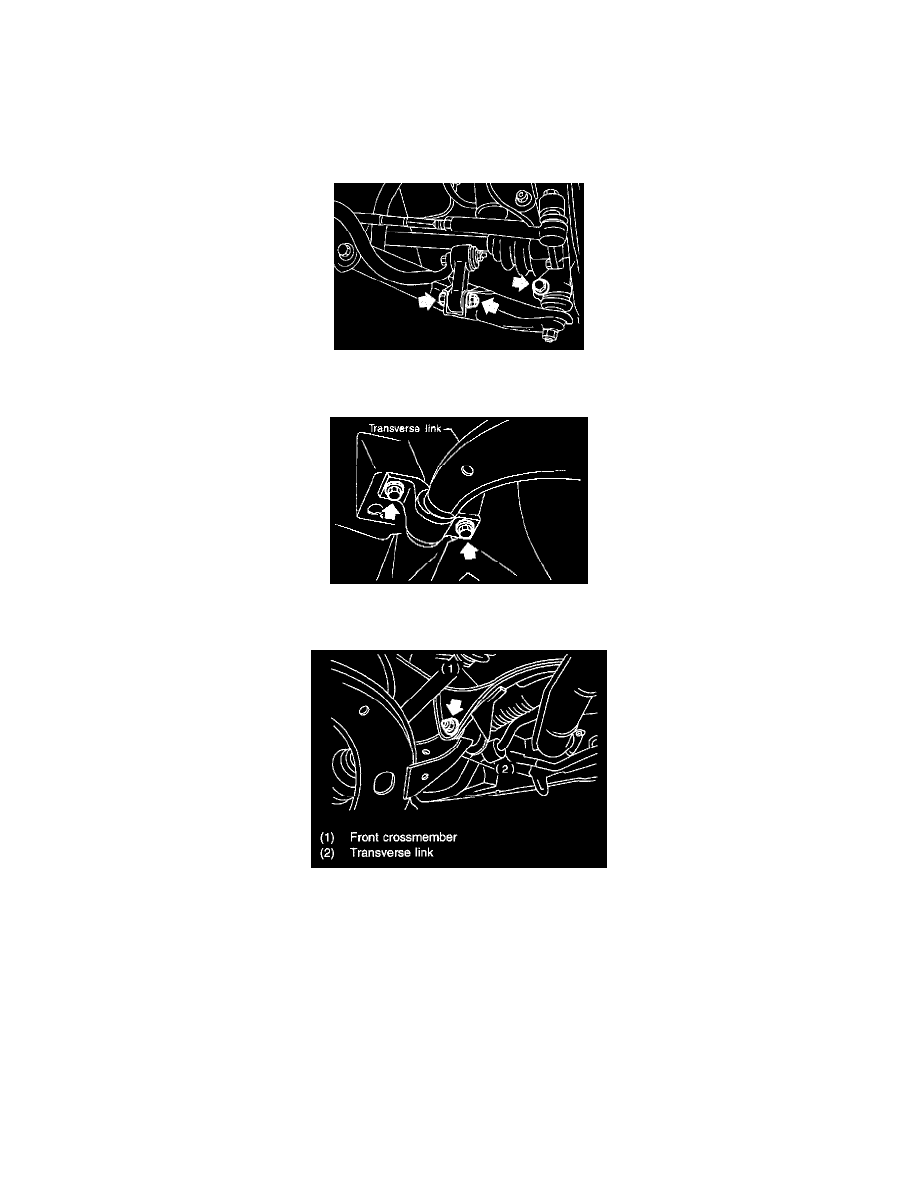
Transverse Link
A: REMOVAL
1. Set vehicle on a lift.
2. Disconnect ground cable from battery.
3. Lift-up the vehicle and remove the wheel.
4. Disconnect stabilizer link from transverse link.
5. Remove bolt securing ball joint of transverse link to housing.
5. Remove nut (do not remove bolt) securing transverse link to crossmember.
7. Remove two bolts securing bushing bracket of transverse link to vehicle body at rear bushing location.
8. Extract ball joint from housing.
9. Remove bolt securing transverse link to crossmember and extract transverse link from crossmember.
B: INSTALLATION
1. Temporarily tighten the two bolts used to secure rear bushing of the transverse link to body.
NOTE: These bolts should be tightened to such an extent that they can still move back and forth in the oblong shaped hole in the bracket (which
holds the bushing).
2. Install bolts used to connect transverse link to crossmember and temporarily tighten with nut.
CAUTION: Discard loosened self-locking nut and replace with a new one.
3. Insert ball joint into housing.