
Outback L.L.Bean Edition AWD F6-3.0L (2002)
5. Install oil pan.
NOTE: Uniformly tighten the bolts in several passes.
Tightening torque: 5 Nm (0.5 kgf-cm, 3.6 ft. lbs.)
6. Fill ATF up to the middle of the "COLD" side on level gauge by using the gauge hole.
7. Check the ATF level.
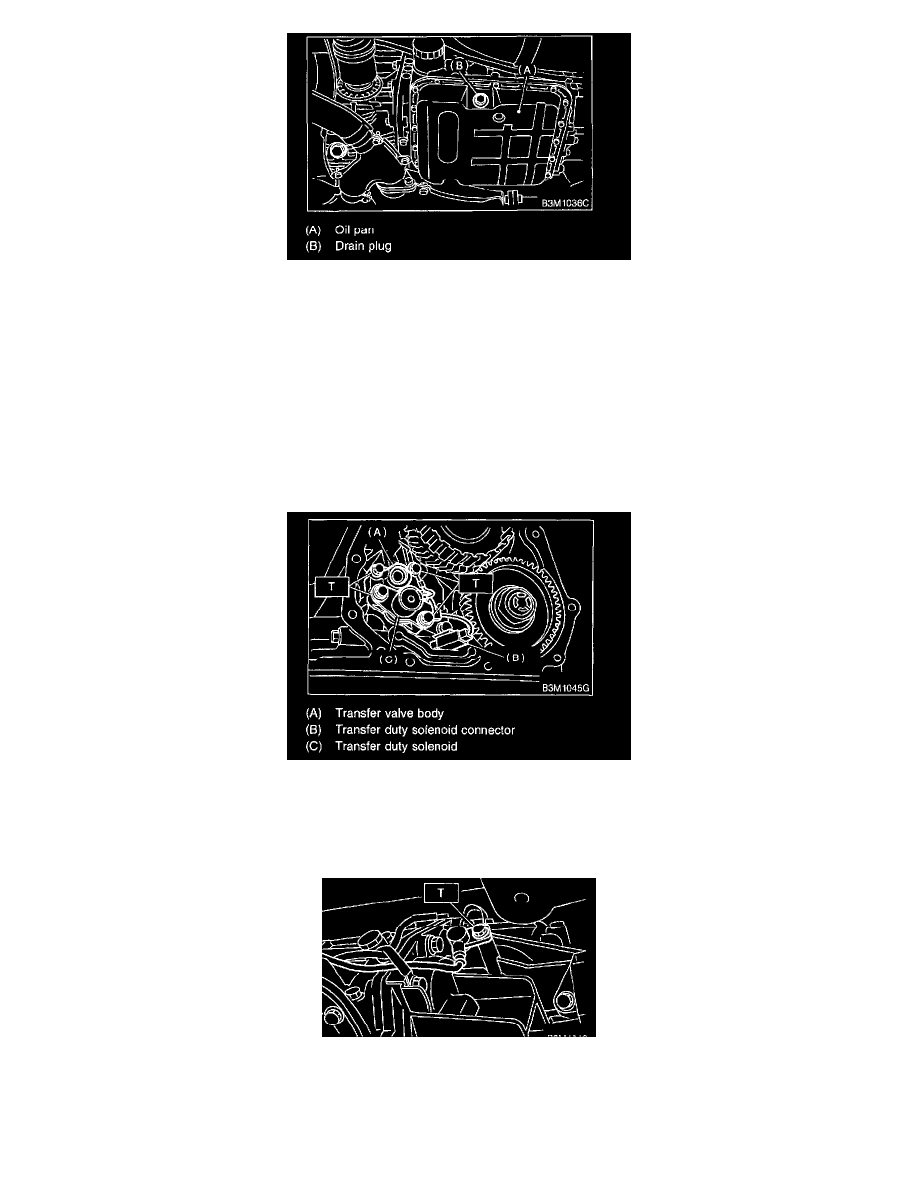
1. TRANSFER DUTY SOLENOID AND TRANSFER VALVE BODY
1. Install transfer duty solenoid and transfer valve body.
(1) Install transfer duty solenoid and transfer valve body.
Tightening torque:
T: 8 Nm (0.8 kgf-cm, 5.8 ft. lbs.)
(2) Connect transfer duty solenoid connector.
2. Install extension case to transmission case.
(1) Tighten 11 bolts.
Tightening torque: 25 Nm (2.5 kgf-cm, 18.1 ft. lbs.)
(3) Adjust the select cable.
3. Install rear vehicle speed sensor.
Tightening torque:
T: 7 Nm (0. 7 kgf-cm, 5.1 ft. lbs.)
4. Install rear crossmember.