
Outback Sport F4-2.5L SOHC (2005)
NOTE: Tap to an extent that the boot underneath is not damaged.
17. Cut off the band with an allowance of about 10 mm (0.39 inch) left from clip, and bend this allowance over the clip.
NOTE: Be careful so that the end of band is in close con tact with clip.
18. Fix up the boot on BJ in the same manner.
19. Extend and retract the DOJ to provide equal grease coating.
Rear Drive Shaft Inspection
Rear Drive Shaft
INSPECTION
Check the removed parts for damage, wear, corrosion, etc. If faulty, repair or replace.
1. DOJ (Double Offset Joint)
Check seizure, corrosion, damage, wear and excessive play.
2. Shaft
Check excessive bending, twisting, damage and wear.
3. BJ (Bell Joint)
Check seizure, corrosion, damage and excessive play.
4. EBJ (High-efficiency compact ball fixed Joint)
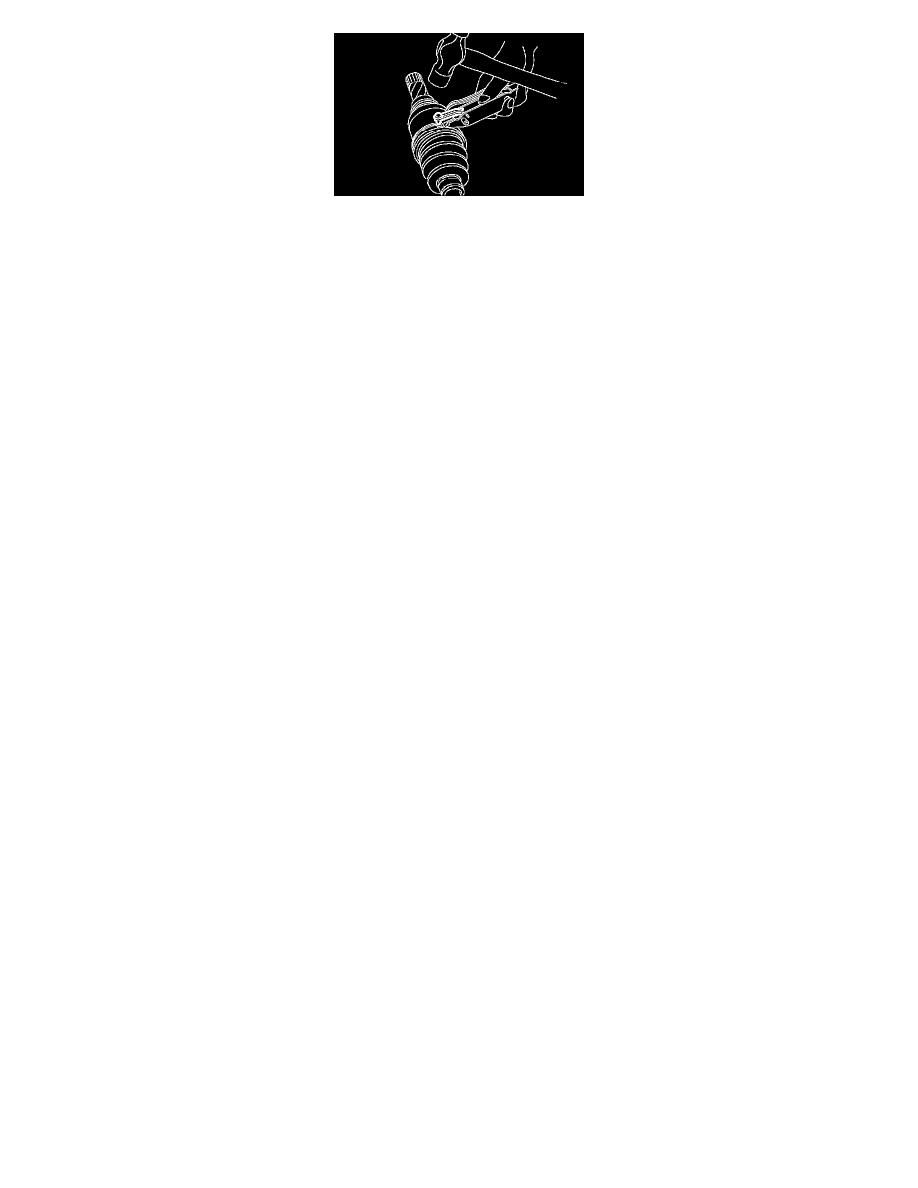
Check seizure, corrosion, damage and excessive play.
5. Boot
Check for wear, warping, breakage or scratches.
6. Grease
Check for discoloration or fluidity.
Rear Drive Shaft Boots
Rear Drive Shaft Boots
INSPECTION
Inspect the wear, warping, breakage or scratches for boot. If faulty, repair or replace.
REPLACEMENT
1) Disconnect the ground terminal from battery.
2) Lift-up the vehicle, and remove the rear wheel cap and wheels.
NOTE: Axle nut need not be removed.
3) Remove the ABS sensor clamps and parking brake cable bracket.
4) Disconnect the stabilizer link from the lateral link.
5) Remove the bolts which secure lateral link assembly to the rear housing.
6) Remove the bolts which secure trailing link assembly to the rear housing.