Tribeca F6-3.6L (2008)

Carpet: Service and Repair
FLOOR MAT
REMOVAL
1. FRONT FLOOR MAT
1. Remove the front seats.
2. Remove the second row seats.
3. Remove the console box.
4. Remove the instrument panel lower cover.
5. Remove the glove box.
6. Remove the following trims.
-
Front door scuff plate
-
Rear door scuff plate
-
Front pillar lower trim
-
Center pillar lower trim
7. Remove the remote opener cover.
8. Remove the navigation unit. <Ref. to REMOVAL, Navigation Body.>
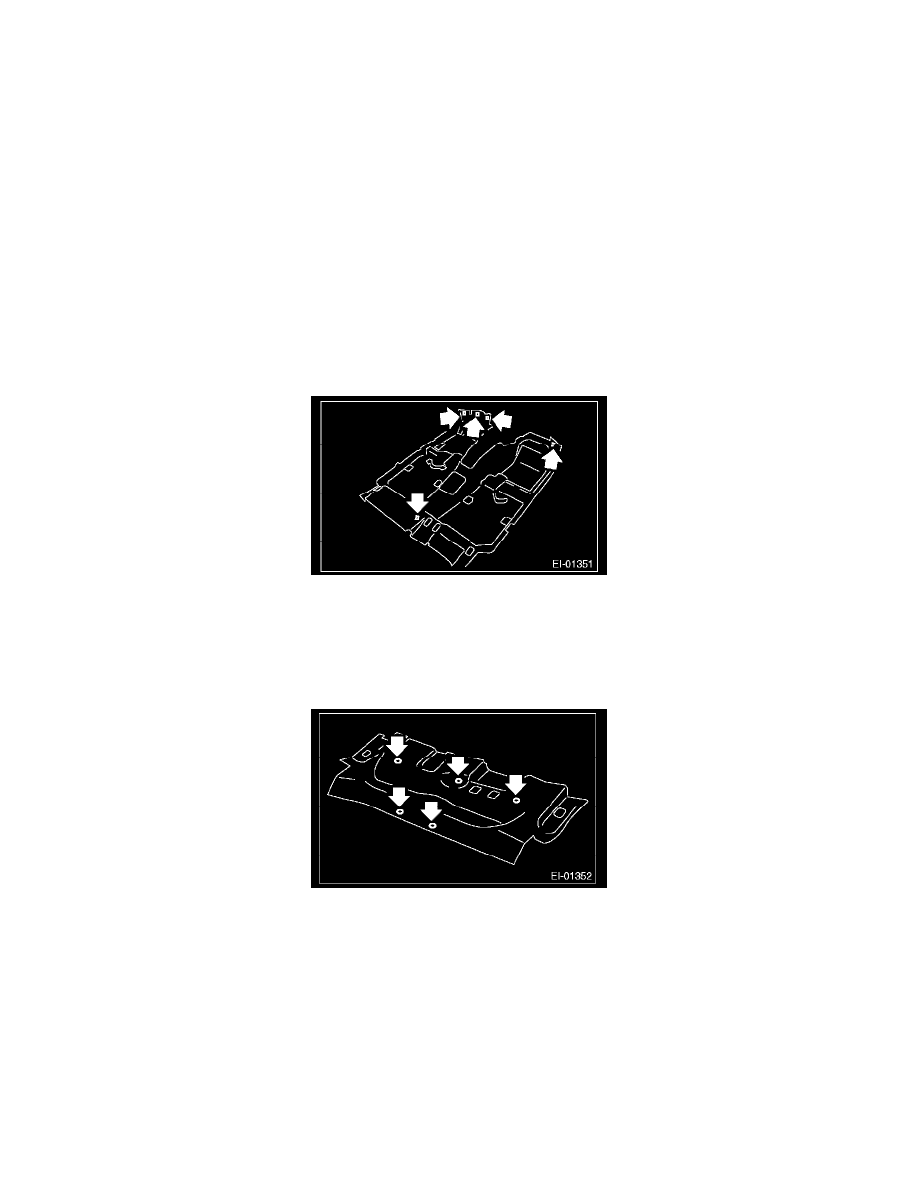
9. Remove the clips, then remove the front floor mats.
2. REAR FLOOR MAT
1. Remove the second row seats.
2. Remove the third-row seats. (7 seater model)
3. Remove the luggage box (front). (5 seater model)
4. Remove the rear quarter lower trim.
5. Remove the clips, then remove the rear floor mats.
INSTALLATION
Install in the reverse order of removal.
NOTE:
-
Secure the mat firmly with hook and clip.
-
Insert the mat edge firmly into the groove of side sill cover.
