Tribeca F6-3.6L (2008)

Lateral Stabilizer Rod: Service and Repair
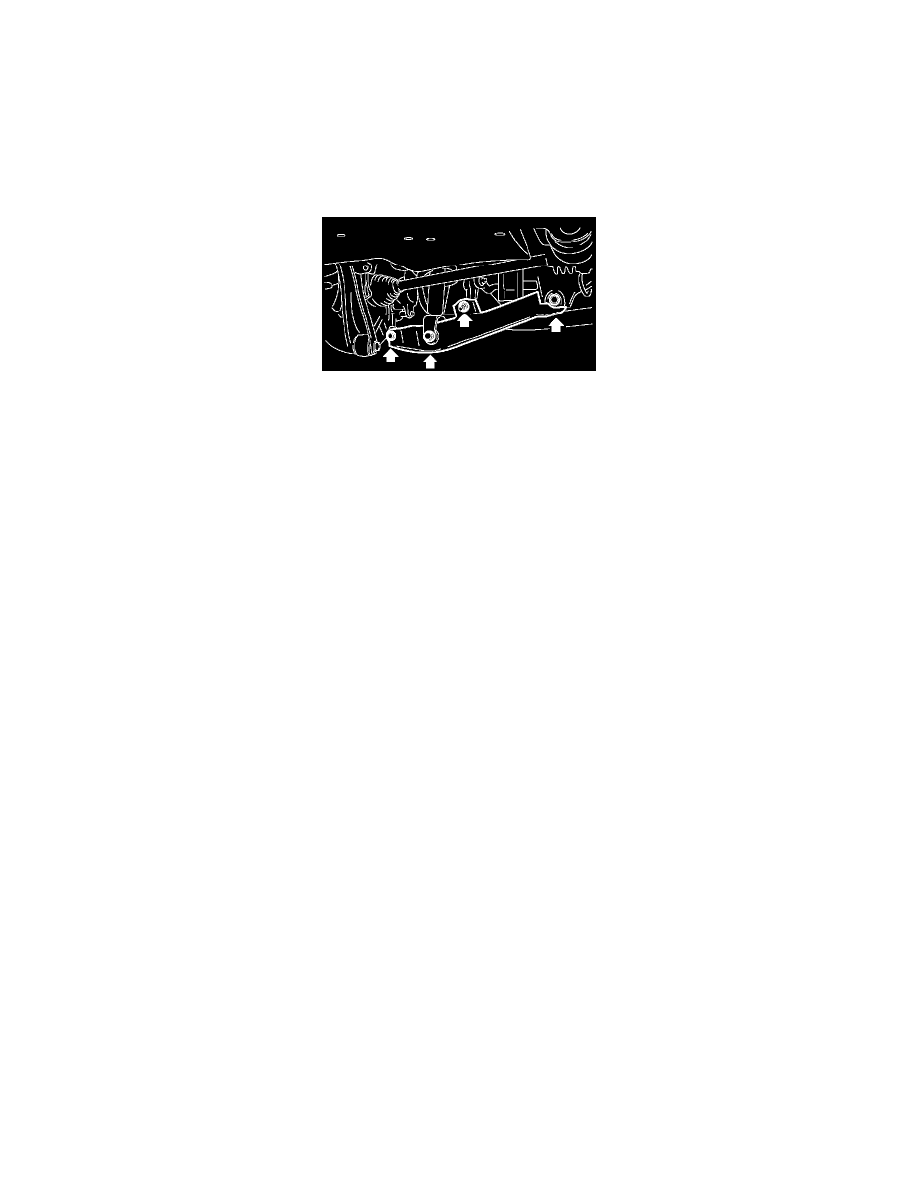
Rear Lateral Link
Rear Lateral Link
REMOVAL
1. Lift-up the vehicle, and then remove the rear wheels.
2. Remove the nut and detach the stabilizer link.
3. Remove the bolts on the bottom side of the shock absorber.
4. Remove the bolt to remove the rear lateral link.
INSTALLATION
NOTE:
^
Be sure to use a new self-locking nut.
^
Always tighten the stabilizer bushing in the state where the vehicle is at curb weight and the wheels are in full contact with the ground.
1. Install in the reverse order of removal.
Tightening torque:
Rear lateral link 120 Nm (12.2 kgf-m, 89 ft. lbs.)
Shock absorber 120 Nm (12.2 kgf-m, 89 ft. lbs.)
Stabilizer link 60 Nm (6.1 kgf-m, 44 ft. lbs.)
2. Inspect the wheel alignment and adjust if necessary.
INSPECTION
Visually check the rear lateral link for damage and deformation.
