
Aerio L4-2.3L (2006)
Brake Caliper: Service and Repair
Removal and Installation
Removal
1. Hoist vehicle and remove wheel.
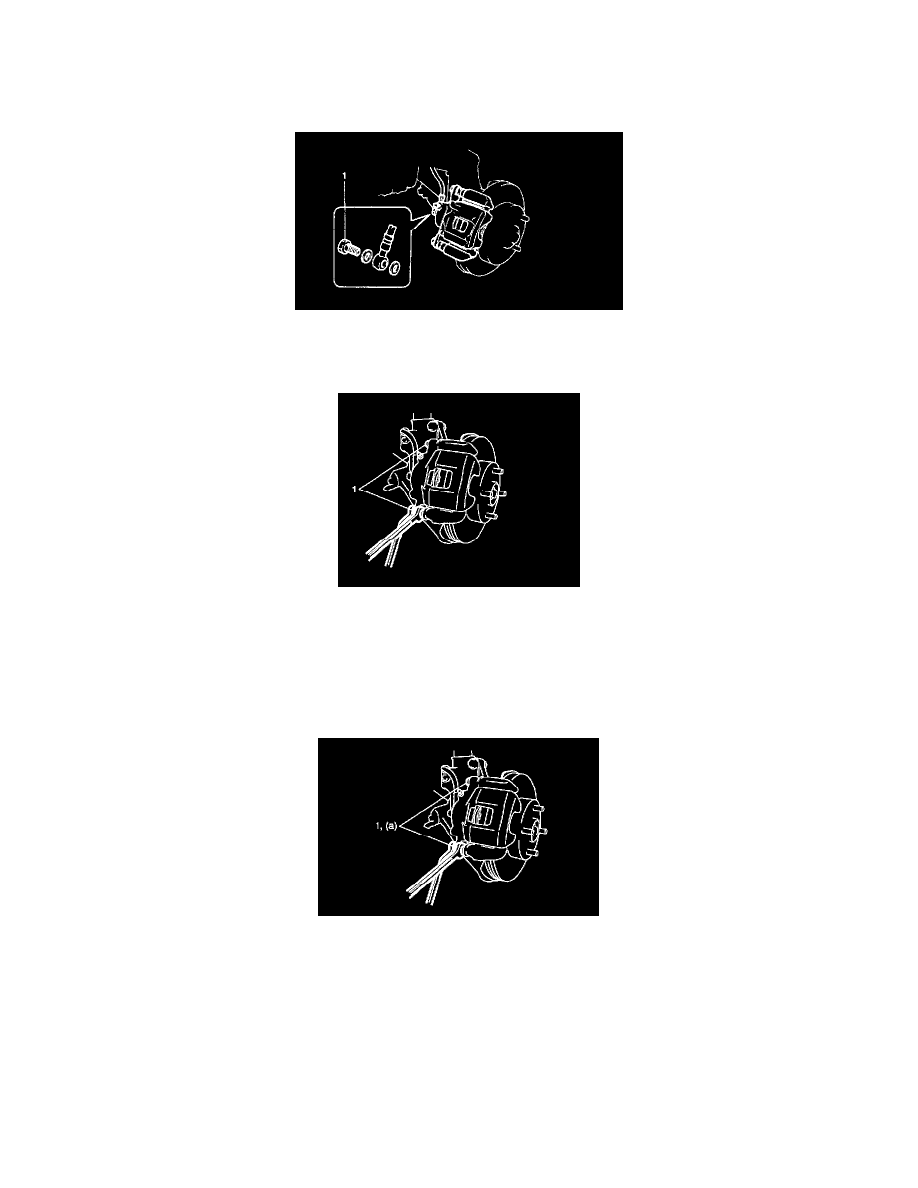
2. Loosen flexible hose joint bolt (1) a little at caliper.
CAUTION: Be careful not to twist flexible hose while loosening the bolt.
3. Remove caliper pin bolts (1).
4. Remove caliper from caliper carrier.
5. Disconnect flexible hose from caliper using care not to twist it. As this will allow brake fluid to flow out of flexible hose, have a container ready
beforehand.
Installation
1. Apply grease to slide pin, then install caliper to caliper carrier.
2. Torque caliper pin bolts (1) to specification.
NOTE: Make sure that boots are fit into groove securely.
Tightening torque
Caliper pin bolts (a): 35 Nm (3.5 kgf-m, 25.5 ft. lbs.)
3. Connect caliper to flexible hose.
4. Torque flexible hose joint bolt to specification.
Tightening torque
Flexible hose joint bolt (b): 23 Nm (2.3 kgf-m, 17.0 ft. lbs.)
WARNING: Make sure that flexible hose is not twisted when tightening joint bolt. If it is twisted, reconnect it using care not to twist it.