
Aerio L4-2.3L (2006)
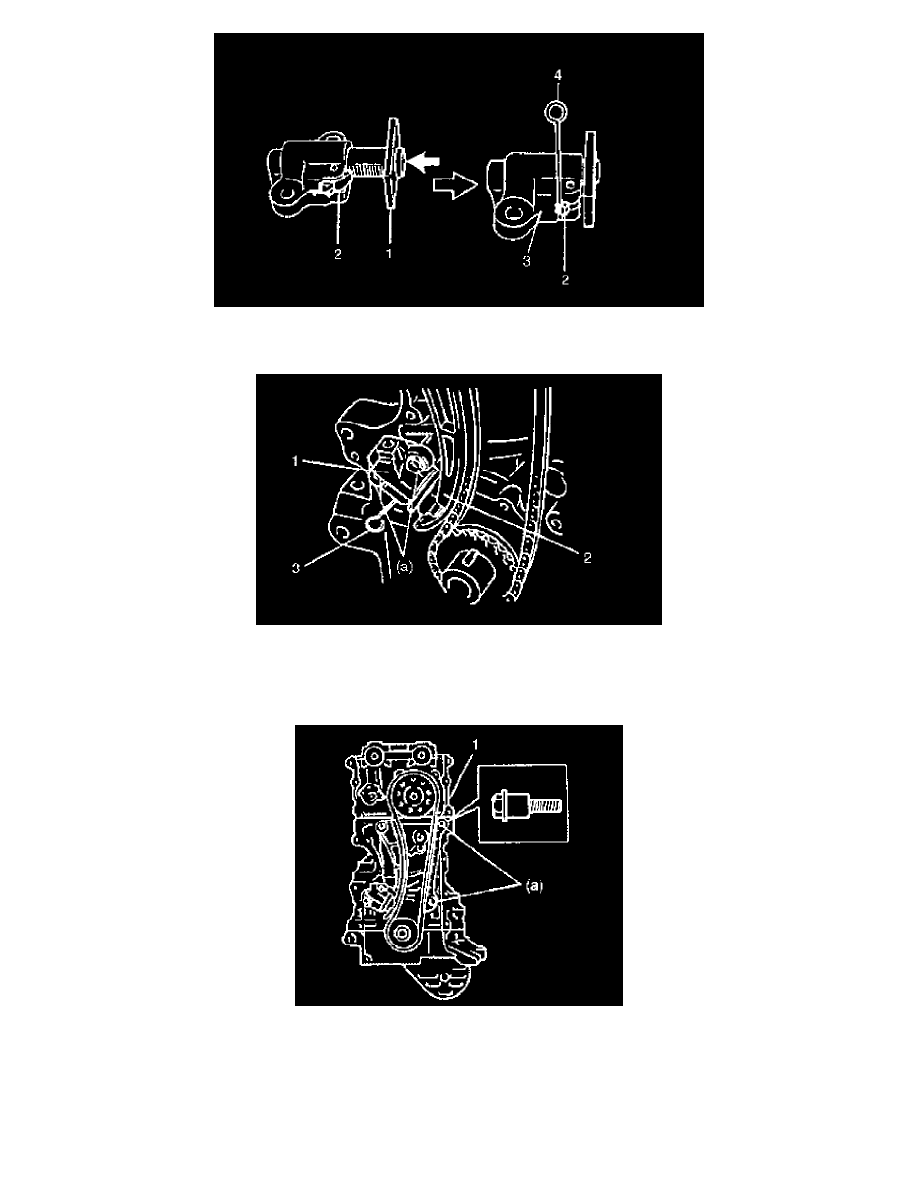
8) With latch of tensioner adjuster No.1 returned and plunger (1) pushed back into body, insert stopper (4) into latch (2) and body (3).
After inserting it, check to make sure that plunger will not come out.
9) Install timing chain tensioner (2) adjuster No.1 (1).
Tightening torque
Timing chain tensioner adjuster No.1 bolts (a): 11 Nm (1.1 kgf-cm, 8.0 ft. lbs.)
10) Pull out stopper (3) from adjuster No. 1.
11) Apply engine oil to sliding surface of timing chain guide No.1 (1) and then install it.
Tighten guide bolts to specified torque.
Tightening torque
Timing chain guide No.1 bolts (a): 9 Nm (0.9 kgf-cm, 6.5 ft. lbs.)