
Aerio L4-2.3L (2006)
Reassembly
NOTE: Before installation, wash each part in specified brake fluid.
1. Apply brake fluid to piston assembly and inside of cylinder body.
2. Install piston assembly into cylinder.
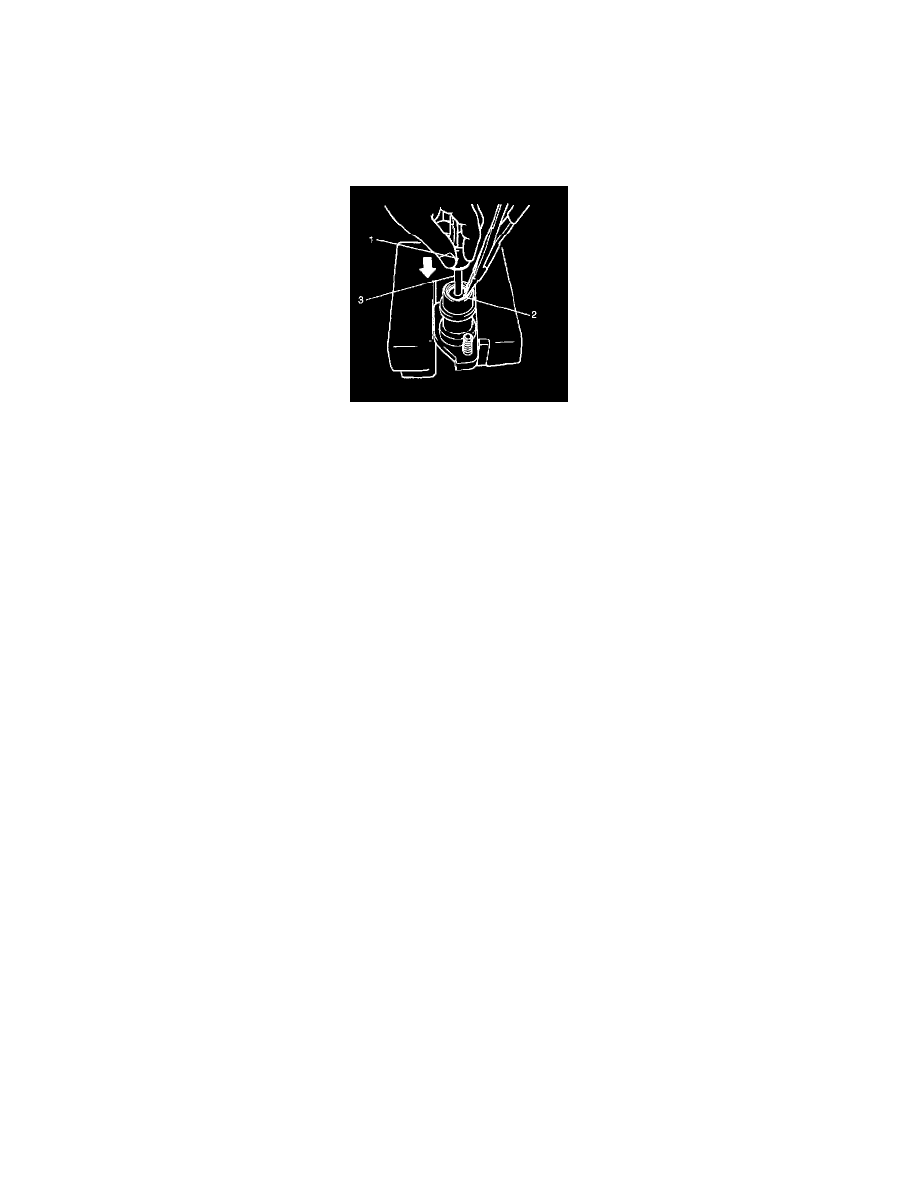
3. With piston pushed rod (3) down, install circlip (2) as shown.
4. Install boot (1).
Inspection
Inspect all disassembled parts for wear or damage, and replace parts if necessary.
NOTE:
^
Wash disassembled parts with brake fluid.
^
Do not reuse piston assembly and circlip.
Inspect cylinder bore for scoring or corrosion.
It is best to replace corroded cylinder. Corrosion can be identified as pits or excessive roughness.
NOTE: Polishing bore of cylinder with cast aluminum body with anything abrasive is prohibited, as damage to cylinder bore may occur.
Rinse cylinder in clean brake fluid. Shake excess rinsing fluid from cylinder. Do not use a cloth to dry cylinder, as lint from cloth cannot be kept away
from cylinder bore surfaces.
Clutch Master Cylinder Removal and Installation
Clutch Master Cylinder Removal and Installation
Removal
1. Clean around reservoir cap (7) and take out fluid with syringe or such.
2. Remove clevis-to-pin (5) and clevis pin (4).
3. Disconnect fluid pipe (2) from master cylinder assembly (1) by loosing flare nut (6).
NOTE: Do not allow fluid to get on painted surfaces.
4. Remove master cylinder attaching nuts (3).