
Aerio L4-2.3L (2006)
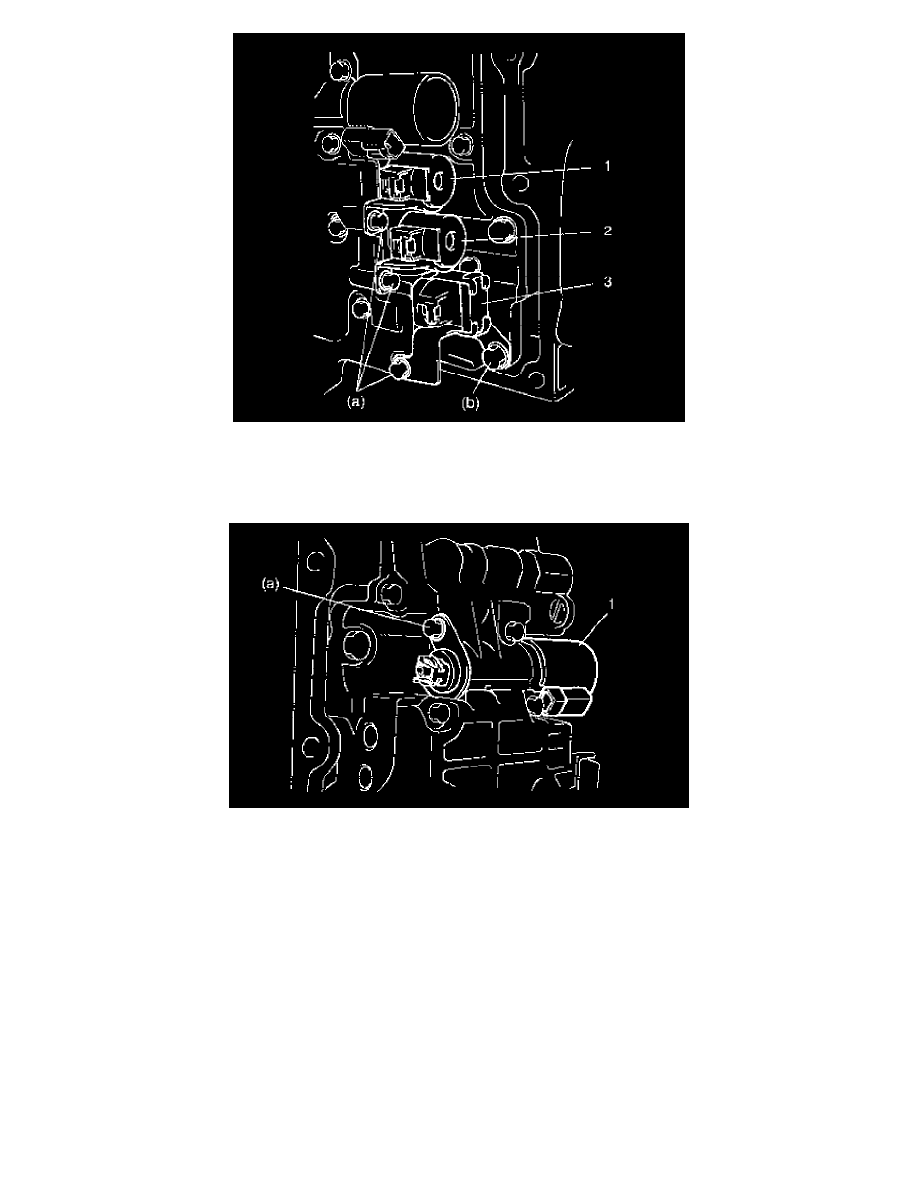
1. Install shift solenoid valve-A (No.1) (1), shift solenoid valve-B (No.2) (2) and TCC solenoid valve (3) in that order.
Tightening torque
Shift solenoid bolts (a): 7.0 Nm (0.7 kgf-cm, 5.0 ft. lbs.)
Valve body bolts (b): 10 Nm (1.0 kgf-cm, 7.5 ft. lbs.)
2. Install pressure control solenoid (1).
Tightening torque
Pressure control solenoid bolt (a): 7.0 Nm (0.7 kgf-cm, 5.0 ft. lbs.)
3. Connect solenoid connectors by identifying wire color.
Solenoid coupler: Wire color
Pressure control solenoid valve (1): Pink - Brown
Shift solenoid valve-A (No.1) (2): White
Shift solenoid valve-B (No.2) (3): Black
TCC solenoid valve (4): Yellow