
Aerio L4-2.3L (2006)
Windshield: Service and Repair
Windshield Removal and Installation
Removal
1. Clean both inside and outside of glass and around it.
2. Remove wiper arms and garnish.
3. Using tape, cover body surface around glass to prevent any damage.
4. Remove rear view mirror, sun visor and front pillar trims (right & left).
5. If necessary, remove instrument panel.
6. If necessary, remove head lining.
7. Remove (or cut) windshield molding.
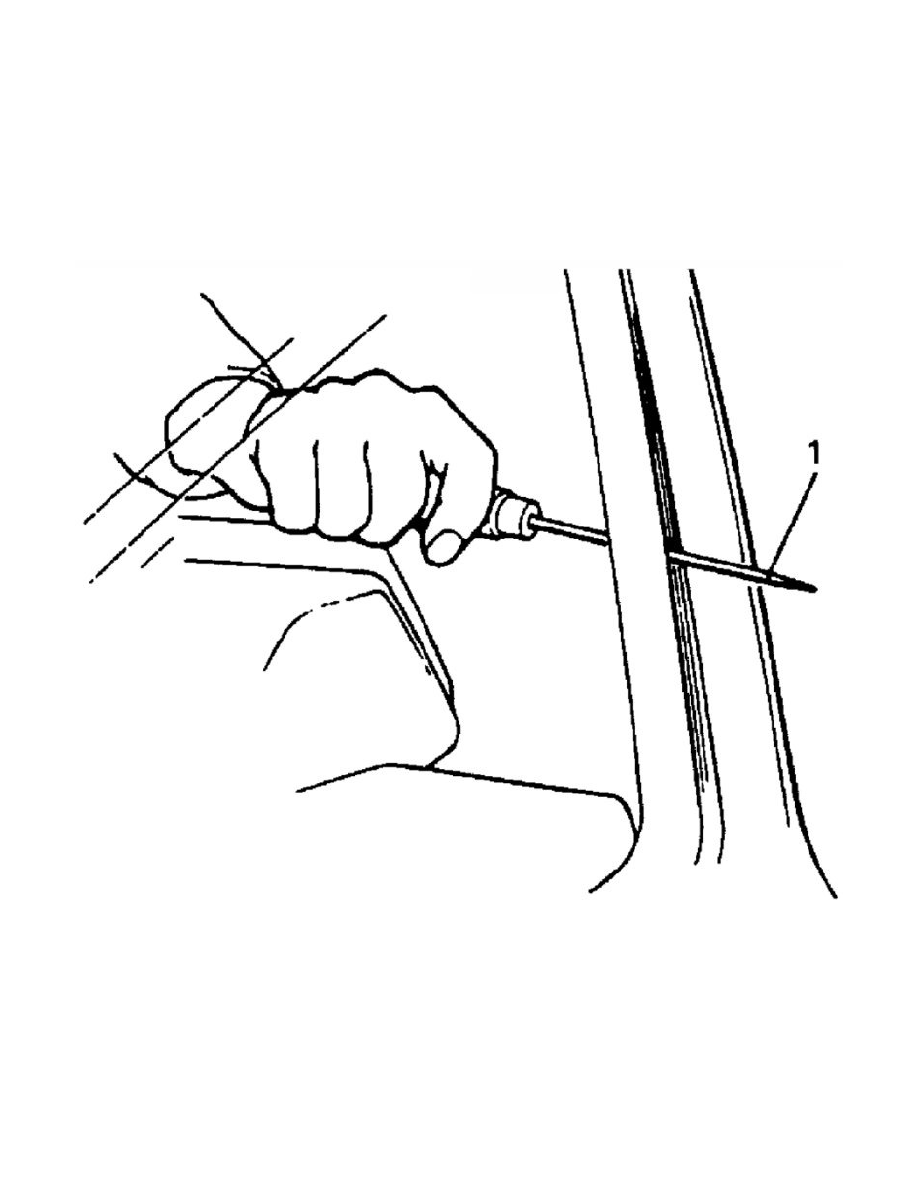
8. Drill hole with eyeleteer (1) through adhesive and let piano string through it.
9. Cut adhesive all around windshield (1) with piano string (2). When using tool, windshield knife (3), to cut adhesive, be careful not to cause
damage to windshield. Use wire to cut adhesive along lower part of windshield.
NOTE: Use piano string (2) as close to glass as possible so as to prevent damage to body and instrument panel.