
Equator 2WD V6-4.0L (2009)
Brake Pedal Assy: Service and Repair
Brake Pedal: Removal and Installation
Brake Pedal: Removal and Installation
REMOVAL
WARNING:
Do not deform the brake tube.
CAUTION:
^
Do not disassemble the brake pedal assembly.
^
Avoid damage from dropping the brake pedal assembly during handling.
^
Keep the brake pedal assembly away from water.
1) Remove the lower instrument panel LH.
2) Remove the stop lamp switch and ASCD cancel switch from the pedal assembly.
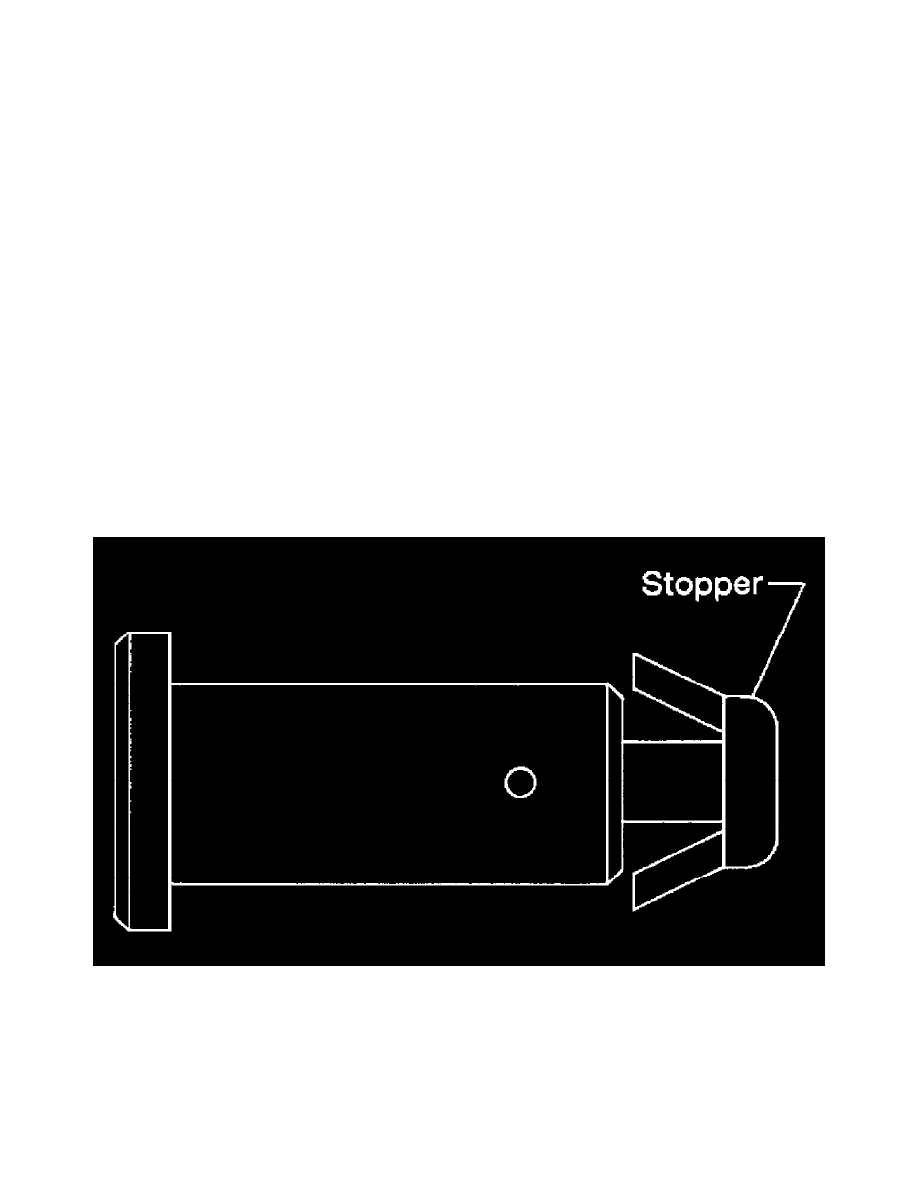
3) Remove snap pin and clevis pin from the clevis of the brake booster.
4) Remove the brake pedal assembly bolt.
5) Remove the pedal assembly nuts and discard, then remove the pedal assembly.
^
Temporarily install the nuts by hand to support the booster.
CAUTION:
Do not reuse the nuts for installation.
INSPECTION AFTER REMOVAL
Check brake pedal for following items.
^
Cracking or deformation of the clevis pin stopper
^
Clevis pin deformation
^
Crack of any welded portion
^
Brake pedal bent or deformed
INSTALLATION
Installation is in the reverse order of removal.
^
Check the brake pedal for smooth operation. There should be no binding or sticking when applying or releasing the brake pedal.
^
After installing the brake pedal assembly, adjust it as necessary.