
Equator 2WD V6-4.0L (2009)
REMOVAL
CAUTION:
^
Be careful not to deform or bend brake piping while removing and installing brake booster.
^
Replace clevis pin if it is damaged.
^
Be careful not to damage brake booster stud bolt threads. If brake booster is tilted or inclined during installation, dash panel may
damage the threads.
^
Attach the check valve in the correct direction.
1) Remove the ABS actuator and electric unit (control unit).
2) Remove the brake piping from the brake master cylinder.
3) Remove the brake master cylinder.
4) Remove brake booster vacuum hose from the brake booster.
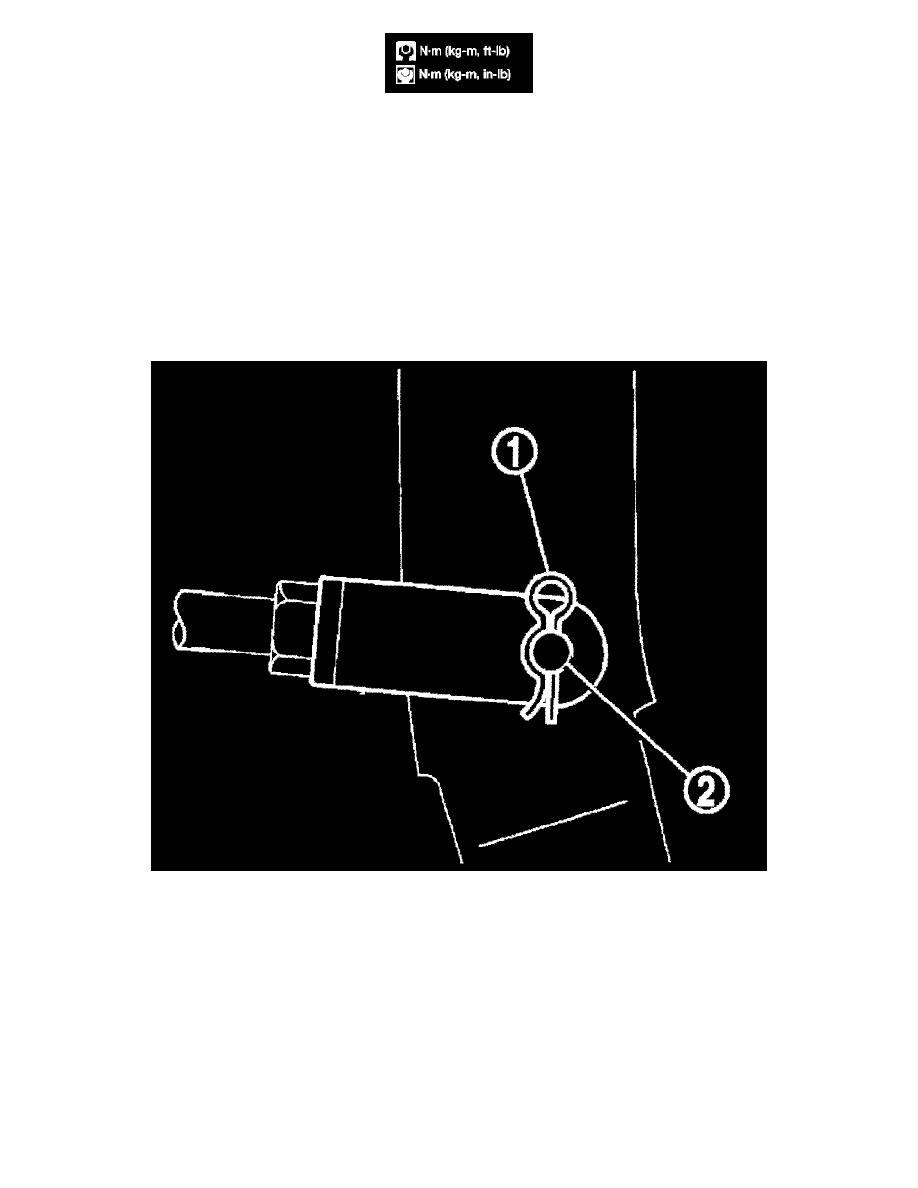
5) Remove the brake pedal clevis pin (2) and snap pin (1) from inside the vehicle.
6) Remove the brake booster and brake pedal assembly nuts and discard.
CAUTION:
Discard the nuts, do not reuse.
7) Remove brake booster assembly from dash panel.
INSTALLATION
1) Loosen the lock nut (1) to adjust the input rod (2) so that length (A) is within the specified value.